

Whether you have just shot your first roll or found a shoebox of family negatives, there is a good chance you want those images on your screen. Lab scans are convenient, but they cost money each time and you have little control over colour and size. Learning to scan film negatives at home gives you sharp, high-resolution files on your own terms, often with equipment you already own.
This guide focuses on camera and phone scanning: photographing the negative over a light source, then inverting it into a positive image. It does not cover developing film, which is a separate process. If you want to process your own rolls first, see our guide on how to develop film at home.
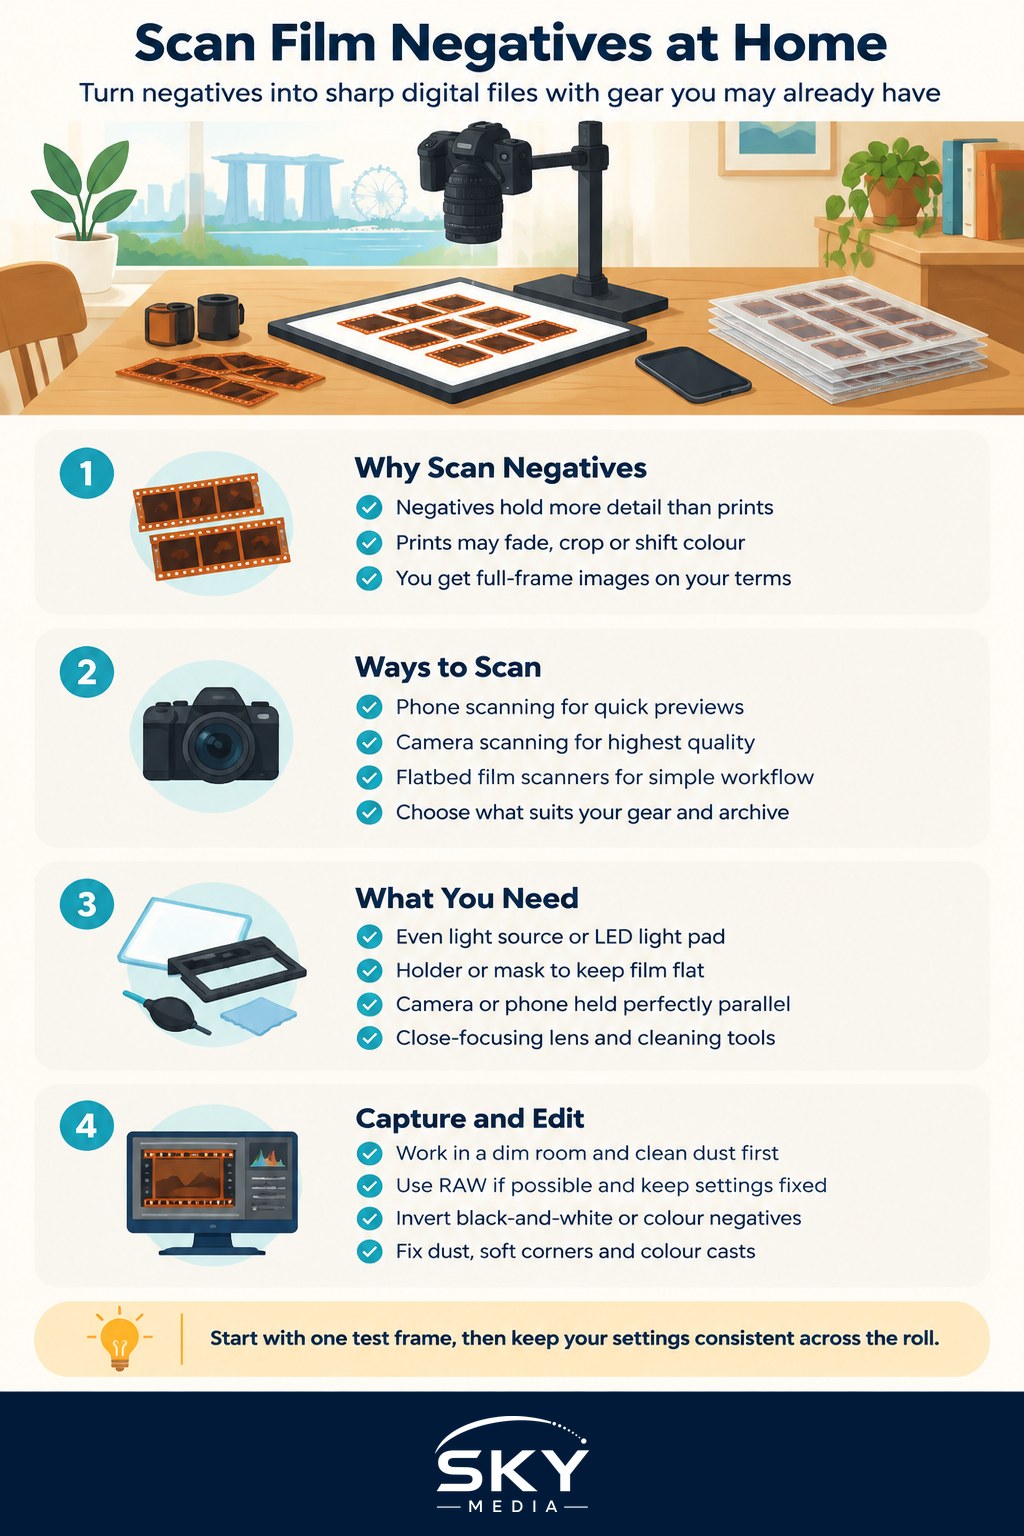
Negatives vs Prints: Why You Scan the Film Itself
If you have both the prints and the negatives, scan the negatives. The negative holds far more detail and tonal range than a print made from it. Prints have often faded, picked up a colour cast or been cropped by the lab, while the negative usually holds the full frame.
The challenge is that a negative is reversed. Light areas are dark, dark areas are light, and colour negatives have an orange mask that makes them look strange. Your scan captures that raw negative, and software turns it back into a normal picture. That conversion step is what makes negative scanning different from simply photographing old prints.
The Three Main Ways to Scan at Home
There are three common routes. The right one depends on how many negatives you have and what you already own.
| Method | What you need | Image quality | Best for |
|---|---|---|---|
| Phone scanning | Smartphone, light pad, simple holder, a scanning app | Fine for sharing and small prints | Quick previews, casual family archives |
| Camera scanning | Digital camera, macro lens, light pad, holder, copy stand or tripod | Very high, often matches or beats lab scans | Enthusiasts, large archives, prints at bigger sizes |
| Flatbed film scanner | Flatbed scanner with a transparency lid and film holders | Good, slower per frame | People who prefer a single device and simple workflow |
Dedicated film scanners also exist, but many are older models and can be hard to find. For most people starting now, camera or phone scanning is the most flexible choice.
What You Need for Camera or Phone Scanning
You do not need a lot, but each item matters.
A light source. A flat LED light pad, the kind sold for tracing and art, works well. Look for one that is evenly lit across the surface with no visible bright spots, and with a high colour rendering index (CRI) if listed, because poor-quality light can distort colours. A laptop or tablet screen showing a white image is a passable backup, but the pixel grid can show up in your scans.
A holder to keep the film flat. Negatives curl, especially after years in storage. A film holder or mask keeps the strip flat and blocks stray light around the frame. Stray light reduces contrast, so masking the edges makes a visible difference. In a pinch, two clean pieces of anti-reflective glass can sandwich the film, but glass adds surfaces that collect dust.
A steady camera position. The camera or phone must sit directly above the negative and be perfectly parallel to it, or the image will be sharp in one corner and soft in another. A copy stand, a tripod with a sideways arm or even a stack of books with the phone laid across them can work.
A lens that focuses close. For camera scanning, a macro lens lets the negative fill the frame. For phones, use the main camera rather than ultra-wide, and move it to the closest distance at which it focuses sharply.
Cleaning tools. A blower bulb, an anti-static brush and cotton gloves. Avoid wiping negatives with tissue or your shirt, as this can scratch the emulsion.
Step by Step: Capturing the Negatives
- Work in a dim room. Turn off overhead lights and close curtains so only the light pad lights the film. Reflections from room lights reduce contrast.
- Clean the film. Hold the negative by its edges and use the blower to remove dust. Brush gently if needed.
- Load the holder. Place the film with the emulsion side, usually the duller side, facing away from the camera, so the image reads correctly. You can flip it in software later if needed.
- Level the camera. Use your camera’s level or a small bubble level on the light pad and on the camera back to keep them parallel.
- Set your exposure. On a camera, use manual mode, a mid aperture for sharpness, a low ISO and a remote or timer to avoid shake. Expose so the brightest parts are not clipped. On a phone, lock focus and exposure by tapping and holding.
- Shoot in RAW if you can. RAW files keep more information for the colour inversion step. Many phones offer a RAW or “pro” mode.
- Keep the settings fixed. Once a frame looks right, do not change exposure or white balance across the roll. Consistent captures make editing much faster.
- Shoot the whole roll. Move frame by frame, checking focus every few shots.
Inverting the Negatives Into Positive Images
This is where scans come to life.
Black and white negatives are the easiest. In almost any photo editor, invert the image, then adjust levels or curves to set black and white points. Add contrast to taste.
Colour negatives are trickier because of the orange mask. A simple invert gives a blue, washed-out picture. You have a few options:
- Dedicated inversion tools. Several plug-ins and standalone programmes are designed specifically to convert colour negatives. They analyse the film base and produce natural colour with little effort. Many offer free trials.
- Manual inversion. Sample the orange film base (the clear area between frames) to set white balance, invert, then adjust each colour channel’s levels. It takes practice but gives full control.
- Phone apps. Some scanning apps invert negatives live on screen and save a positive file. They are quick, though usually less precise.
Whichever route you take, edit one representative frame, then apply the same settings to the rest of the roll and fine-tune individually.
Common Problems and How to Fix Them
- Dust spots. Clean more carefully before shooting, and use your editor’s spot-healing tool afterwards. Some camera inversion tools include dust removal.
- Soft corners. Your camera is not parallel to the film. Re-level both surfaces.
- Newton’s rings. These rainbow patterns appear when glass touches the film. Use anti-Newton glass or a glassless holder.
- Odd colour casts. Check your light source quality, and make sure room lights are off.
- Low contrast. Mask around the frame so light only passes through the negative.
Organising and Storing Your Scans
Once you have digital files, keep them findable. Name folders by year and event, include the film type in your notes, and back up to at least two places, such as an external drive and a cloud service. Our guide on how to scan and organise documents at home has a simple folder structure that works just as well for photos.
Store the original negatives in archival sleeves, away from heat and humidity. In Singapore’s climate, a dry cabinet or a sealed box with silica gel helps prevent mould. Even after scanning, keep the negatives, since better tools in future may pull out even more detail.
Explore more: Using Negative Space in Photos
Frequently Asked Questions
Is scanning film at home better than paying a lab? It gives you more control and costs less per roll once you have the gear, but it takes time and some set-up. A lab is easier for a single roll or when you want a quick, consistent result. Many people use a lab for important shots and scan the rest.
How do I scan slides instead of negatives? Slides are positive images, so you do not need to invert them. Use the same light pad, holder and camera set-up, then adjust exposure, contrast and white balance. Take care with the exposure so highlights do not clip, since slide film has a narrower margin than negatives.
What can I do about curled, scratched or mouldy negatives? Curled film can be flattened in a holder, and light dust can be cleaned with a blower and soft brush. Do not rub scratches or mould. For valuable or badly damaged negatives, consult a professional lab or conservator before handling them further.
What file format and resolution should I save my scans in? Keep a RAW or high-quality TIFF master and export JPEG copies for sharing. Resolution depends on what you plan to do, such as web use or large prints, and on your camera. Always keep the highest-quality version as your archive.
Further reading: Fujifilm Film Simulations and Recipes Explained · Getting Started With Film Photography in Singapore