
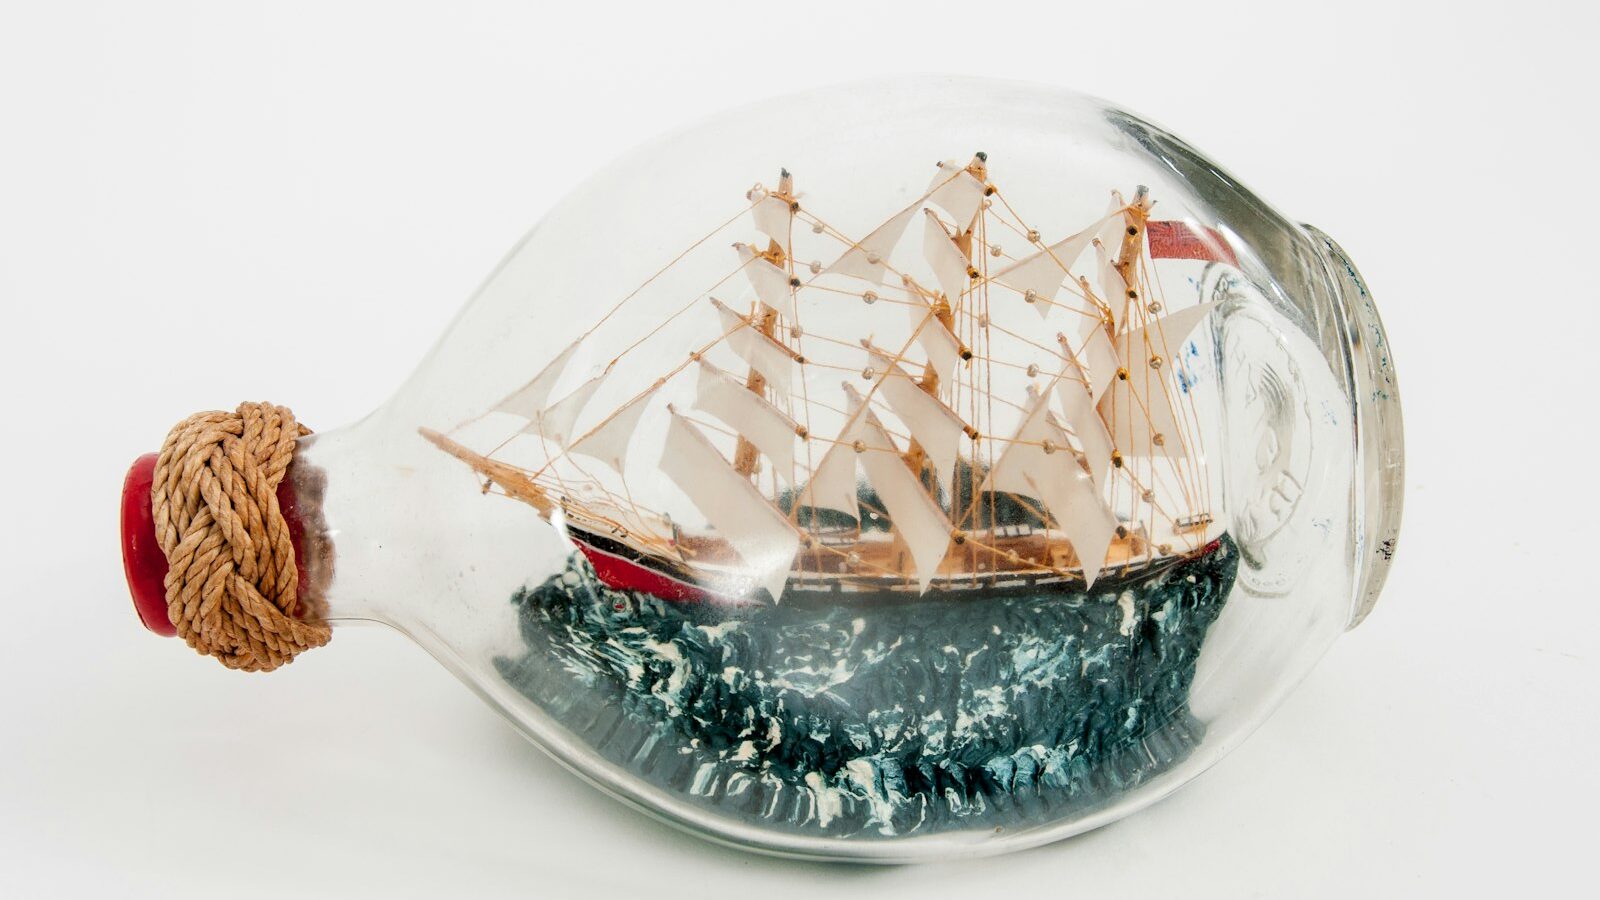
A ship in a bottle looks like a magic trick. How did a fully rigged sailing ship, masts upright and sails set, get through a neck barely wider than your thumb? The answer is a clever hinge-and-thread technique that sailors developed long ago, and with patience it is well within reach of a beginner at home.
This guide walks you through choosing a kit or going freehand, picking the right bottle, and the classic raising-mast method that makes the illusion work.
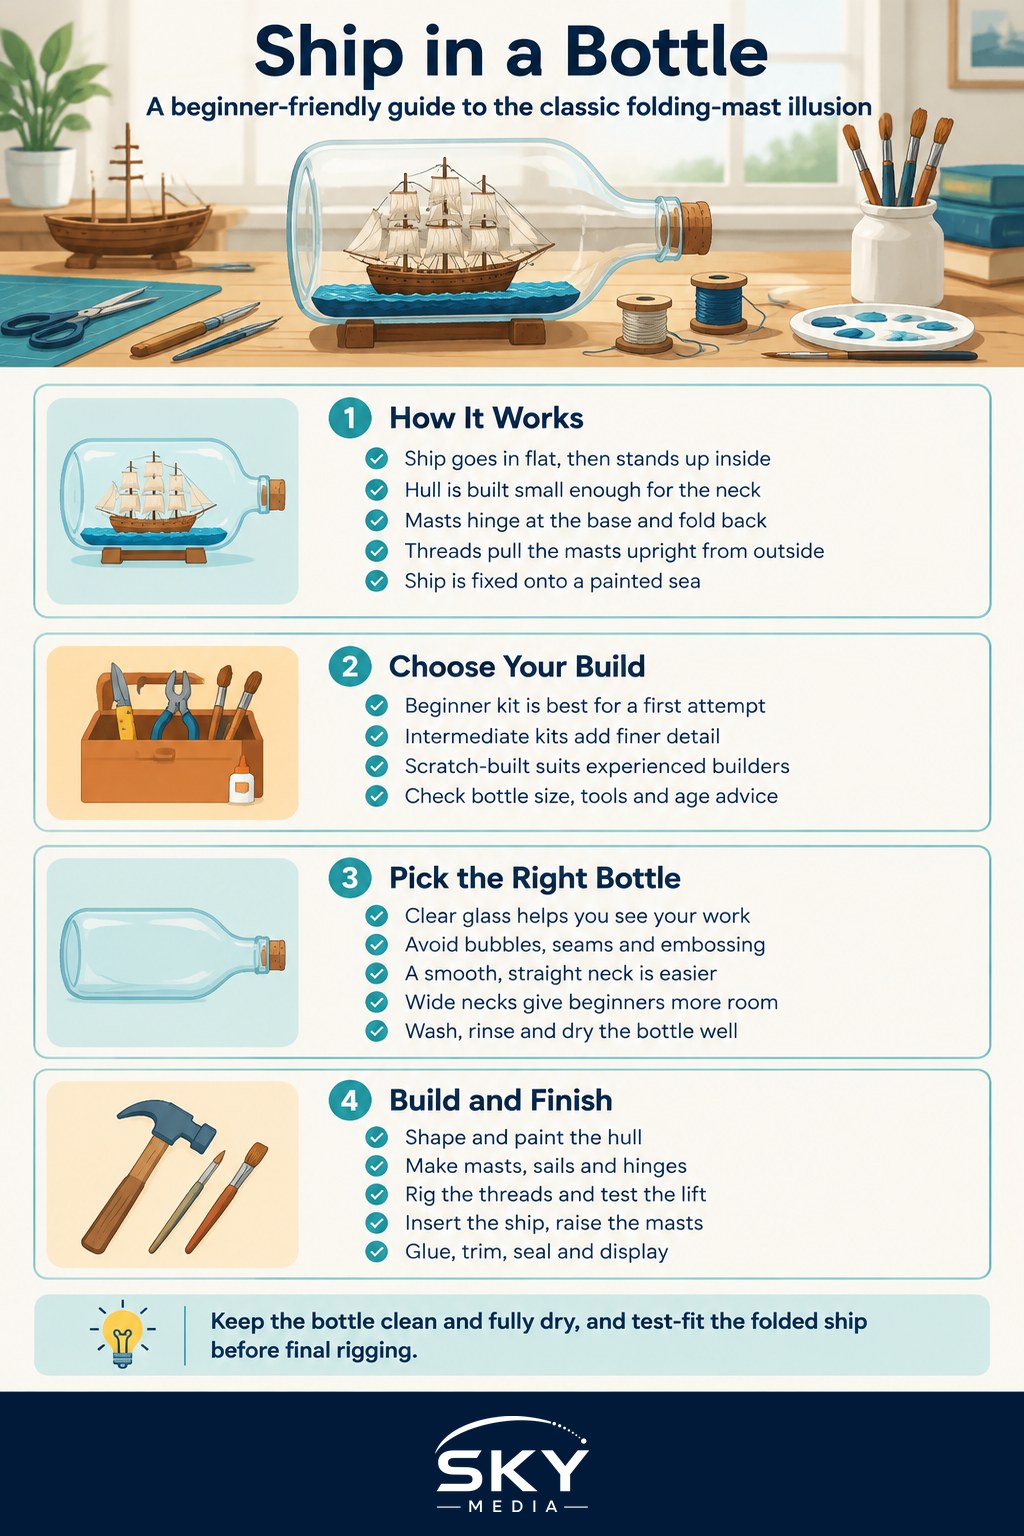
How the Trick Actually Works
The secret is that the ship goes in flat and stands up inside.
- The hull is built outside the bottle, small enough to pass through the neck.
- The masts are attached with a hinge at their base, so they can fold back flat along the deck.
- The rigging threads that hold the masts upright run forward through tiny holes in the bow and bowsprit, then trail out of the neck.
- With masts folded, the ship slides into the bottle and is fixed onto a painted “sea”.
- You gently pull the threads from outside. The masts swing up into position, the threads are glued in place, and the excess is trimmed off.
Some builders use an alternative method where the hull is split into pieces and assembled inside the bottle, but the folding-mast technique is the traditional one and the best place to start.
Kit or Scratch-Built: Which to Choose
| Approach | What you get | Best for |
|---|---|---|
| Beginner kit | Pre-shaped hull, bottle, thread, instructions | First build, learning the method |
| Intermediate kit | More masts and rigging, finer detail | Second or third project |
| Scratch-built | You carve and shape everything yourself | Experienced builders wanting a custom ship |
| Pre-assembled display piece | Finished model, no building | Gifts or decoration only |
For a first attempt, a beginner kit is strongly recommended, much as it is when getting started with model kits. It removes the hardest parts (carving a hull that fits and working out hole positions) and lets you focus on the raising technique. Kits are sold by hobby shops, model stores and online marketplaces. When comparing, check the bottle size, whether tools are included, the number of masts and the age recommendation.
Choosing the Right Bottle
If you build from scratch or want to swap the bottle, the glass matters as much as the ship:
- Clear, not tinted. Green or brown glass hides your work.
- No bubbles, seams or embossing across the viewing side, as these distort the view.
- A smooth, straight neck. A wider neck makes life easier on your first build. Measure the inside diameter and design the hull and folded rigging to fit with room to spare.
- A body shape that sits steadily. Flask-style or slightly flattened bottles can be easier to view and display than perfectly round ones. Round bottles look classic but magnify and curve the image.
- Clean and completely dry. Wash it, rinse thoroughly and leave it upside down for a day or two. Any moisture inside will fog the glass later, which is especially easy to underestimate in Singapore’s humidity.
Recycled sauce, liquor or decorative bottles all work, as long as they meet the points above.
Tools and Materials
- Craft knife and fine sandpaper
- Small drill or pin vise for thread holes
- Thin thread (cotton or nylon) in black or tan
- Wood glue and a little superglue
- Acrylic paints and fine brushes
- Plasticine, putty or tinted resin for the sea
- Long tools made from stiff wire or bamboo skewers: a pusher, a hook, a glue applicator and a cutting blade fixed to a wire
- Thin paper or fabric for sails
Step-by-Step: Building and Raising the Ship
1. Shape and paint the hull. Carve or assemble the hull so its widest point clears the bottle neck. Paint it and let it dry fully.
2. Make the masts and sails. Cut masts from thin dowel or skewers. Glue paper sails on, curving them slightly so they look wind-filled. Make sure the sails can fold flat.
3. Hinge the masts. Drill a small hole across the base of each mast and a matching hole in the deck. Thread a short wire or pin through to make a hinge, so each mast can swing back towards the stern.
4. Rig the ship. Tie the forestays (the lines that pull the masts forward) to each mast. Run them down through tiny holes in the bow and bowsprit, then leave long tails. Glue the backstays and shrouds that do not need adjusting. Test the hinge: pulling the tails should lift the masts upright smoothly.
5. Make the sea. Using a long tool, push lumps of blue or green plasticine or putty into the bottle and press them into a wave pattern along the bottom. Dab a little white for wave crests. Let it firm up if your material requires it.
6. Insert the ship. Fold the masts flat, gather the thread tails, and slide the ship in stern first or bow first according to your kit’s instructions, keeping the tails outside the neck. Use the pusher to press the hull firmly into the sea.
7. Raise the masts. Hold the bottle steady and pull the thread tails gently and evenly. The masts will swing upright. Adjust until they stand straight.
8. Fix and trim. Put a drop of glue where the threads pass through the bowsprit holes and let it set fully. Then use the wire-mounted blade to trim the excess threads close to the bow.
9. Seal and display. Insert a cork or stopper, trim it neatly, and finish with a decorative knot or seal if you like. Keep the bottle out of direct sun to stop colours fading.
Common Mistakes and How to Fix Them
- Ship too wide. Always test-fit the folded ship through the neck before final rigging.
- Tangled threads. Use different coloured threads temporarily, or label each tail with tape.
- Masts that won’t stand straight. Check the hinge pins are not too tight and that holes line up.
- Glue strings and smudges on the glass. Use small amounts on a long applicator and work slowly.
- Fogging. Make sure everything, including the sea, is dry before sealing.
Making It a Lasting Hobby
Once you have finished one, you will spot ways to add detail: lifeboats, flags, a lighthouse on a putty island or a tiny harbour scene. Model-making communities and craft workshops are good places to swap tips. Watching real vessels can also inspire your next design, and Singapore’s busy port is perfect for that.
Explore more: Best Places to Watch Ships in Singapore.
Frequently Asked Questions
Is a beginner kit better than building a ship in a bottle from scratch? For a first build, yes. A kit removes the hardest parts, such as carving a hull that fits and working out hole positions, so you can focus on the raising technique. Compare bottle size, included tools, number of masts and age recommendation before buying.
Can I use an old sauce or liquor bottle for a ship in a bottle? Yes, as long as the glass is clear with no bubbles, seams or embossing on the viewing side, and the neck is smooth and straight. Wash, rinse and leave it upside down for a day or two so that no moisture remains.
Why do ship in a bottle models fog up in Singapore? Any moisture left inside, including damp putty for the sea, will fog the glass after sealing, and Singapore’s humidity makes this easy to underestimate. Make sure the bottle and everything inside are completely dry before inserting the stopper.
How do I stop the thread tails from tangling during assembly? Use different coloured threads temporarily, or label each tail with tape. Keep the tails outside the neck as you slide the folded ship in, and test that pulling them lifts the masts upright smoothly before final fitting.
Where should I display a finished ship in a bottle? Keep it out of direct sun, which fades the colours, and on a steady surface. Round bottles look classic but magnify and curve the image, while flask-style or slightly flattened bottles are often easier to view.