

There is a particular kind of magic in holding up a finished piece of stained glass and watching the light pour through it. Colours you chose, cut and joined by hand suddenly glow. It looks impossibly skilled, yet the truth is that stained glass is one of the most beginner friendly of the “serious” crafts, provided you respect the materials and start small. If you have ever admired a sun catcher in a window or the panels in an old shophouse and thought “I could never make that”, this guide is written to gently prove you wrong.
Stained glass is the art of cutting coloured glass into shapes and joining those pieces into a design, held together by metal. It is patient, tactile work that rewards care over speed. You do not need an art background, and you do not need a large studio. What you do need is a clear workspace, a handful of tools, and a willingness to learn a few safety habits properly from day one.
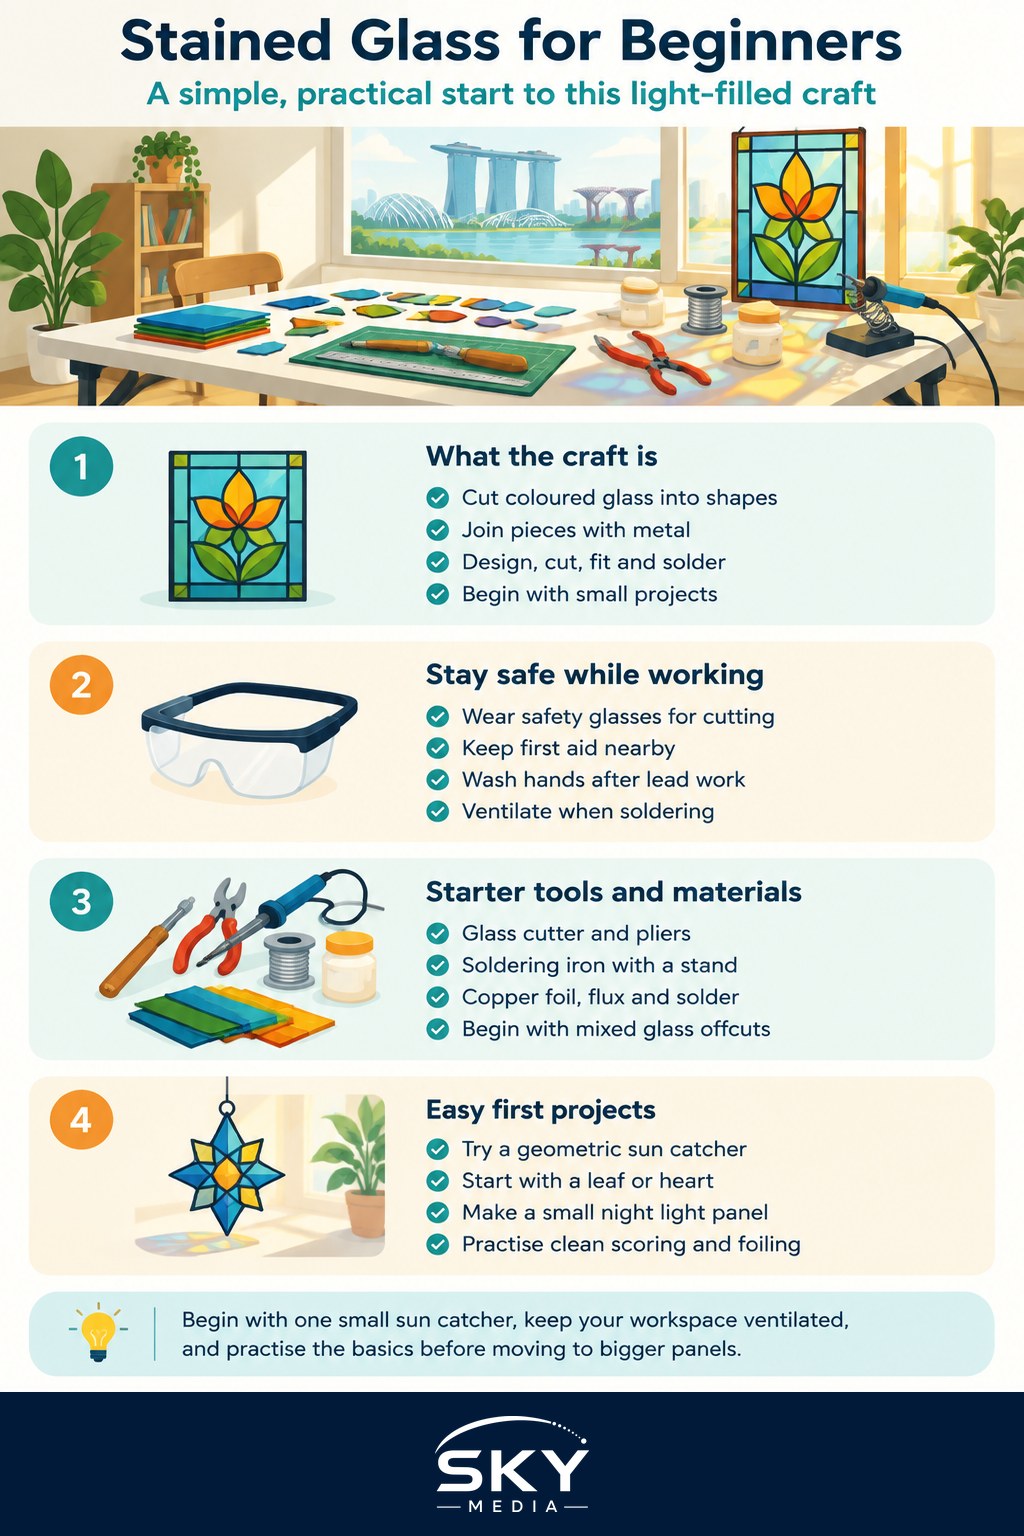
What Stained Glass Actually Involves
At its heart the craft is simple to describe. You draw a pattern, place coloured glass over each shape, score and break the glass to fit, then bind the pieces together so they hold as one panel. Two methods dominate, and beginners almost always start with the first.
The copper foil method (often called the Tiffany method) wraps the edge of each glass piece in thin adhesive copper tape, then joins the pieces with solder. It suits small, detailed work such as sun catchers, small panels and three dimensional pieces, and it is far more forgiving for delicate shapes. The lead came method uses H shaped strips of lead to hold larger pieces of glass, and is the traditional approach for big window panels. It is quicker for large flat work but clumsier for fine detail, so most people learn copper foil first and graduate to lead came later.
Either way, the sequence is the same: design, cut, fit, wrap or lead, solder, and finish. The satisfaction comes from watching a flat paper sketch turn into a solid object that catches light.
Safety First, Every Single Time
This is the part you must not skim. Stained glass is deeply rewarding, but it involves cut glass, hot metal and lead, so a few non negotiable habits keep it safe and enjoyable.
- Glass cuts. Cut and broken glass edges are sharp. Wear safety glasses when scoring and breaking, keep a plaster or two nearby, and grind or smooth every edge before handling a piece bare handed. Sweep glass shards up straight away rather than brushing them with your hand.
- Lead is toxic. Both lead came and traditional solder contain lead. Never eat, drink or touch your face while working, and always wash your hands thoroughly with cold water and soap when you finish. Keep all lead materials, offcuts and dust well away from children and from anyone who is pregnant, as lead is especially harmful to them. Do not ingest it in any form.
- Ventilate. Soldering produces fumes, and flux can smell acrid. Work near an open window with a fan drawing air away from you, which matters even more in a closed, air conditioned HDB flat.
- Hot tools. A soldering iron runs hot enough to cause a nasty burn. Rest it in its stand every time you put it down, never near your other hand, and let it cool fully before packing away.
None of this should scare you off. Treat the craft with the same respect you would a kitchen knife or a hot pan and you will be completely fine.
Getting Started Without Overspending
You can begin stained glass with a modest kit, and it is genuinely worth buying decent basics rather than the very cheapest of everything, because a good glass cutter makes the whole craft feel easier. Here is what a starter set up looks like against what you might upgrade to once you are hooked.
| Item | Beginner starter | Later upgrade |
|---|---|---|
| Glass cutter | Basic pistol grip, oil filled | Precision cutter with comfortable barrel |
| Breaking or running pliers | One combination pair | Separate running and grozing pliers |
| Grinder | Optional, sand edges by hand | Electric glass grinder with a diamond bit |
| Soldering iron | Entry level with a stand | Temperature controlled iron |
| Glass | Small offcut bundle in mixed colours | Full sheets chosen for a specific project |
You will also need copper foil tape, flux and a flux brush, solder, a pattern to follow, and safety glasses. Many beginners buy a complete sun catcher kit for a first project, which bundles pre cut or easy to cut glass with instructions and removes a lot of guesswork.
First Projects and How to Improve
Resist the urge to attempt a window panel first. Your early wins should be small, flat and made of simple shapes with gentle curves.
- A geometric sun catcher. Four to six pieces, mostly straight cuts, teaches you scoring, breaking, foiling and soldering in one afternoon.
- A simple leaf or heart. Introduces a curved cut without too much fiddliness.
- A small night light panel or a candle screen. Your first taste of joining pieces into something with a real use.
Improve by repeating fundamentals rather than rushing to complexity. Clean, confident glass scoring is the single skill that separates frustration from flow, so practise straight lines and shallow curves on clear scrap until breaks run where you want them. Keep your foil centred and burnished down tight, because neat foiling gives neat solder lines. If your solder looks lumpy, it is almost always down to not enough flux or an iron that is too cool.
The craft shares a spirit with other patient, light and colour led hobbies. If you enjoy the mending mindset of stained glass you may love the philosophy of kintsugi, the golden art of repairing broken pottery, while the layered colour work has something in common with acrylic pouring. Crafters who like working with heat and fine tools often also take to pyrography.
Cost, Space and Heat in a Singapore Home
Stained glass is friendlier to small homes than you might expect. A folding table, a cutting surface and good light are enough to start, and everything packs away into a couple of boxes between sessions. The main space consideration in an HDB flat is a spot you can leave slightly messy and where stray glass will not end up underfoot, so a covered table away from bare feet and pets is ideal.
Cost wise, a basic starter kit and some glass is a reasonable weekend hobby outlay, comparable to taking up any tool based craft. Glass is the ongoing cost, and prices vary widely with colour and texture, so buy small mixed bundles at first and only invest in full sheets once you know a project. Always check current prices yourself rather than trusting old figures.
Our climate has a couple of quirks worth knowing. High humidity can dull the tack on copper foil if it sits open for months, so store your tape sealed. Soldering in a warm, unventilated room is unpleasant, so time your soldering for cooler parts of the day and keep that fan running.
Finding Classes and Community
Stained glass is far easier to learn with a first lesson than from videos alone, mostly because an instructor can correct your glass cutting posture in seconds. Look for craft studios and art schools in Singapore that run beginner stained glass or glass art workshops, where the tools and ventilation are already set up for you. Community centres occasionally host short craft courses, and maker spaces sometimes have the heavier equipment such as grinders available to members.
To find your people, search for local craft and glass art groups on social media, where members share suppliers, swap offcuts and post their work. Ask at art and hobby shops where fellow crafters buy their glass, as staff often know who teaches locally. Once you have made a few sun catchers, you will find the community warm and generous with advice.
Start with one small sun catcher, respect the glass and the lead, and let the light do the rest. Few crafts give back so much beauty for so little space.
Further reading: Lampworking for Beginners: Making Glass Beads With a Torch · Mosaic and Stained Glass Workshops in Singapore