
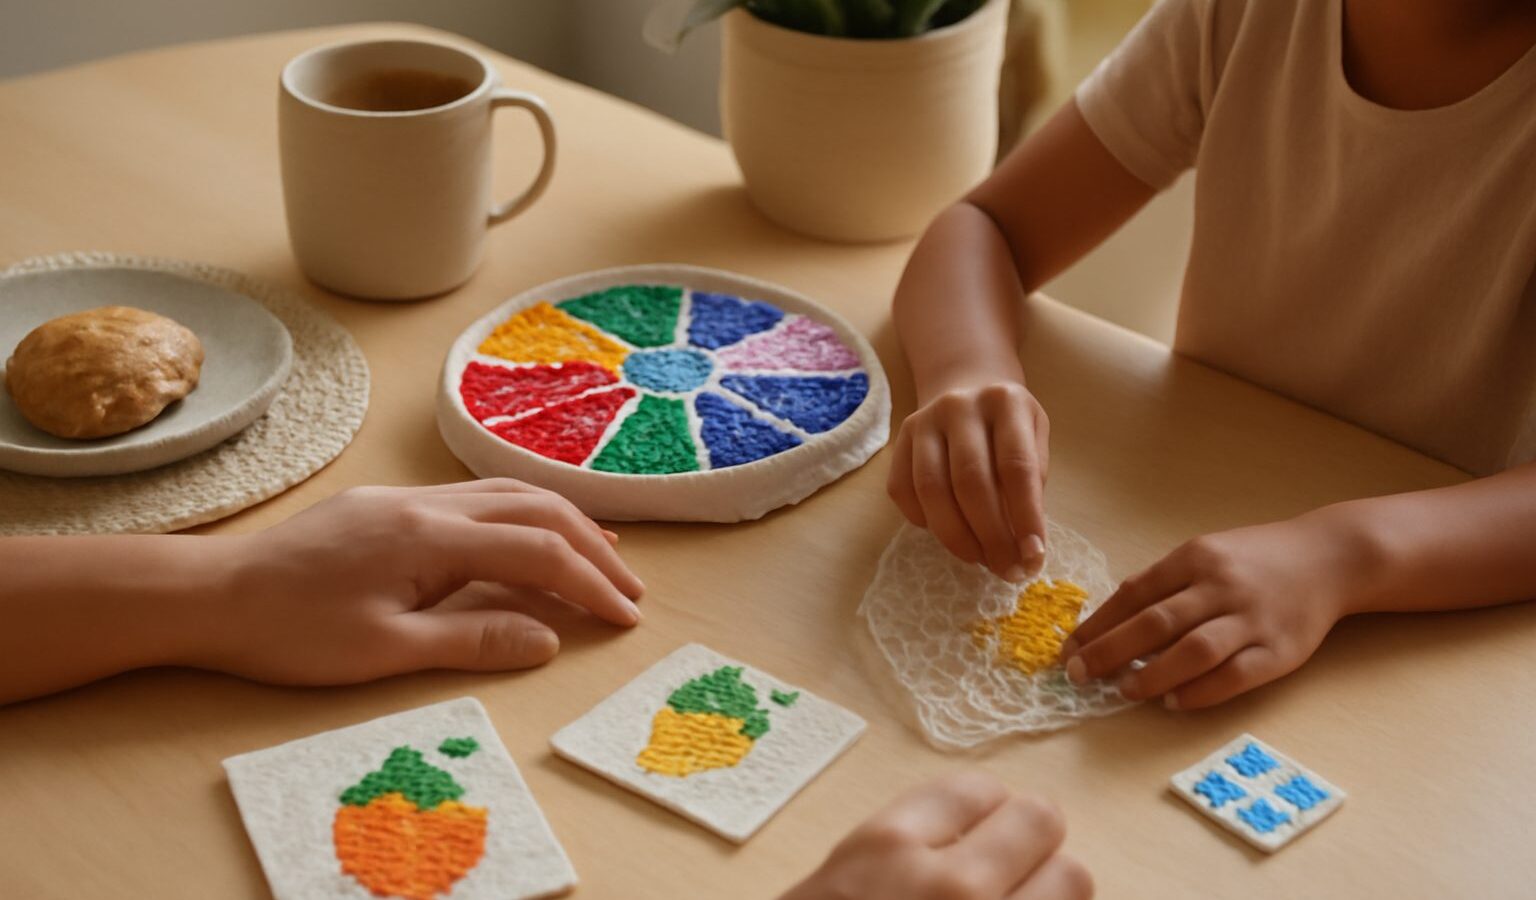
If your child has come home from a friend’s place clutching a flat, pixel-style coaster made of tiny plastic tubes, you have already met fuse bead crafts. The idea is simple: children place small plastic beads on a pegboard to form a picture, then an adult irons them so the beads melt together into one solid piece. It is cheap, quiet, screen-free and surprisingly absorbing, which is why so many Singapore families keep a tub of beads in the cupboard for rainy afternoons and school holidays.
This guide explains what fuse beads are, how they differ from other bead and paper hobbies, what to buy, how to iron safely, and which projects work best for different ages.

What Fuse Beads Are and How They Differ From Other Bead Crafts
Fuse beads are short plastic cylinders with a hole through the middle. You will see them sold under several names. Pyssla is the version sold by IKEA, while Hama and Perler are other well-known brands, and many generic “melt beads” or “iron beads” are sold online and in craft and stationery shops. They all work on the same principle: heat softens the plastic so neighbouring beads stick together.
This is quite different from beadwork jewellery, where beads are threaded onto string or wire and nothing is melted. It is also different from papercrafts such as origami or papier-mache, which rely on folding, glue and drying time. Fuse bead crafts sit somewhere between colouring in and pixel art. Children are working on a grid, so the finished picture looks a bit like an old video game sprite.
A few practical points set fuse beads apart:
- The design is fixed only after ironing. Until then, a bumped pegboard can scatter the whole picture, which is part of the learning.
- The result is rigid and lightweight. Finished pieces become keychains, fridge magnets, coasters, bookmarks and even small 3D boxes.
- Bead sizes vary. Standard (midi) beads are about 5mm across. Larger “maxi” beads are made for small hands, and “mini” beads suit older children and adults who want fine detail. Beads from different brands are usually close in size but not always identical, so it helps to stick to one system per board.
What You Need to Get Started
You do not need much, and most of it lasts for years.
- Beads. A mixed tub is the easiest start. Later, buy single colours you use often, such as black, white and skin tones.
- Pegboards. Square boards are the most versatile because they can be linked for bigger pictures. Shaped boards (circles, hearts, animals, hexagons) give younger children a ready-made outline.
- Ironing paper. Most kits include a sheet of special paper that goes between the iron and the beads. Baking paper is a common substitute. Never iron beads directly.
- A household iron. A dry iron (steam off) is what most people use.
- Tweezers. Plastic bead tweezers help older children place beads precisely and spare frustration.
- Patterns. Many kits include picture cards. You can also print free grid patterns, or let children draw their own on squared paper.
- Storage. A tackle box or compartment organiser keeps colours separate and makes clean-up quicker.
If you are buying for a small flat, look for kits with a lid and stackable boards. Spilled beads on a parquet or tiled floor travel a surprising distance, so a tray with a lip under the pegboard is worth having.
Step by Step: Making Your First Fuse Bead Project
- Pick a simple pattern. A heart, a star or a single fruit is ideal for a first go. Fewer than 100 beads keeps it achievable in one sitting.
- Fill the pegboard. Work from one edge to the other, or outline first and fill in. Place the board on a flat surface you will not need to move.
- Check for gaps. Every peg in the design should hold a bead. Gaps make the finished piece weak.
- Heat the iron. Follow the kit’s instructions for temperature. Many brands suggest a medium setting without steam, but irons differ, so start lower and adjust.
- Cover and iron. Lay the ironing paper over the beads. Move the iron in slow circles with light pressure for several seconds at a time, then lift the corner of the paper to check. The beads should look slightly melted, with the holes shrinking but still visible.
- Cool under weight. Let the piece cool for a moment, peel off the paper, then flip the design over (some people iron both sides for strength). Place a heavy book on top while it cools so it stays flat.
- Remove from the board. Once fully cool, the piece pops off easily. If it sticks, it is probably still warm.
Ironing is always an adult job for younger children. Older children may be ready to do it themselves under supervision once they understand the heat risk.
Choosing the Right Bead Size and Approach by Age
The table below gives a general guide. Every child is different, so treat it as a starting point and always follow the age and safety labels on the packaging, especially because loose beads are a choking hazard for very young children.
| Child’s stage | Bead type | Board and pattern | Adult role |
|---|---|---|---|
| Preschool (check pack age label) | Maxi beads | Large shaped boards, very simple outlines | Close supervision throughout, does all ironing |
| Lower primary | Standard (midi) beads | Shaped boards, simple printed patterns | Supervises, does ironing |
| Upper primary | Standard beads, tweezers | Linked square boards, own designs | Supervises ironing, may let child iron with guidance |
| Teens and adults | Mini beads | Detailed pixel art, 3D builds | Independent |
Safety and Clean-Up Tips for Home
- Keep beads away from toddlers and babies. If you have younger siblings at home, run bead sessions at a table they cannot reach, and sweep up straight after.
- Ventilate when ironing. Melting plastic gives off a faint smell. Open a window or turn on a fan, and do not overheat the beads until they bubble or smoke.
- Use a heat-safe surface. An ironing board or a folded towel on a sturdy table is fine. Avoid ironing directly on lacquered wood.
- Store the iron safely afterwards. Let it cool somewhere children cannot knock it over.
- Sort as you tidy. A quick sort by colour at the end of each session saves a lot of time next round, and older children can treat it as part of the activity.
Easy First Projects Children Enjoy
Once the basics click, fuse beads become a flexible tool for gifts and small household items:
- Coasters. A square board makes a coaster in one go. Iron both sides for extra strength.
- Keychains and bag tags. Leave one hole open at the top for a ring before ironing.
- Fridge magnets. Glue a small magnet on the back once cool.
- Name plates. Spell a name using pixel letters for a bedroom door.
- Festive decorations. Lanterns for Mid-Autumn, red and gold motifs for Chinese New Year, or stars and trees for Christmas.
- 3D boxes. Iron several flat squares, then slot or glue them together into a small pencil holder.
If your family enjoys the hands-on side of making things, you might also like polymer clay crafts for beginners, which shares the same bake-to-set idea, or the more traditional papier-mache crafts for bigger projects.
Why Fuse Beads Work Well as a Family Hobby
Fuse bead crafts reward patience without demanding artistic skill. Children practise fine motor control, colour sorting, counting and following a pattern, then later move on to designing their own. Parents often like that it is calm, low-mess compared with paint, and fairly inexpensive once you own a few boards. Because the finished pieces are sturdy, children can give them as gifts, which adds a sense of pride.
Start small, keep the iron in adult hands at first, and let your child lead on colours and designs. Before long, you may find the grown-ups sitting down with a board of their own.
Explore more: pressed flower crafts for another quiet project the whole family can try.