
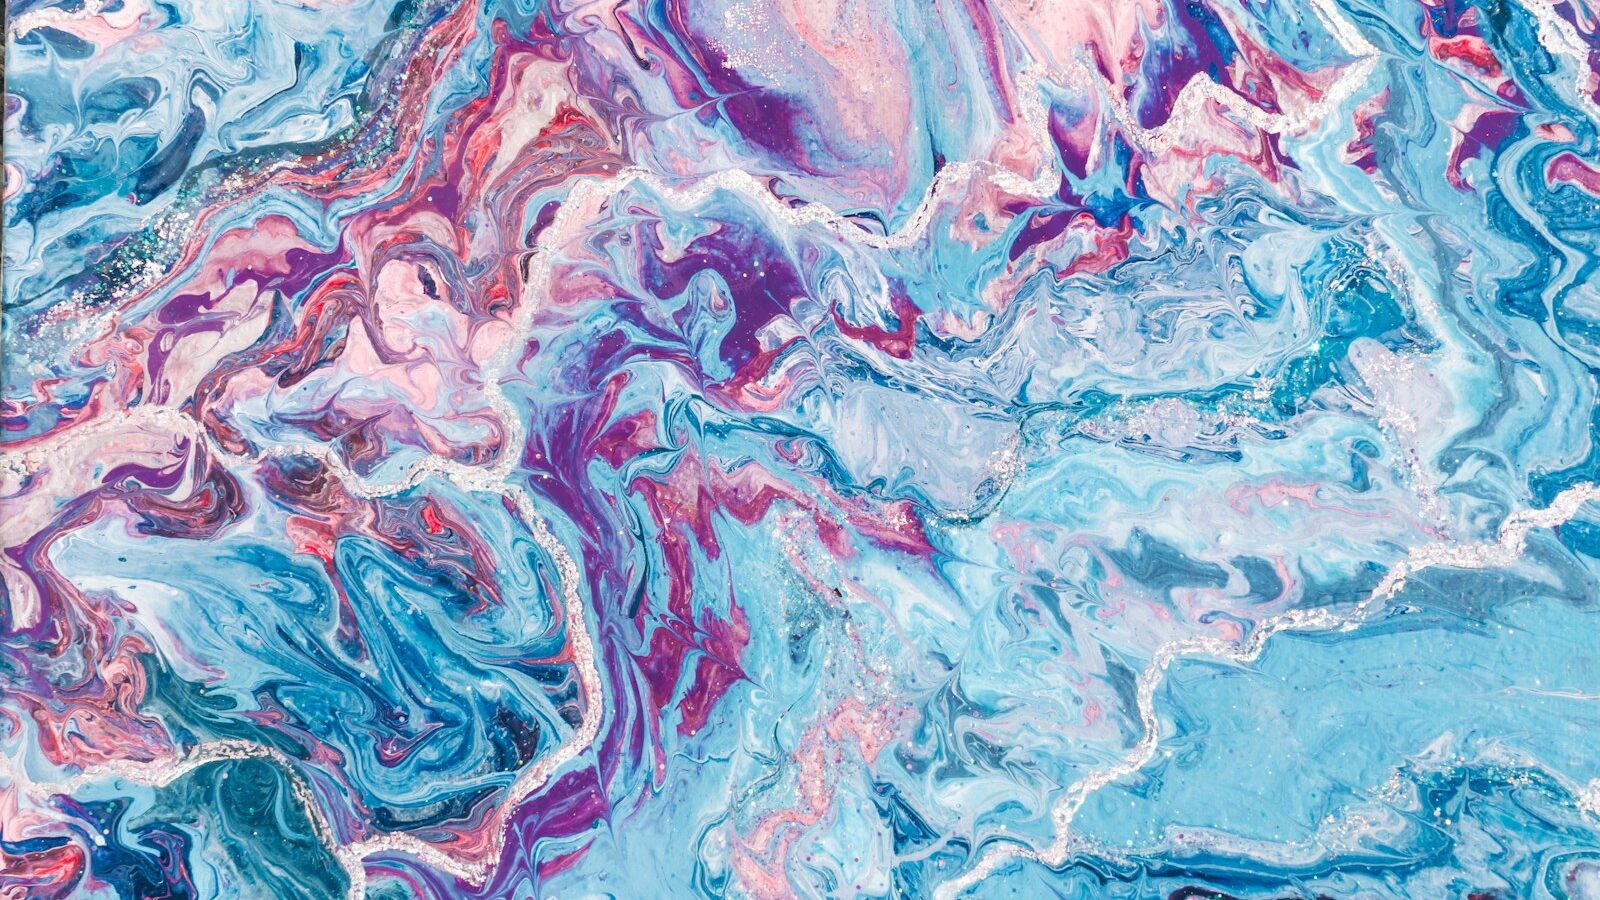
Some crafts demand years of practice before they look good. Acrylic pouring is not one of them. From your very first attempt you can create swirling, marbled, jewel like abstracts that genuinely look like gallery pieces, which is exactly why fluid art has won over so many people who insist they “cannot paint”. You do not draw a single line. You mix paint to the right consistency, pour it onto a canvas, tilt, and let physics do the beautiful part.
Acrylic pouring is a fluid art technique where acrylic paints are thinned with a pouring medium until they flow, then poured and tilted across a surface so the colours blend into organic patterns. The appeal is immediate and honest: it is playful, forgiving, endlessly variable, and each piece is a genuine one off you could never repeat exactly. It is also a wonderfully low pressure way into painting, because there is no wrong shape and no likeness to get right.
What Makes the Paint Flow
The whole craft turns on consistency. Straight from the tube, acrylic paint is too thick to pour, so you mix it with a pouring medium, a liquid additive that thins the paint and helps it flow while keeping the colour strong and the finish sound once dry. Getting that mix right, roughly the consistency of warm honey or single cream, is the main skill you are actually learning.
A few terms come up constantly, so here they are in plain English:
- Pouring medium. The additive that turns thick paint into a pourable liquid without weakening it. Purpose made mediums are best, though many beginners start with a simple water based glue mix.
- Cells. The prized rounded blooms of colour that appear when paints of different densities separate. A drop or two of silicone oil in the mix encourages them.
- Dirty pour. Layering several colours into one cup, then pouring them together so they marble as they leave the cup.
- Torch. A quick pass with a small kitchen blowtorch or heat gun pops surface bubbles and can coax out more cells. Use heat carefully and never near flammable spray or fumes.
Safety and Keeping the Mess Under Control
Acrylic pouring is not dangerous, but it is messy and involves a few substances worth handling sensibly.
- Ventilate. Work in a well aired room. Pouring mediums, varnishes and any solvents can give off fumes, and a torch adds warmth to a small room, so open a window and run a fan.
- Protect yourself. Wear gloves, because the paint stains skin and nails stubbornly, and wear eye protection when torching in case of spatter. Old clothes or an apron are essential.
- Dispose of waste responsibly. This one matters. Never rinse leftover paint or medium down the sink or a drain, as acrylic is a liquid plastic that harms the water system and can clog pipes. Instead, let leftover paint dry out fully in a lined cup or on a sheet, then throw the hardened waste in the bin. Wipe tools with paper first, and only rinse the residue.
- Protect surfaces. Poured paint runs everywhere and drips off every edge. A plastic sheet, newspaper and a washable work tray will save your table and floor.
Handle it like any paint craft, tidy as you go, and the mess is entirely manageable even in a small flat.
Your First Pour, Step by Step
You can complete a finished piece in a single afternoon, plus a few days of drying. Start with a small canvas or a few wooden coasters rather than a large panel.
- Prep your space. Cover everything, and raise your canvas on cups so paint can drip off the edges freely.
- Mix each colour. In separate cups, blend paint with pouring medium to a smooth, drizzling consistency. Add a single drop of silicone per colour if you want cells.
- Build a dirty pour cup. Gently layer your colours into one cup. Do not stir.
- Pour and tilt. Turn the cup onto the canvas, lift it, then slowly tilt the canvas in every direction until the colours reach all four corners and the edges are covered.
- Torch lightly and rest. A brief pass of heat pops bubbles. Then leave it dead level to dry for several days, covered loosely from dust.
Once dry, many people seal the piece with a clear varnish to protect it and deepen the colours.
Choosing Your Recipe and Surface
Half the fun of acrylic pouring is experimenting, and the two things you will tweak most are your paint recipe and what you pour onto. This comparison shows how the common starting choices differ.
| Choice | Easiest to start with | What it gives you |
|---|---|---|
| Glue based medium | Yes, cheap and available | Reliable flow, fewer strong cells |
| Purpose made pouring medium | Slightly pricier | Better finish, stronger colours, more control |
| Adding silicone oil | Optional | Dramatic cells, but needs cleaning off before varnish |
| Canvas surface | Yes | Classic look, drips off edges |
| Wood or tile surface | Yes | Sturdy, great for coasters and small gifts |
There is no single correct recipe, and every fluid artist eventually settles on a mix they trust. Keep notes on what ratios you used so you can repeat a happy accident.
Common Mistakes Beginners Make
Almost every disappointing pour comes down to one of a handful of fixable errors.
- Paint too thick or too thin. Too thick and it will not flow, too thin and the colours turn muddy and the canvas shows through. Aim for that warm honey feel.
- Overworking it. Tilt just enough to cover the canvas. Keep tilting and the lovely cells and patterns muddy into grey brown sludge.
- Not covering the edges. For a canvas you plan to hang unframed, remember to guide paint around the sides.
- Moving it while wet. A poured piece must dry perfectly level and undisturbed, or the whole surface slides. Choose its drying spot before you pour.
- Too many colours. Three or four harmonious colours beat a rainbow, which almost always goes murky.
Cost, Space and Community in Singapore
Acrylic pouring is an affordable and space friendly hobby, which is part of why it fits Singapore living so well. A starter set of a few acrylic colours, a bottle of pouring medium, some cups and a couple of small canvases is a modest outlay, and you can pour on a covered dining table and pack everything away afterwards. Do check current prices at art shops yourself, as they vary by brand and size.
Space and climate throw up a couple of practical points. You need somewhere flat, level and undisturbed for pieces to dry for several days, which in a busy HDB flat means thinking ahead about where curious pets or children will not knock them. Our humidity lengthens drying times, so be patient before you varnish, and store opened mediums sealed so they do not spoil. A small covered corner of a service balcony can work well for drying if it is out of direct rain and dust.
If you love the colour and process, you are in good company with other approachable painting hobbies. Beginners who enjoy pouring often also try paint by numbers for a calmer, more guided session, take their brushes to smooth stones with rock and pebble painting, or step up to oil painting once the colour bug bites. The light and layering also appeals to fans of stained glass.
To find your community, look for fluid art and abstract painting groups on local social media, where members share recipes, host casual pouring meet ups and sell their work. Some art studios and community centres run beginner acrylic pouring workshops, a lovely low commitment way to try it with the mess handled for you. Best of all, pouring is sociable and forgiving, so it makes a brilliant group activity. Gather a few friends, cover the table well, and let everyone discover that they can, in fact, make something beautiful.