
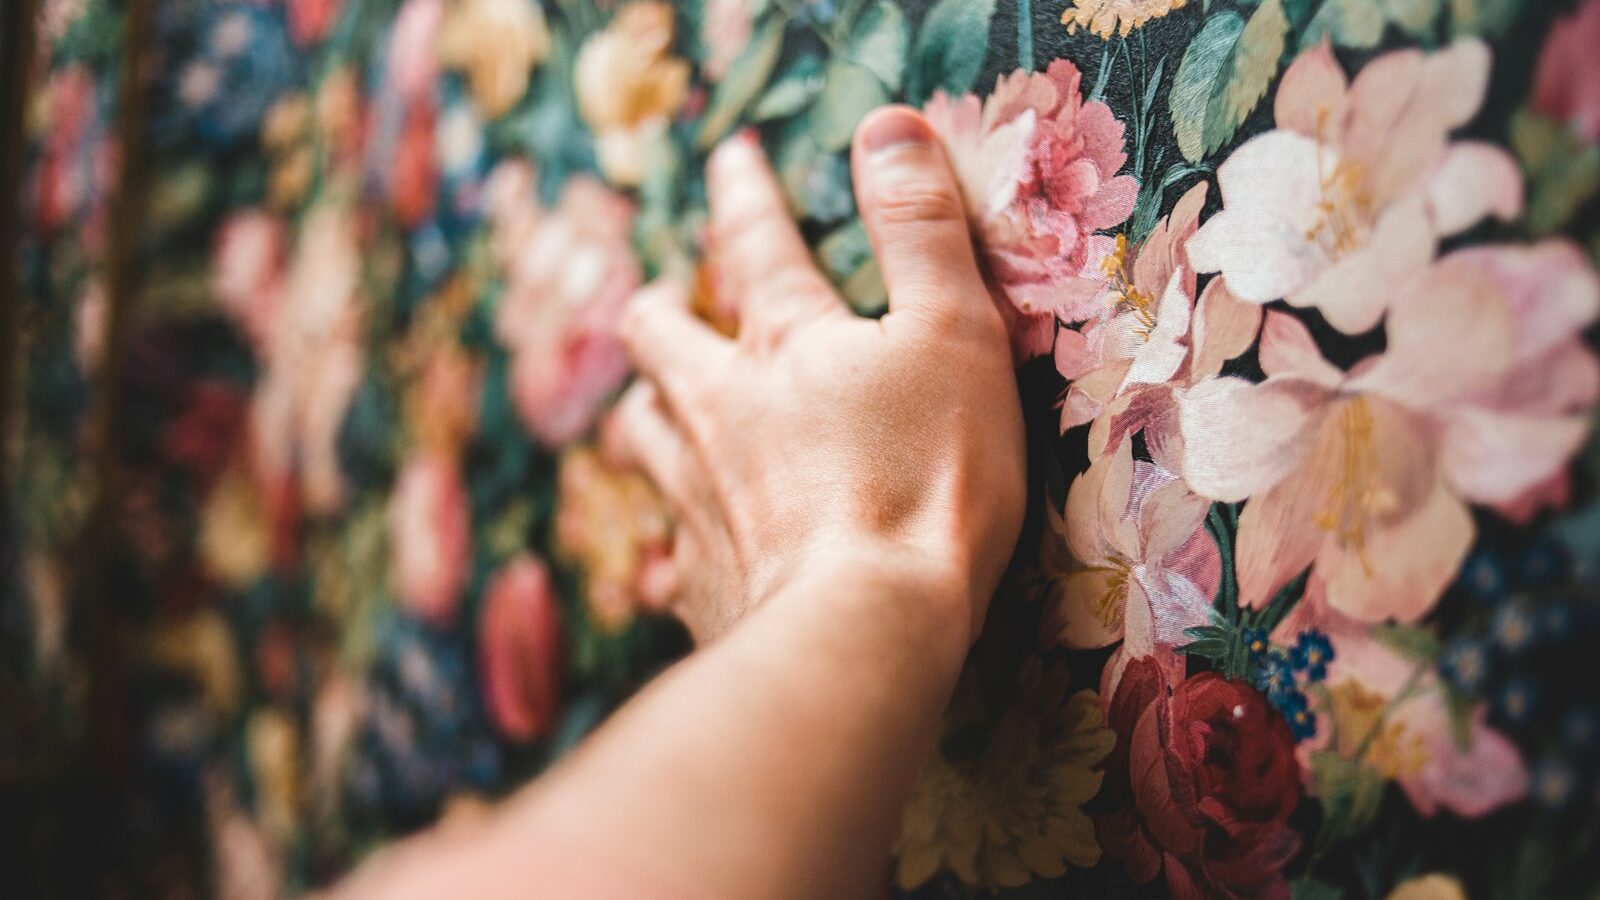
Few weekend projects change a room as quickly as a fresh wall covering, and peel and stick wallpaper has made the job friendlier than ever for beginners. There is no messy paste, no soaking time, and no special tools beyond a few things you probably already own. For renters and first-time HDB owners who want a feature wall without committing to paint or drilling, self-adhesive wallpaper and peel-and-stick panels are an easy, low-risk way to test a look. This guide walks you through choosing the right product, prepping a humid Singapore wall, applying it neatly, and taking it down later without leaving a mess.
Why Peel and Stick Suits HDB and Rented Homes
Traditional wallpaper is pasted on with glue and, once up, is a real commitment to remove. Peel and stick products work differently: the adhesive is already on the back, so you simply peel off the backing film and press the sheet onto the wall. That makes them well suited to our flats for a few reasons.
- They are usually removable, which matters if you rent or expect to change your mind.
- They add colour, pattern or texture to a plain wall without paint fumes or drilling.
- They hide minor scuffs and old paint you would rather not look at.
- Many are wipeable, handy in a warm, humid climate where walls collect dust.
If you rent, always get your landlord’s permission before covering a wall, even with a removable product. Adhesives behave differently on different paint, and it is only fair to check first.
Choosing Between Wallpaper and Panels
“Wall covering” is a broad term, so it helps to know what you are actually buying. Peel-and-stick wallpaper comes in thin printed rolls or pre-cut sheets. Peel-and-stick panels are thicker: think padded foam “brick” or “tile” panels that add a 3D texture, or rigid decorative boards. Both have their place, and the right choice depends on the wall and the look you want.
| Option | Best for | Difficulty | Removable? | Watch out for |
|---|---|---|---|---|
| Peel-and-stick wallpaper | Feature walls, patterns, quick refresh | Easy to medium | Usually, if pulled slowly | Bubbles and lifting edges in humidity |
| Traditional pasted wallpaper | A permanent, seamless finish | Harder | Difficult, often damages paint | Messy paste, longer to fit |
| Peel-and-stick 3D panels | Texture, hiding uneven walls, TV walls | Easy | Sometimes, may leave residue | Weight and adhesion on glossy paint |
For most beginners in an HDB flat, peel-and-stick wallpaper on one accent wall is the sweet spot: high impact, low cost, and forgiving if you get it wrong.
Prepping the Wall First
Adhesive only sticks well to a clean, dry, sound surface, and this step matters more here than the sticking itself. Rushing the prep is the most common reason wallpaper peels off weeks later.
- Clear the wall and wipe it down with a barely damp cloth to lift dust, grease and any cooking film. Let it dry completely.
- Check for flaking or powdery paint. If old paint is peeling, the wallpaper will only lift it further, so sort that out first.
- Fill obvious holes or dents so the surface is flat, then let any filler cure and lightly smooth it.
- Wipe again, then leave the wall to dry fully. In our humidity, give it a few hours rather than minutes.
Glossy or freshly painted walls are the tricky ones. Very shiny surfaces give the adhesive little to grip, and paint needs to cure for several weeks before you cover it. If in doubt, test a small offcut in a corner for a day or two before committing to the whole wall.
Applying Peel and Stick Wallpaper Neatly
Work in good light, ideally with a helper to hold the roll. You will need a tape measure, a pencil, a sharp utility knife or scissors, a spirit level or a phone level app, and a smoothing tool. A clean plastic smoother works, but a credit card wrapped in a soft cloth does the job too.
- Measure the wall and cut each length a little longer than needed, so you have room to trim.
- Mark a true vertical line near your starting edge with the level. Walls are rarely perfectly square, so trust the level, not the ceiling.
- Peel back the top few inches of backing, line the sheet up to your pencil line, and press the top edge down.
- Working downward, peel the backing a little at a time with one hand while smoothing with the other. Push from the centre outward to chase out air bubbles.
- Overlap or butt each new sheet against the last, matching the pattern as you go.
- Trim the excess at the skirting, ceiling and around sockets with a sharp blade, using a ruler as a guide.
If a stubborn bubble appears, prick it with a pin and smooth it flat. Small imperfections vanish once the wall is furnished, so do not chase perfection.
Fitting Peel and Stick Panels
Foam and rigid panels follow the same idea but are more forgiving of small gaps because their texture hides seams. Dry-lay a few panels on the floor first to plan the pattern, then start from a bottom corner and work up and across. Press each panel firmly for a good ten to fifteen seconds so the adhesive grabs. For panels behind a TV or near the kitchen, remember that heat and grease weaken glue over time, and heavier rigid boards may need extra mounting rather than adhesive alone. Never rely on stick-on panels to carry any weight such as shelves or a mounted TV; those still need proper fixings into the wall.
Removing It Without Damaging the Wall
The reason to buy removable wallpaper is to be able to remove it, so do it gently. Start at a top corner and pull slowly at a low angle, keeping the sheet close to the wall rather than yanking outward. Warming the adhesive with a hairdryer on a low setting helps it release cleanly. If any residue remains, a little warm soapy water usually lifts it. Pulling fast is what tears paint off, so patience pays. Even so, accept that on older or poorly bonded paint, some touch-up may be needed afterwards.
When to Bring in Help
This is a low-risk, DIY-friendly job, but a few situations call for caution. Persistent damp or mould on a wall is a sign of a moisture problem underneath, and covering it will only trap the damp and make it worse, so deal with the cause first. Large feature walls with tricky pattern matching, or ceilings, are genuinely awkward for one person and worth a second pair of hands or a professional installer. And never apply wallpaper over live sockets or switches: work around them, switch off at the mains before trimming nearby, and if anything feels beyond you, stop and call a pro.
With clean prep, a level line and a slow, steady hand, peel and stick wallpaper is one of the most satisfying beginner projects you can take on in a weekend, and one of the easiest to undo if you fancy a change.