
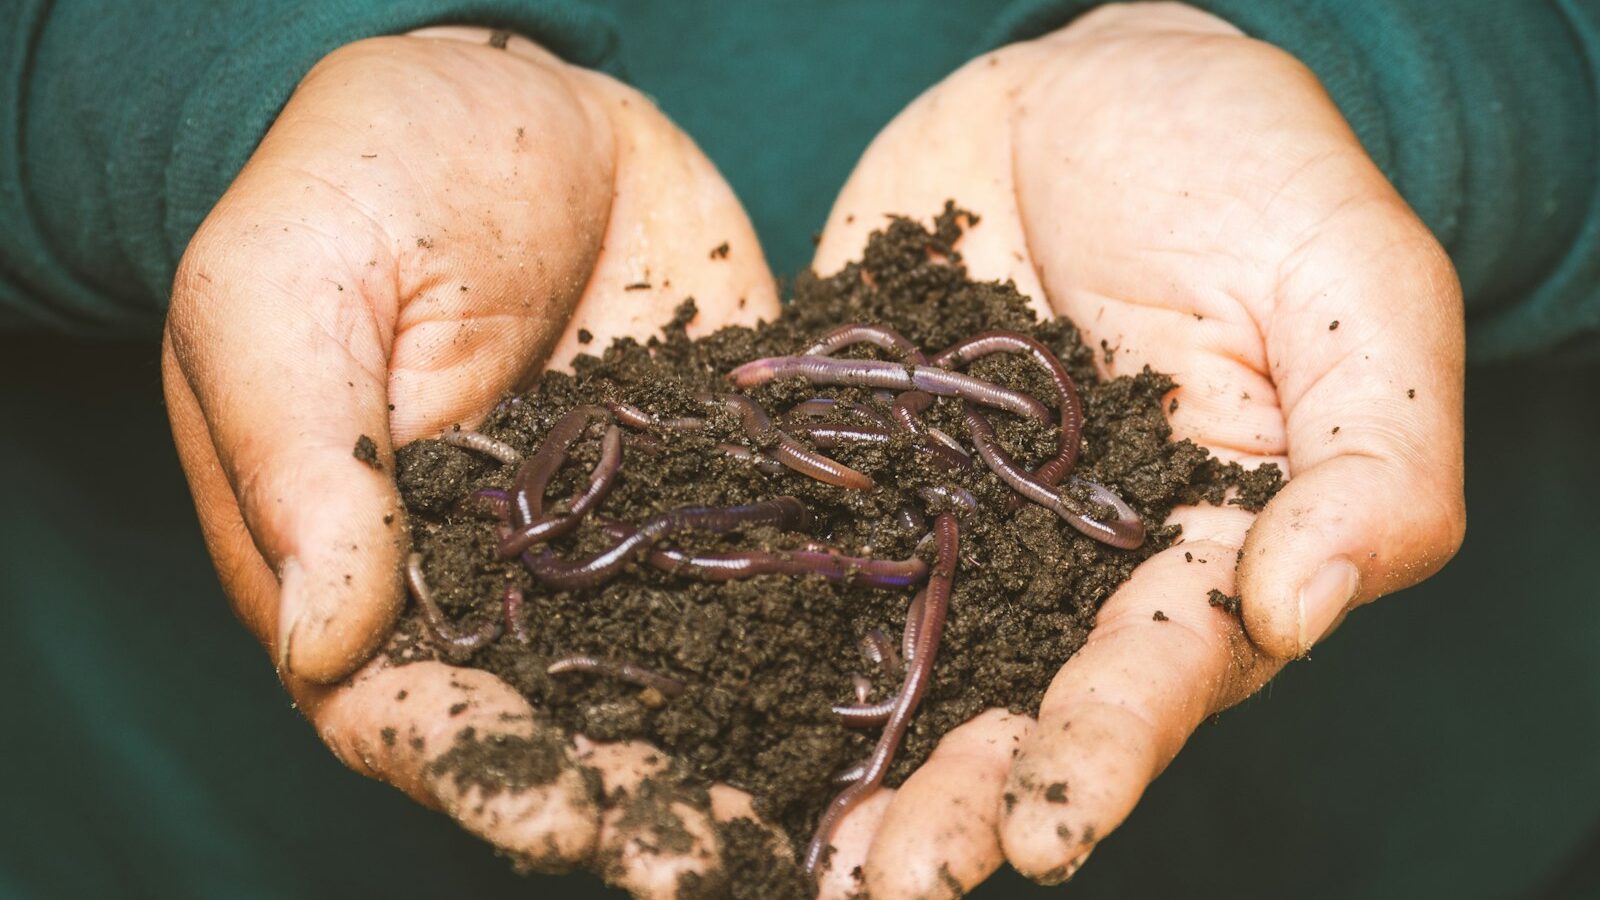
Letting a colony of worms eat your vegetable scraps sounds unlikely in a high-rise flat, yet vermicomposting is one of the tidiest, most rewarding ways to turn kitchen waste into rich plant food. A well-run worm bin is smaller, faster and far less smelly than most people expect, which makes it a genuine option even on an HDB service balcony or under a kitchen counter. The worms do the work, quietly converting peels and coffee grounds into dark, crumbly castings that plants love. This guide takes total beginners through setting up and running a worm bin in Singapore’s warm, humid climate, including the hygiene habits that keep it sweet-smelling and pest-free. It is general guidance for home growers, not professional advice.
What Vermicomposting Is and Why It Suits Flats
Vermicomposting simply means composting with worms. Instead of waiting for a heap to rot down on its own, you keep a population of composting worms in a contained bin and feed them your plant scraps. As they eat and digest, they produce worm castings, a fine, nutrient-rich material that is one of the best natural soil improvers you can add to pots and beds. Many gardeners also collect the liquid that drains out, dilute it heavily and use it as a mild feed.
For small-space living it has real advantages over an open compost heap. A worm bin is compact and stackable, it works indoors or in a sheltered corner, and when balanced correctly it smells earthy rather than foul. Our steady warmth keeps the worms active all year, with no cold season to slow them down, so a Singapore bin can process scraps quite quickly. If you already dabble in DIY organic fertilisers from kitchen waste, a worm bin is the natural next step, giving you a finer, richer product with less turning and fuss.
Setting Up Your Worm Bin
You can buy a purpose-made stacked worm bin or make one from opaque plastic storage boxes. Either way, the principles are the same.
- Choose a ventilated, shaded container. Worms need air but hate light and heat. Drill small holes near the top for airflow and a few in the base for drainage, and keep the bin out of direct sun, which can cook the worms in our climate.
- Add bedding. Line it with damp bedding such as shredded paper, cardboard or coconut coir. This gives worms somewhere to live and balances the wet scraps. Dampen it to the feel of a wrung-out cloth, never dripping.
- Introduce the worms. Use composting worms suited to bins, the kind sold for the purpose, not earthworms dug from a garden, which will not thrive in a bin. Start with a modest amount and let the colony grow into the space.
- Let them settle. Give the worms a few days to burrow in before you start feeding heavily. Begin with small amounts and increase as the colony builds up.
- Catch the drainage. If your bin produces liquid, stand it so any run-off collects in a tray you can empty, and never let that liquid sit and stagnate.
Position matters in a flat. A shaded service balcony, a spot under the sink or a corner away from windows all work, as long as it stays cool, dark and undisturbed.
Feeding, Hygiene and Keeping Smells Away
This is where a bin succeeds or fails. Worms are gentle eaters, and the same rules that keep any kitchen-waste system clean apply doubly here, because a stressed, overfed bin turns sour fast.
- Feed plant scraps only. Vegetable and fruit peels, soft trimmings, used coffee grounds, tea and crushed eggshells are ideal. Chop them small so the worms get through them faster.
- Never add meat, fish, dairy or oil. These rot foully, attract rats, flies and cockroaches, and can harm the worms. Avoid salty, greasy or heavily seasoned leftovers too.
- Go easy on citrus, onion and chilli. Very acidic or pungent scraps in quantity can irritate worms, so add them only in small amounts.
- Do not overfeed. Add a new batch only once the last lot is mostly gone. A pile of uneaten scraps is the number one cause of smells and fruit flies. When in doubt, feed less.
- Bury the food. Tuck scraps under the bedding rather than leaving them exposed on top. This deters flies and helps the worms get to work.
- Balance moisture. Too wet and it smells and drowns worms; too dry and they struggle. Add dry shredded paper if soggy, a light misting if it dries out.
- Manage standing water. Empty any drainage tray regularly and never let liquid pool, since stagnant water breeds Aedes mosquitoes. Follow NEA guidance and the Mozzie Wipeout habits, especially after rain.
A healthy bin smells like fresh soil after rain. If it turns sour or ammonia-like, you have overfed or overwatered it. Stop feeding, mix in dry bedding to add air and soak up moisture, and let the worms catch up before you add more.
Worm Bin Versus Ordinary Compost
Both methods recycle kitchen waste, but they behave differently, and the right choice depends on your space and patience.
| Feature | Worm bin | Ordinary compost heap or tub |
|---|---|---|
| Space needed | Small, stackable, indoor-friendly | Larger, better outdoors |
| Speed | Fast once established | Slower, needs regular turning |
| Smell if run well | Mild, earthy | Earthy, but easier to sour |
| End product | Fine, rich worm castings | Coarser general compost |
| Effort | Low, mostly feeding and moisture | Moderate, needs turning |
| Main risk | Overfeeding or overheating worms | Going too wet or too dry |
For a flat with limited outdoor space, a worm bin usually wins on tidiness and the quality of the finished product. If you have a bigger balcony or garden and plenty of scraps, running both lets the heap handle bulk while the worms produce your premium castings.
Using the Castings and Growing Your Habit
Once the bedding has turned into dark, uniform, crumbly castings with few recognisable scraps left, it is ready to harvest. Push the finished material to one side and add fresh bedding and food to the other, and over a week or two the worms migrate across, letting you scoop out the castings with few passengers. Mix a handful into potting soil, scatter a thin layer over the surface of established pots, or stir it into beds before planting. A little goes a long way, so there is no need to pile it on.
Worm castings shine on hungry, fruiting crops and leafy greens, and they pair naturally with your other homegrown inputs. Feed them into your raised bed gardening or top-dress a no dig gardening in the tropics plot, and you build living, resilient soil that needs less bought fertiliser over time. Start with one modest bin, learn to read its moisture and smell, and vermicomposting quickly becomes a low-effort habit that pays you back in richer soil and less kitchen waste.
Explore more: build a full home-nutrient loop with DIY organic fertilisers from kitchen waste, then put your castings to work in raised bed gardening and no dig gardening in the tropics.