
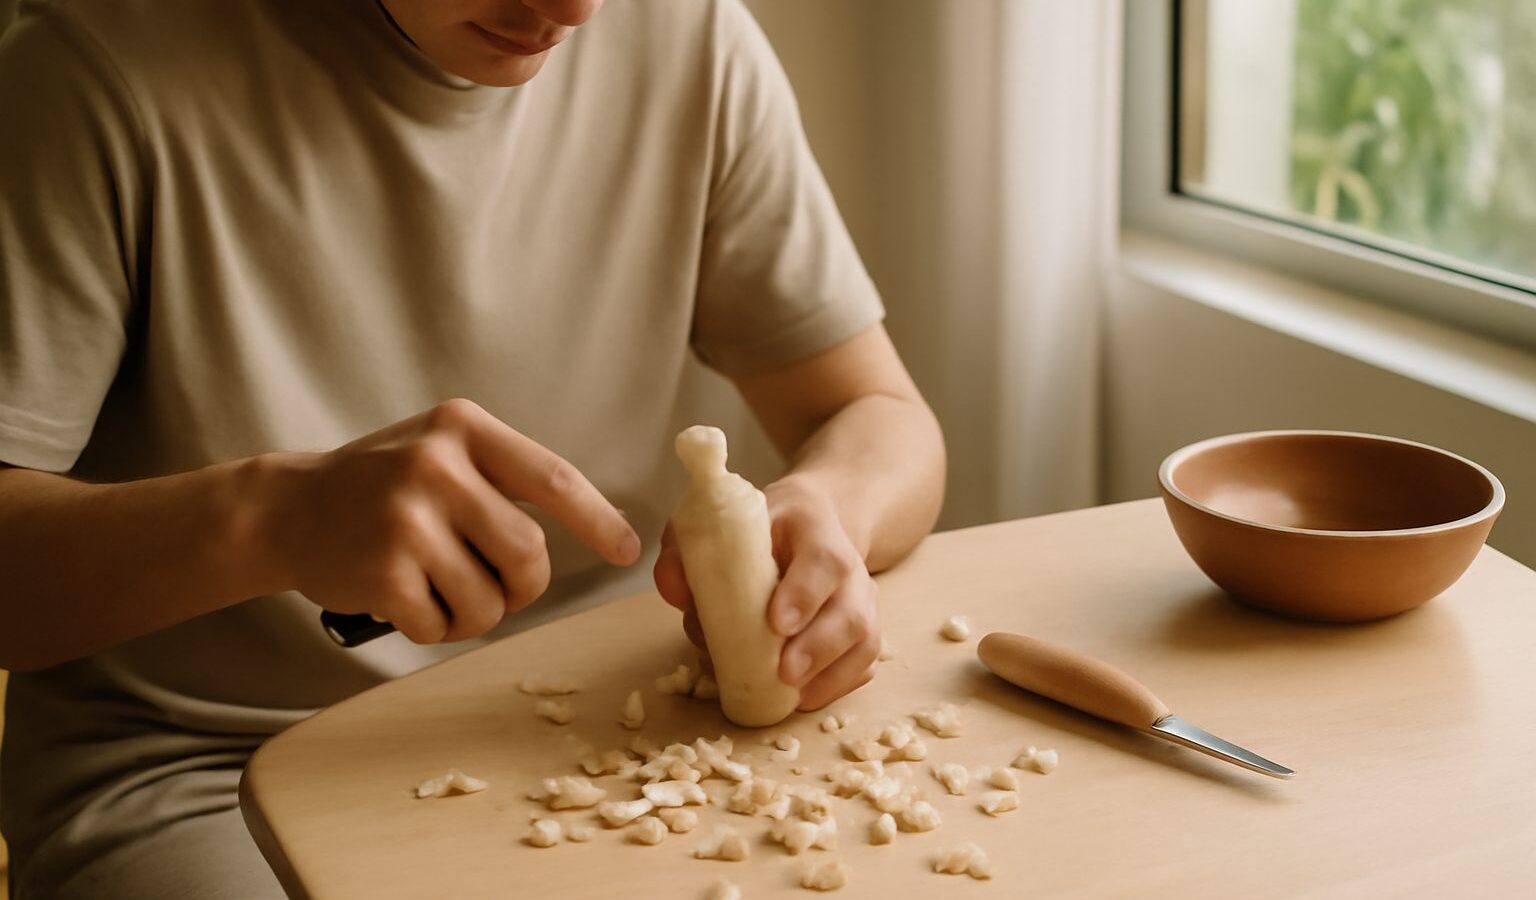
There is something deeply satisfying about turning a plain block of wood into a small object you made with your own hands and a single blade. Whittling is the friendliest doorway into the wider world of wood carving, and it needs almost nothing to begin: one good knife, a scrap of soft wood, and a quiet hour. This guide walks a total beginner in Singapore through the tools, the wood, the safety habits that matter most, and a first project you can finish in an afternoon. Go slowly, respect the blade, and you will be shaving curls of wood before you know it.
Why Whittling Makes a Great First Craft
Whittling is portable, low cost, and wonderfully meditative. Unlike bench carving, which needs mallets, gouges, and a solid table, whittling happens in your lap with just a knife and a piece of wood. That makes it ideal for a small HDB flat, a balcony, or a coffee table in front of the television. It is quiet, so there is no drilling or hammering to bother the neighbours, and you can pack the whole hobby into a small tin and carry it anywhere.
It also rewards patience over strength. You are not forcing the wood; you are peeling thin slices away with controlled, repeated cuts. Beginners often expect it to be difficult, but the real skill is simply learning to read the grain and to keep your knife sharp. Because a first project can be as humble as a pointed peg or a small spoon, you get the pleasure of finishing something quickly, which is exactly what keeps a new hobby alive.
Safety First: Respect the Blade
A whittling knife is genuinely sharp, and treating it with calm respect is the whole game. Please read this section before you make a single cut, because good habits formed early will keep all ten fingers where they belong.
- Always cut away from your body. Point the blade away from your hands, your thighs, and your torso, and never carve towards yourself. Most beginner injuries come from a cut that slips towards the hand holding the wood.
- Wear a cut-resistant glove or a thumb guard. A carving glove on your non-knife hand, or a leather thumb guard, turns a slip into a scare rather than a wound. This is the single cheapest bit of protection you can buy.
- Keep the blade sharp. This feels backwards, but a sharp knife is far safer than a dull one. A dull blade needs force, and force is what makes the knife jump. A sharp edge glides where you guide it.
- Keep a first-aid kit within reach. A few plasters and a clean cloth nearby means a small nick never turns into a bigger problem.
- Store knives away from children. Keep blades sheathed, high up, and out of reach, and never leave a knife lying on a sofa or floor.
- Carve when you are fresh. Tiredness and rushing cause slips. If your attention wanders, put the knife down.
None of this should feel alarming. Millions of people whittle safely; you simply build the habits, and then they become automatic.
Choosing Your Tools and Wood
Your starter kit is refreshingly short. You can find most of it at a hardware store, a general craft shop, or an online marketplace, and you do not need anything fancy to begin.
- A whittling knife. A single fixed-blade carving knife with a comfortable handle is all you need at first. Avoid folding pocket knives, which can close on your fingers.
- A sharpening strop. A leather strop with a little polishing compound keeps your edge keen between projects, and a keen edge is a safe edge.
- Cut-resistant glove or thumb guard. As above, wear this every time.
- Pencil and sandpaper. For sketching your shape and smoothing the finished piece.
The wood you choose matters more than beginners expect, because soft, even-grained wood carves like butter while hard or knotty wood fights back. The table below compares common options a Singapore beginner can realistically find.
| Wood type | How it carves | Best for beginners? |
|---|---|---|
| Basswood or lime | Very soft, even grain, few knots | Yes, the classic first choice |
| Pine (clear, knot-free) | Soft but can be stringy | Yes, cheap and easy to source |
| Balsa | Extremely soft, dents easily | Only for practice cuts, too fragile |
| Teak or hardwood offcuts | Dense, tough on the wrist and blade | Better left for much later |
For your very first piece, hunt down basswood if you can, or a clear, straight-grained pine offcut from a hardware shop. Avoid green or freshly cut wood and anything full of knots.
Your First Project: A Simple Butter Spreader
A flat butter spreader or a small pointed peg is the perfect starter because it teaches the core cuts without demanding fine detail. Draw the outline of a spreader onto a flat piece of basswood: a rounded handle and a gently tapered blade. Then work through the shape slowly.
Use the push cut for controlled shaping, driving the blade forward with the thumb of your other hand pressed on the back of the knife, always moving the edge away from your grip. Use the paring cut sparingly and only with your thumb guard on. Round the handle with lots of small, shallow cuts rather than a few deep ones, always working with the grain so the blade does not dig in and tear. When the shape pleases you, smooth the whole thing with progressively finer sandpaper, then rub in a little food-safe oil if you plan to use it in the kitchen. It will not be perfect, and that is exactly right for a first piece.
Common Beginner Mistakes
A few predictable slips catch almost everyone, and knowing them in advance saves both your project and your fingers.
- Carving against the grain. If the blade tears and splinters, turn the wood around and cut the other way. The wood tells you which direction it prefers.
- Taking cuts that are too deep. Thin, repeated slices give you control. Deep cuts split the wood and send the blade skidding.
- Letting the knife go dull. Strop little and often. The moment carving feels like hard work, your edge has gone.
- Skipping the glove. It only takes one slip to convince you. Wear the protection from cut one.
Caring for Tools in Singapore’s Humidity
Our warm, damp climate is hard on carbon-steel blades, which can develop surface rust surprisingly fast. After each session, wipe your knife clean and dry, then add a thin film of oil before sheathing it. Store tools in a box with a sachet of silica gel to draw out moisture, and keep them out of a humid bathroom or an unventilated cupboard. Wood offcuts also absorb moisture, so keep your stock in a dry, sealed container; damp wood carves poorly and can warp as it dries. A few minutes of care after each sitting keeps everything sharp, clean, and ready for the next project.
How to Improve and Go Further
Once a spreader or two are behind you, the natural next step is a small carved spoon, which introduces the gentle scooping of a hook knife for the bowl. From there you can try a comfort bird, a simple figure, or relief carving on a flat panel. Free video tutorials will carry you a long way, and a modest beginner pattern book gives you shapes to aim for. As your confidence grows you might add a second knife or a couple of gouges, but resist buying a huge set early; a beginner improves far faster with one sharp, familiar blade than with a drawer full of unused tools.
Explore more
If working wood with your hands appeals to you, there is plenty more to explore in this batch. Try woodworking for beginners if you fancy building something larger at a bench, or turn small carved parts into tiny scenes with getting into miniatures and dioramas. For another hands-on craft that rewards a steady blade and patience, have a look at leathercraft for beginners.