
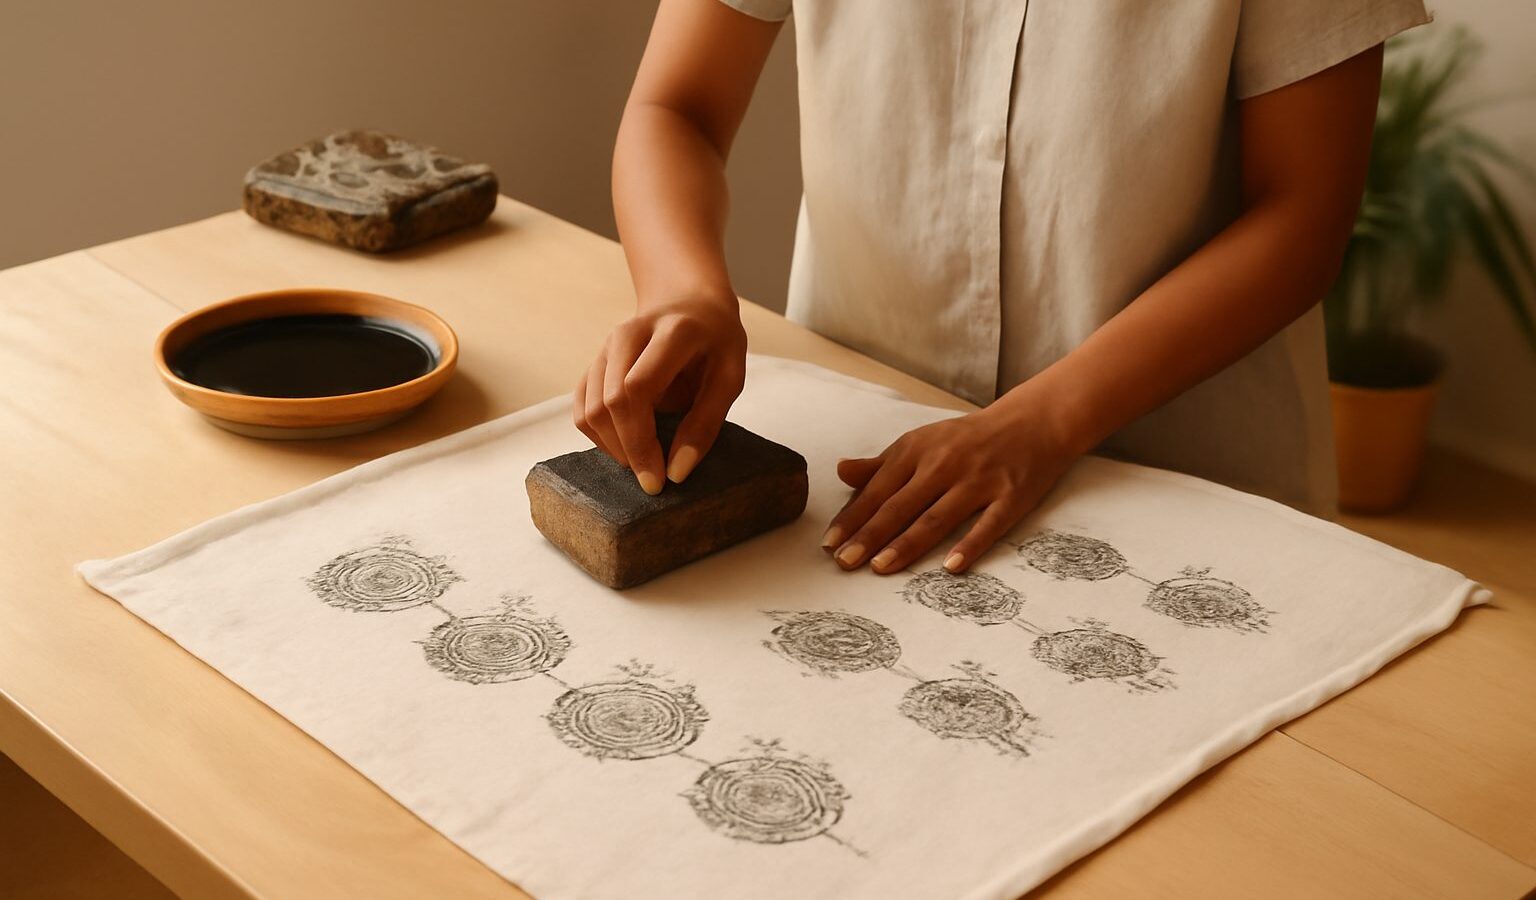
Long before printers and screens, people decorated cloth by hand, carving a shape into a block, inking it, and pressing it down to repeat a pattern across the fabric. Block printing is that same simple magic, and it is wonderfully within reach for a beginner. You carve a design once, then stamp it as many times as you like onto a tote bag, a cushion cover, a tea towel or a length of cloth. There is real delight in seeing your own motif march across a piece of fabric in neat repeats. If you like the idea of a low-tech, low-cost craft that turns plain cloth into something personal, block printing on fabric is a lovely place to start.
What Makes Block Printing So Beginner Friendly
The appeal starts with the low barrier to entry. A soft carving block, a couple of tools, a pot of fabric ink and a plain cotton bag are enough to make something you will actually use. Nothing here needs power, ventilation-heavy chemicals or an expensive machine, which suits a small HDB flat perfectly.
It is also endlessly repeatable. Once you have carved a block, you can print it again and again, so a single afternoon of carving pays off across many projects. Make a leaf stamp today and you can decorate napkins this month and wrapping cloth the next. That reusability makes block printing feel generous, and it rewards you for the care you put into the carving.
Finally, it forgives imperfection with charm. Handmade prints have slight variations in ink and pressure, and those little inconsistencies are exactly what make them look handmade rather than mass produced. A beginner’s first prints already carry a warmth that no factory pattern can match.
What You Need to Start
You can assemble a starter kit from a craft shop, an art-supply store or an online marketplace without spending much. Here is a sensible list.
- A carving block, either a soft rubber carving block or traditional lino, in a small size to begin.
- Carving tools, usually a handle with a few interchangeable gouges of different widths.
- Fabric or textile ink, which is made to stay soft and washable on cloth, not paper-only ink.
- A brayer or a small foam roller to spread a thin, even layer of ink onto the block.
- Plain natural-fibre fabric, such as a cotton tote, tea towel or cushion cover, prewashed and ironed.
- A few basics, a pencil for sketching, a cutting mat to protect your table, and scrap cloth for testing.
Start small and cheap. A single block, one colour of ink and one tote bag will teach you the whole process. Singapore’s humidity can keep inks tacky for longer, so print in a well-aired spot and allow extra drying time before you handle the fabric.
Carving Safely
The carving stage is where care matters most, because the tools are sharp by design. The golden rule is to always cut away from your body and away from the hand holding the block. Keep your non-cutting hand behind the blade, never in front of the direction you are pushing, so a slip cannot run into your fingers.
Take shallow, controlled passes rather than digging deep and forcing the tool, since forcing it is what makes a blade jump. A cutting mat under the block gives you a stable, grippy surface, and some makers use a bench hook to brace the block so it cannot slide. Keep the gouges sharp, because a dull blade needs more pressure and is actually more likely to slip than a keen one.
Store the carving tools with their guards on and well out of reach of young children, and supervise closely if children want to join in with the printing itself. Follow the safety notes that come with your particular tools. Once the block is carved, the rest of block printing is gentle, ink-and-press work with no sharp edges involved.
Your First Print, Step by Step
Keep your first design bold and simple, a single leaf, a geometric shape or a small motif. Fine detail is hard to carve cleanly and hard to print evenly, so save it for later.
Sketch the shape onto your block with a pencil, remembering that any lettering must be drawn in reverse so it prints the right way round. Carve away everything you do not want to print, so your motif stands raised above the surface. Roll a thin, even layer of fabric ink onto a flat surface, then load the block by rolling ink across the raised design.
Lay your prewashed cloth flat on a padded surface, press the inked block down firmly with even pressure, and lift it straight up without dragging. Practise on scrap cloth first to find the right amount of ink and pressure. When you are happy, print your real piece, let it dry fully, then heat-set the ink following the ink maker’s instructions, usually by ironing, so your pattern survives the wash.
Building Skill and Going Further
As your confidence grows, a few upgrades open new possibilities. This table compares a first setup with the next step so you can plan your spending.
| Element | Beginner starter | Next step upgrade |
|---|---|---|
| Carving block | Small soft rubber block | Larger lino or a repeat-tile block |
| Ink colours | A single colour | A small palette for layered, multi-colour prints |
| Design | One simple motif | Registered repeats and interlocking patterns |
| Projects | A tote bag or tea towel | Cushion covers, table runners and yardage |
To improve, practise registration, the art of lining up repeats so a pattern flows evenly across a whole cloth, using light pencil guides on the fabric. Experiment with layering two colours, carving a second block for accents, and pressing onto different natural fabrics to see how each takes the ink. Keep your carved blocks clean and dry between sessions so they last, and let each project stretch you a little further. Block printing rewards a curious, patient maker, and the more you print, the more your own visual style will emerge.
Explore More
If stamping your own patterns has sparked a love of decorated cloth, carry it further with our guide to tie-dye and fabric dyeing, another satisfying way to transform plain fabric. To put your printed cloth to good use, see making your own clothes and the gentle, thoughtful craft of visible mending and sashiko.