
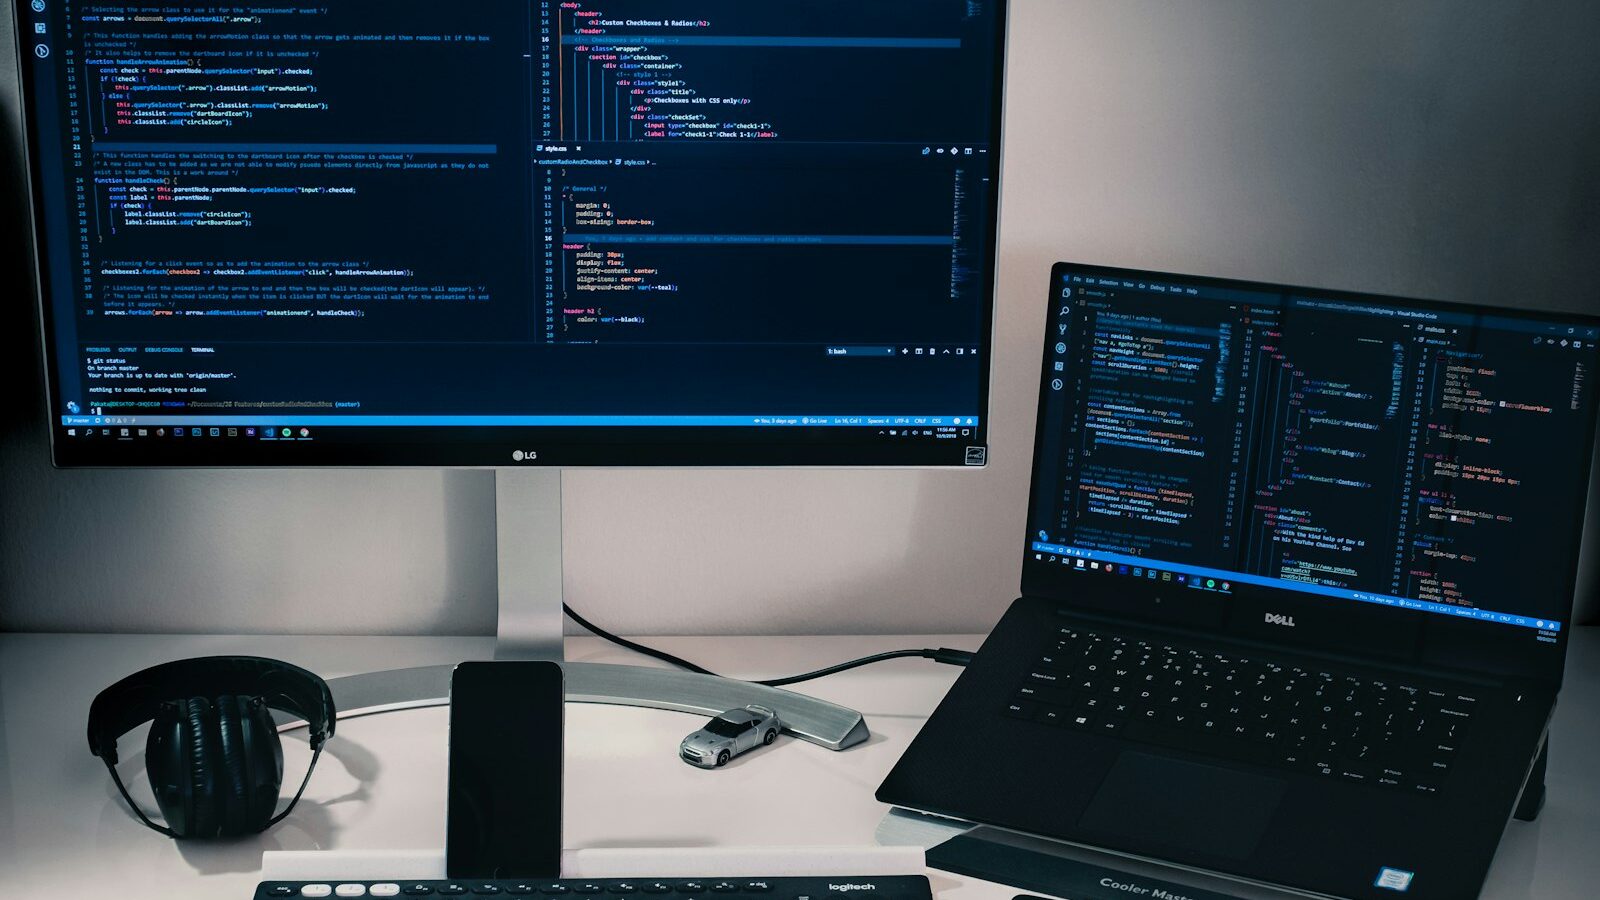
Going live for the first time can feel intimidating, but a workable home streaming setup Singapore beginners can build is simpler than most tutorials suggest. You do not need a studio, expensive gear or a spare room to start. What you need is a clear camera, clean audio, enough light on your face and a stable connection to carry it all. This guide walks through each part in plain language, so you can spend on what matters and skip what does not.
Whether you plan to stream gameplay, run a cooking channel, host live chats or teach a skill, the building blocks are the same. Start small, learn what your content actually needs, then upgrade one piece at a time.
The Five Building Blocks
Every stream, no matter the topic, rests on the same five parts. Getting each one to “good enough” beats pouring your whole budget into a single flashy item.
Camera. Your options run from the phone already in your pocket, to a dedicated webcam, to a proper camera used as a video source. For most beginners a modern phone or a mid-range webcam is plenty. Phones tend to have excellent sensors, so a well-lit phone can look sharper than a cheap webcam in a dim room. The catch is stability and framing, which a small tripod or clamp solves.
Audio. Viewers forgive an average picture far more readily than bad sound. Muddy, echoey or hissy audio makes people click away within seconds. A budget USB microphone placed close to your mouth, or a simple lapel mic, will lift your stream more than any camera upgrade. Avoid relying on your laptop’s built-in microphone, which usually sits far away and picks up fan noise.
Lighting. Cameras need light to produce a clean image. Sitting with a bright window behind you turns you into a silhouette, so face the light instead. A single soft light in front of you, slightly off to one side, removes harsh shadows and makes any camera look better. Natural daylight works well if you can arrange your desk to face a window.
Internet. Streaming sends video out of your home continuously, so your upload speed matters more than your download speed. A stable wired connection beats wi-fi for reliability, since dropped frames and stutters usually trace back to an unstable link rather than slow speed.
Software. Free broadcasting software handles the heavy lifting: it combines your camera, microphone, screen and overlays into one feed and pushes it to your chosen platform. This is where you arrange scenes, add a chat box or lower-third text, and set your quality.
Choosing Gear By Budget Tier
You can assemble a capable rig at three broad price levels. The table below groups typical choices so you can see what a sensible step up looks like without chasing specific models.
| Tier | Camera | Microphone | Lighting | Best for |
|---|---|---|---|---|
| Budget | Phone or entry webcam | Single USB or clip-on mic | One small LED panel or daylight | Testing the waters, casual chats |
| Mid | 1080p webcam | USB condenser on a small arm | Two soft lights or a ring light | Regular streamers, talking-head content |
| Premium | Dedicated camera via capture device | Dynamic mic with an audio interface | Multi-point lighting with diffusion | Detailed production, growing channels |
A few notes on reading this table. Moving from budget to mid usually delivers the biggest visible jump, because you fix framing, audio clarity and lighting all at once. The premium tier adds control and polish, but it also adds cables, settings and things that can go wrong, so only climb there once you are streaming consistently and know your weak points.
Getting Your Connection Right
Streaming is unusual among home internet tasks because it leans on upload. Most everyday activities, from watching videos to browsing, pull data down. A live stream pushes a steady flow up, and if that flow is interrupted your viewers see freezing or buffering even when your own screen looks fine.
Two habits protect your stream. First, connect your streaming computer to the router with a network cable where you can. Wi-fi is convenient but shares airtime with every other device and is prone to brief dropouts that a stream will expose. Second, avoid heavy downloads or large uploads on the same connection while live, since a big background transfer competes for the same pipe.
If your household shares one connection during your streaming hours, a quick chat about timing helps. You do not need the fastest plan available; you need a steady one. Test a short private stream at your intended quality before going public, and watch for dropped frames in your software’s stats. If you see them, lower your output resolution or bitrate a notch until the stream holds steady. A smooth stream at 720p looks far more professional than a stuttering one at 1080p.
Setting The Scene And Sound
Once the hardware is sorted, small touches make a big difference. Position your camera at roughly eye level, not looking up your nose or down at your forehead. A stack of books under a laptop is a perfectly good height adjuster. Leave a little space above your head in the frame and avoid sitting so close that the camera distorts your features.
For audio, get the microphone close, ideally within a hand span of your mouth but out of the shot or just at its edge. A busy or hard-surfaced room echoes, so soft furnishings, curtains, a rug or even a wardrobe of clothes nearby will tame reflections. Do a test recording and listen back with headphones; you will catch fan hum, keyboard clatter or a buzzing light you had stopped noticing.
For lighting, softer is friendlier. A bare bulb creates hard shadows, while a light bounced off a wall or passed through a diffuser wraps around your face gently. If you only own one light, place it in front of you and slightly to one side, then fill the opposite shadow with a bright wall or a sheet of white card.
Software Settings Without The Stress
Free broadcasting software offers a wall of options, but beginners only need a handful. Set your base resolution to match your monitor, pick an output of 720p or 1080p depending on how your test streams hold up, and choose a frame rate of 30 for talking content or 60 for fast motion like gaming. Let the software’s guided tools suggest a starting bitrate, then adjust down if you see instability.
Build two or three simple scenes to begin: a “starting soon” holding screen, your main scene, and a “be right back” card. Resist the urge to layer on animated overlays and alerts on day one. A clean, readable stream that runs reliably will always beat a cluttered one that crashes. You can add polish as you grow more comfortable.
Finally, keep a short pre-stream checklist taped near your desk: microphone on and levels moving, camera framed, lights on, internet cable in, correct scene loaded. Running through it takes thirty seconds and saves you from that classic moment of streaming for ten minutes before realising nobody could hear you.
Start with what you have, fix your weakest link first, and improve gradually. A thoughtful, modest setup that you actually understand will carry you much further than a pile of gear you never mastered.
Explore more
Webcams and Video Call Gear
Choosing Headphones and Earbuds
Home Broadband
Gaming in Singapore