

If your smart home has grown into a pile of separate apps, one for the lights, one for the aircon, another for the door sensor, Home Assistant may be what ties it all together. This guide for Home Assistant beginners explains what the open-source platform is, why people choose it over commercial hubs, what hardware you need, and how to get a working first setup in a typical Singapore flat or condo.
Home Assistant is free, community-driven software that runs on a small computer in your home. It connects devices from many different brands and lets you control and automate them from one dashboard, with much of the work done locally rather than in a company’s cloud. It rewards tinkering, but you no longer need to be a programmer to get started.
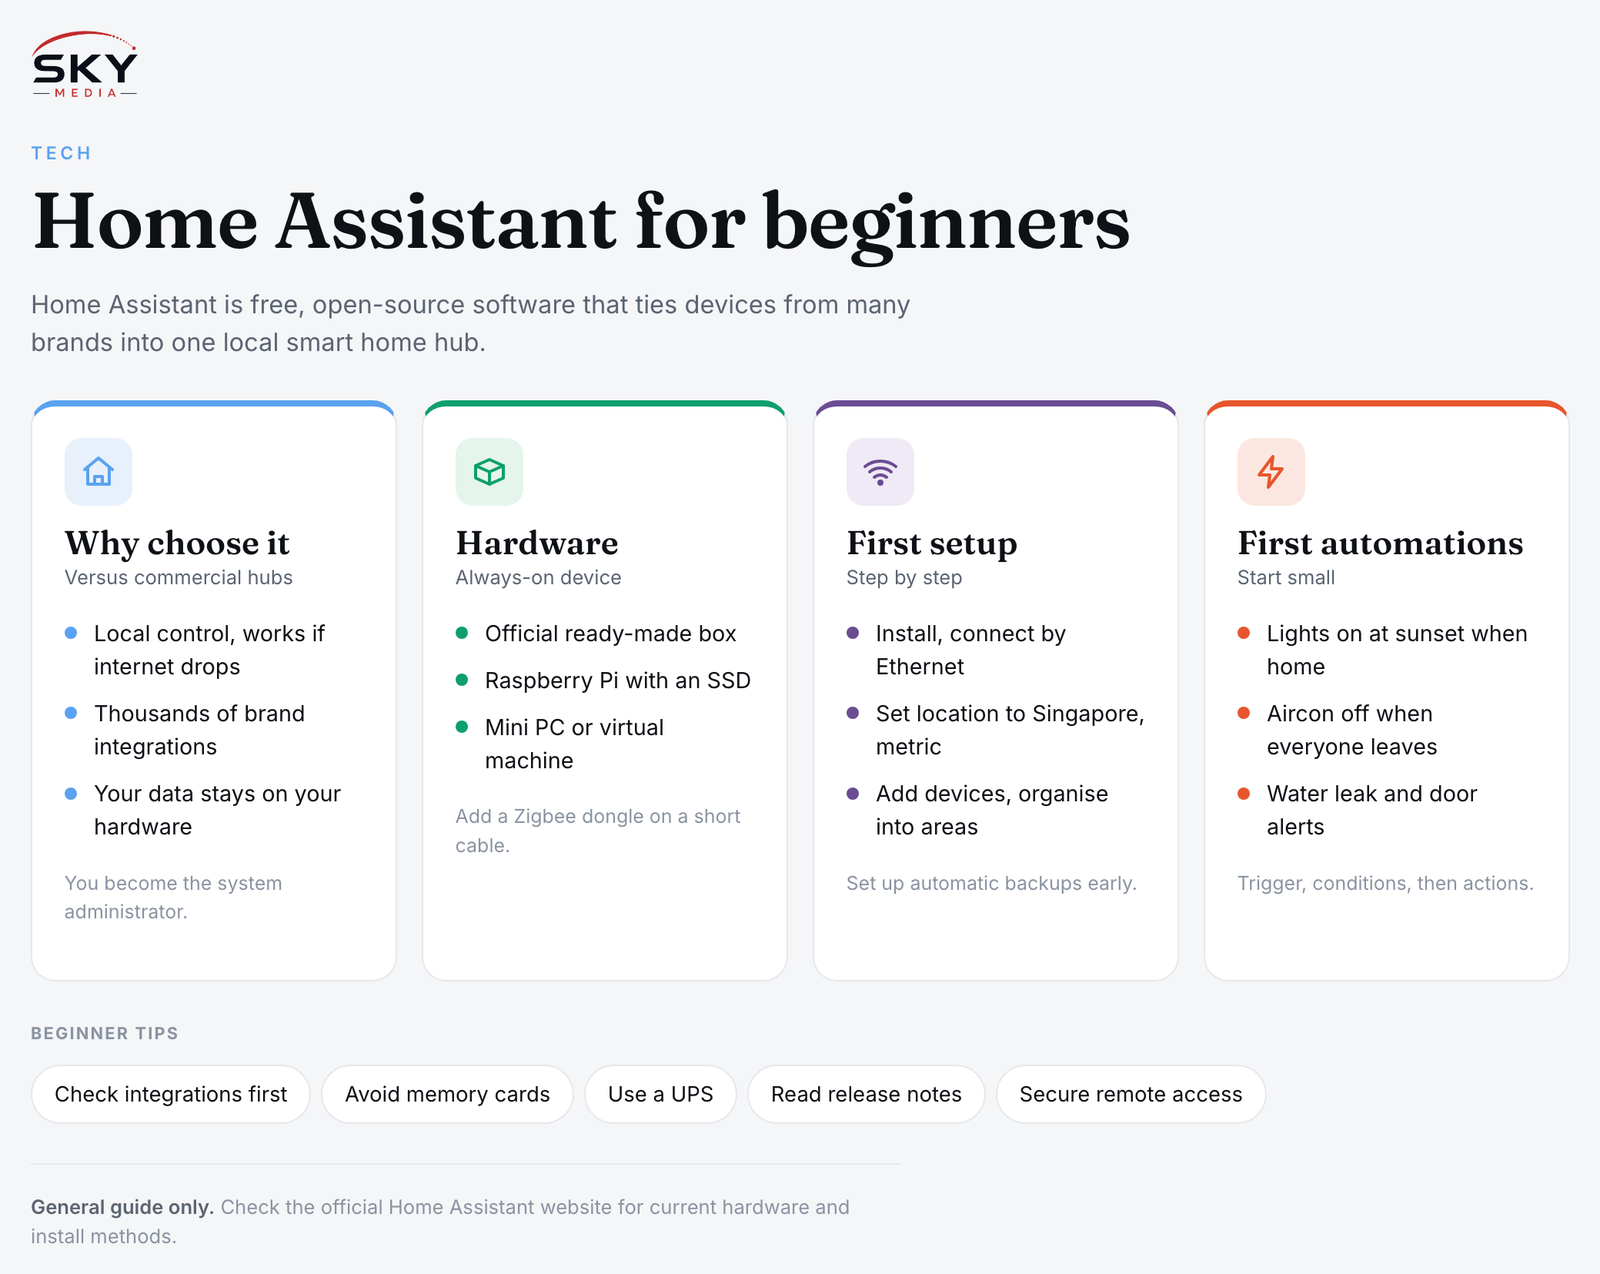
How Home Assistant Differs From Commercial Hubs
Commercial ecosystems such as Google Home, Amazon Alexa and Apple Home are polished and simple, but they work best with devices that support them, and many routines depend on cloud services. Our guide to smart home hubs and bridges covers those options in detail. Home Assistant takes a different approach:
- Local control. Many integrations talk to devices directly over your home network, so automations can keep running if the internet goes down.
- Brand-agnostic. Thousands of integrations, built by the community and device makers, cover lights, plugs, aircon controllers, robot vacuums, cameras, solar inverters and more.
- Privacy. Your data stays on your own hardware by default.
- Flexibility. Automations can use conditions, timers, sensor values and the position of the sun, far beyond simple “if this, then that” rules.
The trade-off is that you are the system administrator. You handle updates, backups and the occasional broken integration. It also works happily alongside commercial assistants, so you can still use voice control through a smart speaker.
What Hardware You Need
Home Assistant needs a device that stays on all the time. Common choices:
| Option | What it is | Good for |
|---|---|---|
| Official ready-made box | Plug-and-play hardware sold by the Home Assistant project, with the software preinstalled | Beginners who want the easiest start |
| Raspberry Pi | Small single-board computer; you install Home Assistant OS on it | Hobbyists comfortable with a little setup; use an SSD rather than a memory card for reliability |
| Mini PC or old laptop | Repurposed or compact PC running Home Assistant OS | More power for cameras, voice processing and many add-ons |
| Virtual machine on a NAS or server | Runs alongside other software on hardware you already own | People who already run a home server |
For most beginners, the official box or a mini PC running Home Assistant OS (the full installation method) is the smoothest route, because it includes the add-on store and simple backups. Check the official Home Assistant website for the current recommended hardware and installation methods, as these evolve.
You may also want a radio dongle for wireless protocols:
- Zigbee is used by many affordable sensors, buttons and bulbs. A USB Zigbee coordinator lets Home Assistant talk to them directly, without each brand’s own bridge.
- Thread and Matter are newer standards aimed at making devices work across ecosystems. Home Assistant supports them, and some official hardware includes the necessary radio.
Plug USB dongles in using a short extension cable, away from the computer, as USB 3 ports can interfere with Zigbee signals.
Your First Setup, Step by Step
- Install Home Assistant on your chosen hardware following the official guide, and connect it to your router with an Ethernet cable if possible.
- Open the web interface from a browser on the same network and create your owner account. Use a strong password.
- Set your location, time zone and units. This matters for sunrise and sunset automations; choose Singapore and metric units.
- Let it discover devices. Home Assistant will often detect compatible devices on your network, such as smart TVs, printers, speakers and some Wi-Fi plugs. Add the ones you want.
- Add integrations for devices that are not auto-discovered, for example a robot vacuum or air purifier that uses a cloud account.
- Install the companion app on your phone. It lets you control the home remotely (with suitable remote access set up) and can use your phone’s location as a sensor for “arriving home”.
- Organise into areas. Assign each device to a room: living room, master bedroom, kitchen. This makes dashboards and automations much easier.
- Set up automatic backups and store a copy somewhere other than the Home Assistant device itself.
Remote access needs thought. Options include the project’s paid cloud subscription, which also supports the platform’s development, or setting up your own secure VPN. Avoid simply exposing Home Assistant to the internet by opening router ports without understanding the security implications.
Simple First Automations to Try
Start small, prove it works, then build on it. Ideas that suit Singapore homes:
- Lights on at sunset in the living room, but only when someone is home.
- Aircon off when everyone leaves, using phone presence. If your aircon is not smart, an infrared blaster can send remote control signals.
- Door or gate sensor alert that sends a phone notification if the main door is left open for more than a few minutes.
- Water leak alert from a small sensor placed under the kitchen sink or near the washing machine.
- Dehumidifier or fan control using a humidity sensor during the wet monsoon months, switched through a smart plug rated for the appliance.
- Bedtime scene: one button turns off the common area lights, locks a smart lock and switches the bedroom aircon to a set mode.
Automations are built in a visual editor with three parts: a trigger (what starts it), conditions (what must be true) and actions (what happens). Community “blueprints” give you ready-made templates to import and adjust. Our article on smart sensors for home safety has more ideas on which sensors are worth buying.
Tips for Singapore Homes
- Concrete walls block signals. HDB and condo walls can weaken Wi-Fi and Zigbee. Mains-powered Zigbee devices such as plugs act as repeaters and strengthen the mesh, so place a few between rooms.
- Check electrical ratings. Smart plugs and switches should suit Singapore’s 230V supply and Type G sockets, and carry the appropriate local safety marking. Any work on fixed wiring, such as replacing wall switches, should be done by a licensed electrician.
- Mind the landlord. If you rent, favour plug-in devices and battery sensors with removable adhesive over anything that alters fixtures.
- Power cuts. A small UPS (uninterruptible power supply) protects the Home Assistant device and its data from sudden power loss.
Common Beginner Mistakes
- Buying lots of devices before checking they have a reliable integration. Search the official integrations list first.
- Running on a cheap memory card that fails after months of constant writing.
- Skipping backups, then losing everything after a failed update.
- Building a dozen complex automations at once and not knowing which one misbehaves.
- Updating straight away on the day a major release lands. Reading the release notes first avoids surprises.
Home Assistant has a large, helpful community forum and extensive official documentation. Take it one room at a time, and within a few weekends you will have a smart home that works on your terms. If you are still deciding on your overall approach, read choosing a smart home ecosystem first.