

If you have ever stood in an art shop, eyeing rows of colourful tubes and wondering where to begin, this guide is for you. Acrylic painting for beginners is one of the most forgiving and joyful ways to start making art, because the paint is quick to learn, easy to clean up with water, and endlessly flexible. You do not need talent, expensive gear, or a studio. You need a little curiosity and an afternoon.
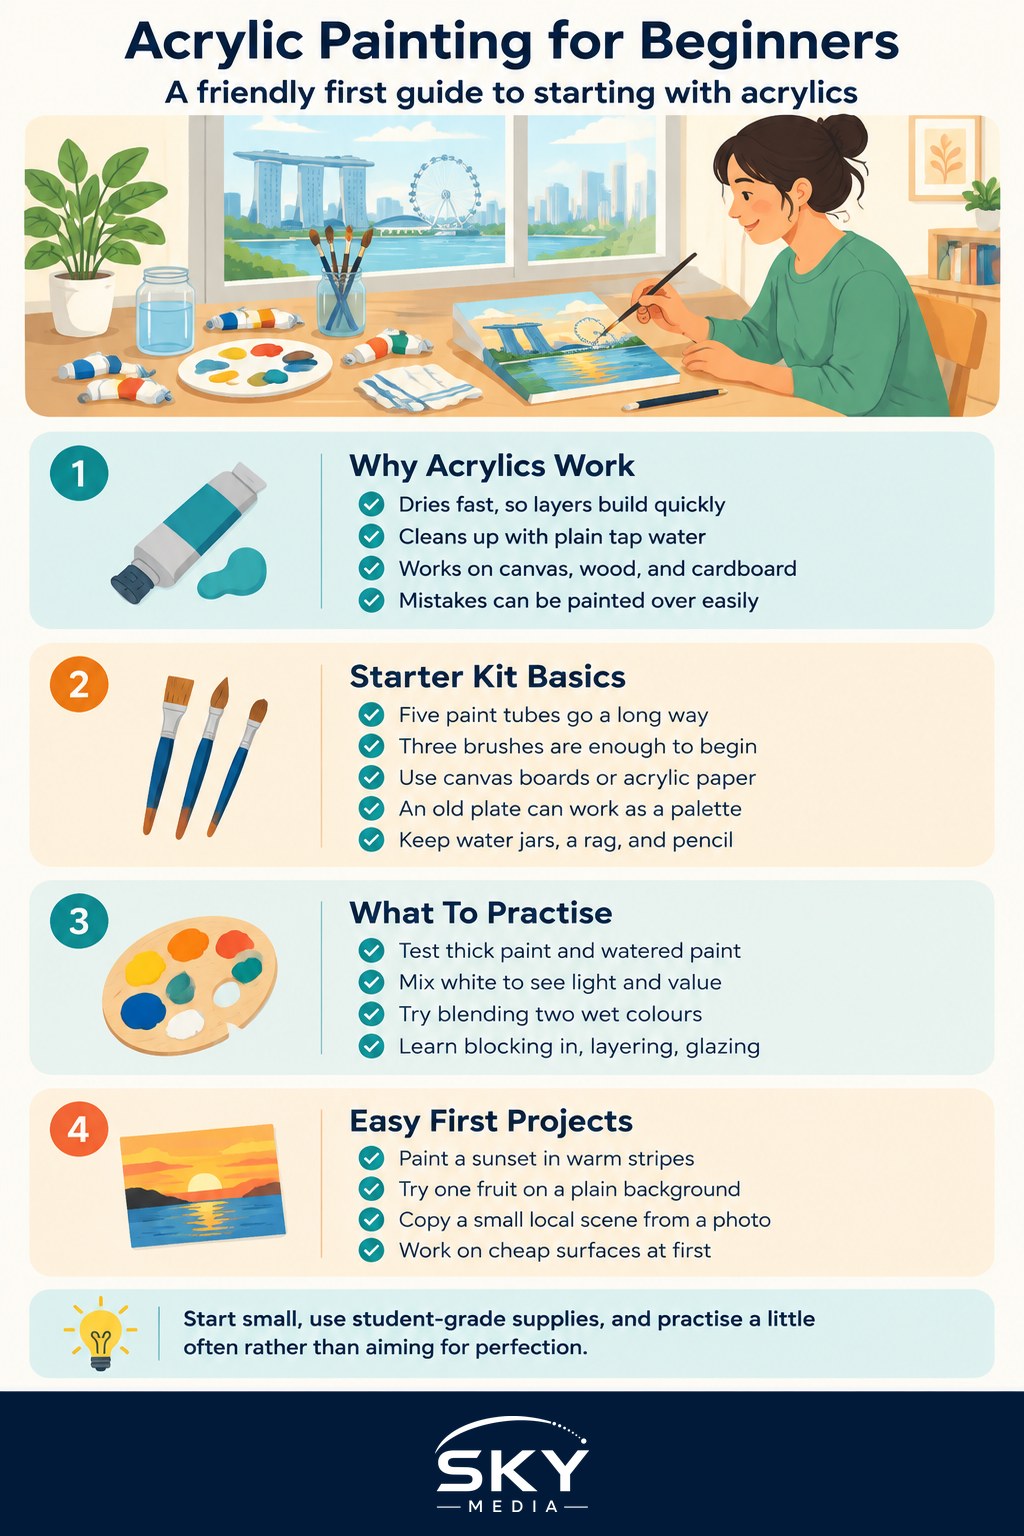
Why Acrylics Are Perfect for Starting Out
Acrylic paint sits happily between watercolour and oil. It dries fast, so you can build layers within an hour rather than waiting days. It cleans up with plain tap water, which matters when you are painting on a kitchen table in an HDB flat. It sticks to almost any surface, from canvas to wood to cardboard, and it stays put once dry.
The fast drying time is both a gift and a small challenge. You can cover mistakes quickly by painting over them, which takes the fear out of every brushstroke. The trade off is that colours on your palette can dry before you finish blending, so a spray of water keeps them workable.
The Starter Kit You Actually Need
Resist the urge to buy everything. A small, well chosen set will teach you more than a cupboard of unused supplies.
- Paints: Five tubes will take you a long way. Get a warm and a cool version of each primary, plus white: titanium white, cadmium yellow, lemon yellow, ultramarine blue, and a bright red. You can mix nearly any colour from these.
- Brushes: Three is plenty to start. A flat brush for broad areas, a round brush for detail, and a small filbert for soft edges. Synthetic brushes suit acrylics well and cost less than natural hair.
- Surface: Canvas boards or pads of acrylic paper are cheap and stress free. Save stretched canvas for when you feel ready.
- Palette: An old ceramic plate works. A “stay wet” palette, which uses damp paper under baking parchment, keeps paint usable for longer.
- Extras: Two water jars, a rag, kitchen roll, and a pencil for sketching.
Local art shops and larger stationery chains stock student grade ranges that are gentle on the wallet. Student grade is exactly right for learning, so do not feel you must buy professional tubes yet.
Getting to Know Your Paint
Before you paint anything recognisable, spend twenty minutes simply playing. Squeeze out a little colour and try these:
- Paint a stripe with thick paint straight from the tube, then a stripe watered down until it flows like ink. Notice the range.
- Mix white into a colour step by step to make a ladder from dark to light. This teaches you value, which matters more than colour.
- Lay two colours side by side while wet and blend where they meet.
This unhurried practice builds the muscle memory that makes later paintings feel easy.
Core Techniques to Practise
You only need a handful of techniques to paint something you are proud of.
Blocking In
Start every painting by roughly filling the big shapes with flat colour. Ignore detail. This gives you a map and stops you fussing over one corner while the rest stays blank.
Layering
Because acrylics dry fast, you can paint light over dark or dark over light. Build from general to specific, adding brighter highlights and darker shadows near the end.
Dry Brushing
Load a little paint on a fairly dry brush and drag it lightly across the surface. It catches the texture and is wonderful for grass, fur, and rough walls.
Glazing
Thin a colour with water or medium until it is transparent, then lay it over a dry layer. This shifts the mood gently, warming a sky or deepening a shadow.
Choosing and Mixing Colours
Mixing your own colours is where painting becomes personal. A few honest rules help. Adding white makes a colour lighter but also chalkier, so use it thoughtfully. To darken a colour, reach for its opposite on the colour wheel rather than black, which can look flat and muddy. A touch of blue in a red shadow feels far more alive than black ever will.
Here is a quick guide to common beginner paints and where each shines.
| Paint type | Cost | Best for | Watch out for |
|---|---|---|---|
| Student acrylic | Low | Learning, big practice pieces | Slightly weaker colour strength |
| Artist acrylic | Higher | Finished work, strong colour | Pricier, buy only a few |
| Heavy body | Medium | Visible brushstrokes, texture | Dries fast on the palette |
| Fluid or soft body | Medium | Smooth blends, fine detail | Can feel thin if overworked |
Your First Simple Projects
The best first paintings have few shapes and a clear mood.
- A sunset in stripes. Blend horizontal bands from warm yellow at the horizon to deep blue overhead. Add a dark palm tree silhouette on top once dry.
- A single piece of fruit. One mango or apple on a plain background teaches you light, shadow, and form in one sitting.
- A local scene from a photo. A shophouse window, a bowl of laksa, a rain tree. Keep it small and forgiving.
Work on cheap surfaces so nothing feels precious. The goal is mileage, not masterpieces.
Caring for Your Kit
Acrylic is kind until it dries, then it is stubborn. Rinse brushes the moment you finish a colour and never let them sit bristle down in water, which bends them permanently. Reshape the tips and lay them flat to dry. Cap your tubes tightly, since dried out paint cannot be revived. A gentle wash with soap keeps synthetic brushes soft for years.
Building the Habit
Little and often beats one long burst. A short painting session a couple of times a week will improve you faster than a single marathon each month. Keep every early piece, even the clumsy ones, in a folder. In a few months you will flip back and see real progress, which is the most encouraging feeling there is.
Painting is meant to be enjoyable, not perfect. Some sessions will delight you and some will frustrate you, and both are part of the path. Put on some music, forgive your mistakes, and let the colour lead. You have everything you need to begin.
Explore more: Watercolour Painting for Beginners · Learning to Draw as an Adult · Art Classes and Creative Workshops
Frequently Asked Questions
How do I fix a painting mistake once acrylic has dried? Simply paint over it. Dry acrylic accepts new layers, so cover the area with an opaque colour, let it dry, then repaint. For a bigger correction, a coat of white or the background colour first gives you a clean base.
Do I need to varnish an acrylic painting? Not always. Varnish protects the surface from dust and scuffs and evens out the finish, but a practice piece does not need it. For work you want to keep or display, use a varnish made for acrylics, and let the painting dry fully first.
What is the difference between acrylic and watercolour for a beginner? Acrylic is opaque, covers mistakes and lets you layer light over dark, while watercolour is transparent and harder to correct. Acrylic dries fast and is permanent when dry. Both are beginner-friendly, so choose by the look you enjoy.
Is acrylic paint safe to use at home around children and pets? Many student acrylics are labelled non-toxic, but you should still check the label and keep paint away from mouths and food. Do not wash large amounts down the sink, wipe excess with paper first. Ventilate the room and supervise young children.
How long does it take to get decent at acrylic painting? It varies with how often you practise. Short sessions a couple of times a week build skill faster than rare long ones. Expect visible progress within a few months if you keep your early pieces and compare them over time.
Further reading: How to Commission a Painting or Portrait in Singapore