
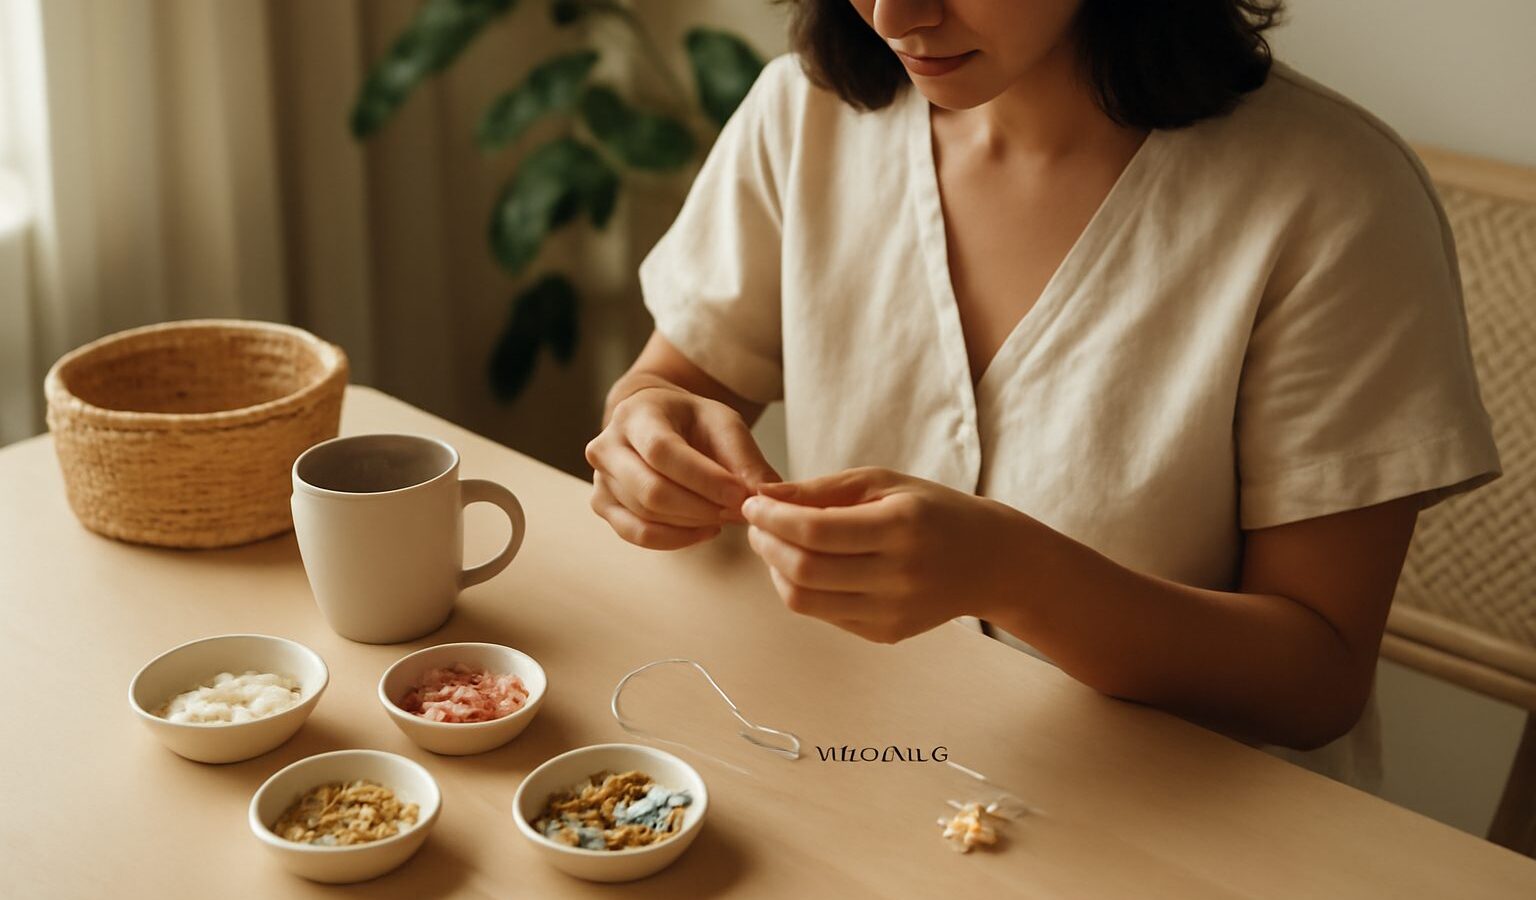
There is something quietly satisfying about turning a scatter of tiny beads into a bracelet, a pair of earrings, or a keyring you actually want to wear. Beadwork is one of the friendliest crafts a total beginner can take up, because the barrier to entry is so low. You need only a small pot of beads, a length of thread, and a little patience. This guide walks a Singapore beginner through everything that matters, from choosing your first beads to finishing a piece you will be proud to show off, all on a sensible budget and in a small space.
Why Beadwork Is a Lovely First Craft
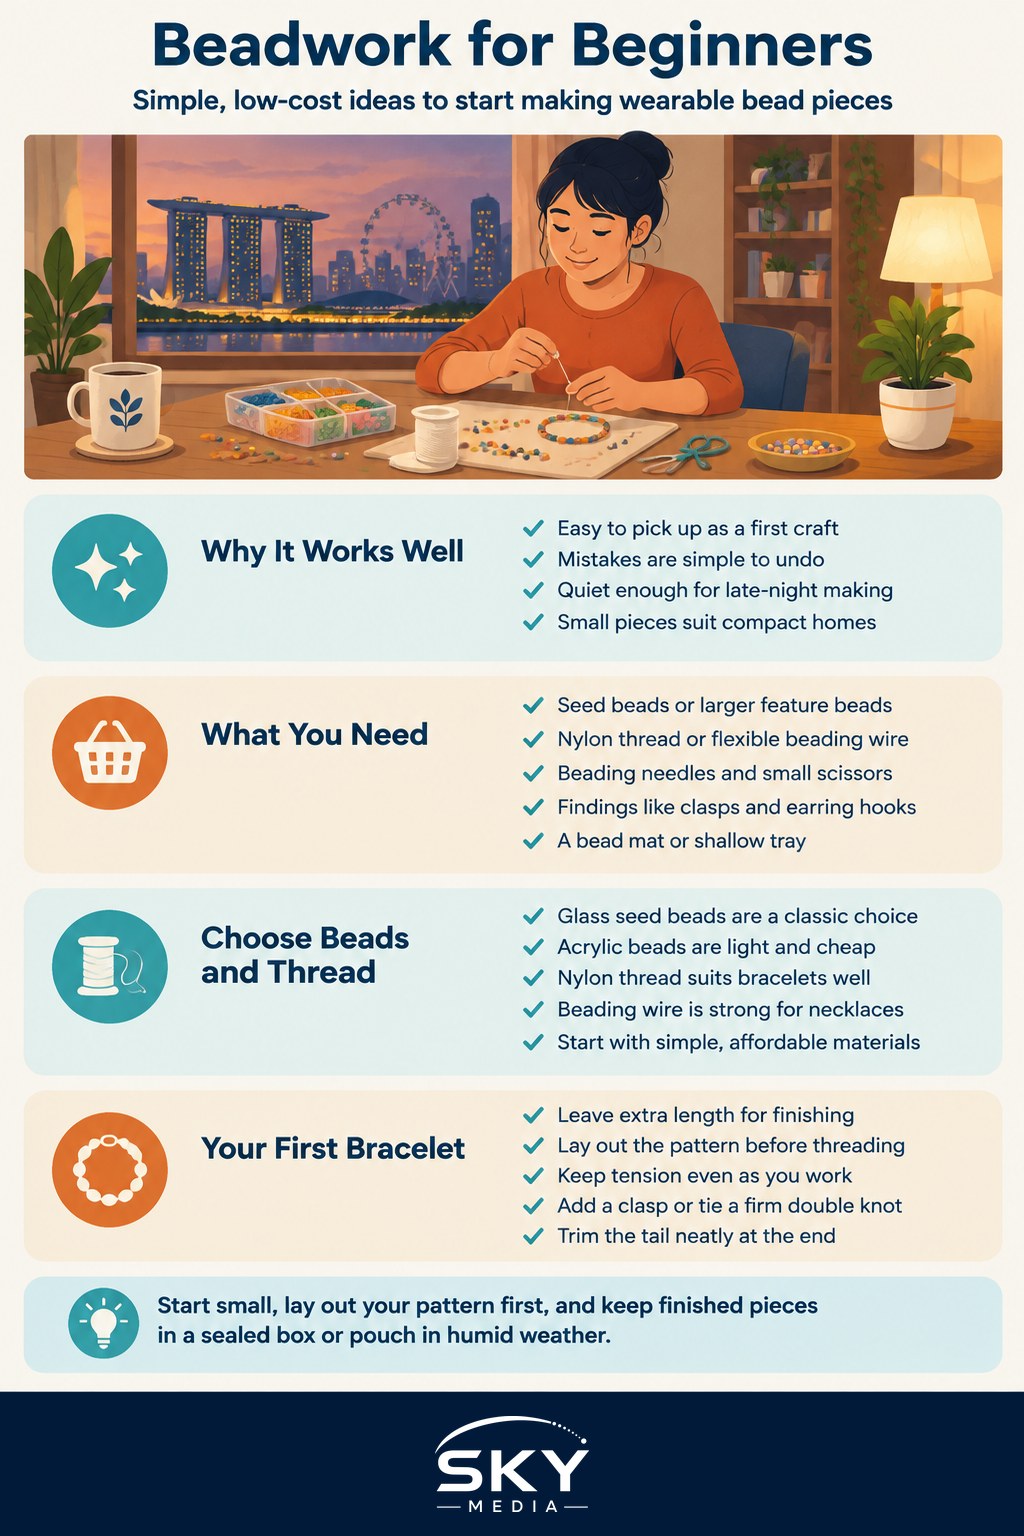
Beadwork is forgiving in exactly the ways a nervous beginner needs. If a bead goes on in the wrong order, you simply slide it back off and try again. There is no glue racing to dry, no heat, and no sharp power tool, so you can put a project down halfway and return to it a week later with nothing lost. It is also gloriously quiet, which makes it perfect for an HDB flat late at night when the neighbours are asleep.
The craft is cheap to begin and endlessly expandable. A single tube of seed beads and a reel of thread will carry you through several small pieces. Because you learn a few core techniques rather than a huge library of them, progress comes fast, and that early sense of achievement is what keeps beginners coming back. Best of all, the finished pieces are small, so storage is never a problem in a compact home.
What You Need to Start
Your shopping list is short and affordable. A general craft shop, an art-supply store, or an online marketplace will have everything, and the craft stalls around areas like Chinatown and Little India are wonderful for choosing beads in person. Start with the basics below and add specialist bits only if the hobby sticks.
- Beads. A mixed pot of seed beads plus a few larger feature beads gives you plenty to play with. Buy a small quantity first so you can find what you enjoy.
- Thread or beading wire. Nylon beading thread suits soft, drapey pieces, while flexible beading wire is sturdier for bracelets and necklaces.
- Needles. Beading needles are long and very fine so they pass through small holes. You only need a couple to begin.
- Small scissors or side cutters. Sharp scissors handle thread; side cutters are for trimming wire cleanly.
- Findings. Clasps, jump rings, and earring hooks turn a string of beads into a wearable piece.
- A bead mat or shallow tray. A cheap felt mat stops beads rolling off the table and onto the floor.
You do not need a dedicated bead board, pliers set, or storage system on day one. A small compartment box or even a few clean containers will keep your colours sorted for now.
Choosing Your Beads and Thread
Bead and thread choice is where many beginners hesitate, because the shelves offer so many options and the labels can be confusing. The table below compares the common starter choices so you can pick with confidence.
| Material | How it behaves | Best for beginners? |
|---|---|---|
| Glass seed beads | Even, small, holds colour well | Yes, the classic all-rounder |
| Acrylic or plastic beads | Light and very cheap, larger holes | Yes, easy to thread and forgiving |
| Nylon beading thread | Soft and flexible, ties neat knots | Yes, ideal for bracelets |
| Flexible beading wire | Strong, drapes nicely, resists snapping | Yes, great for necklaces |
| Natural stone or metal beads | Heavier, pricier, holes can be sharp | Better left for a little later |
For a first project, glass seed beads on nylon thread, or larger acrylic beads on beading wire, give the smoothest experience. Both are cheap enough that a mistake costs almost nothing.
Your First Project: A Simple Beaded Bracelet
A stretch or clasp bracelet is the classic beginner win, quick to make and easy to wear. Cut a length of beading thread or wire around twenty centimetres longer than your wrist so you have room to work and finish. If you are using thread, tie a temporary stopper bead near one end to keep everything from sliding off.
Lay your beads out on the mat in the order you fancy before you thread anything, so you can adjust the pattern without unpicking. Thread the beads on one by one, keeping a gentle, even tension. When the length wraps comfortably around your wrist with a little give, add a clasp and a jump ring at each end, or tie off a stretch cord with a firm double knot and a dab of clear-drying glue. Trim the tail neatly and your first piece is done. Choose a simple repeating pattern to begin, such as three small beads then one large, so the rhythm is easy to follow.
Common Beginner Mistakes
Most early frustration comes from a handful of predictable slips, and knowing them in advance saves a lot of unpicking.
- Cutting thread too short. Always leave generous tails for knotting and finishing. You can trim excess, but you cannot add length back.
- Uneven tension. Pulling some sections tight and others loose makes a bracelet kink. Aim for the same relaxed, steady pull throughout.
- Skipping the layout step. Threading straight from the pot often leads to a muddled pattern. Set the beads out first.
- Weak knots. A single knot on slippery thread can work loose. Use a double knot and a touch of glue on stretch cord.
- Buying too much at once. Start with a small, cheap selection and expand only once you know which beads and colours you reach for.
Caring for Beadwork in Singapore’s Humidity
Our warm, damp climate is mostly kind to beads, but a few habits keep your pieces and supplies in good shape. Metal findings and some plated clasps can tarnish in humid air, so store finished jewellery in a small sealed box or pouch rather than leaving it exposed on a dresser. Slip a sachet of silica gel in with your bead storage to keep everything dry and prevent any threads from absorbing moisture. Keep beads and small findings well away from young children and pets, as they are a genuine choking hazard, and sweep up any strays promptly. A quick wipe with a soft, dry cloth keeps worn pieces looking fresh.
How to Improve and Go Further
Once your first bracelet is on, the natural next step is to explore proper techniques rather than simple stringing. Beadweaving stitches such as the peyote and brick stitch let you build flat panels and shaped pieces, while bead loom work opens up patterned cuffs and bookmarks. Free video tutorials are plentiful and let you learn at your own pace, and a simple beginner pattern book gives you projects to aim for. From there you can move into earrings, necklaces, beaded charms, and even small decorative motifs. Keep a little notebook of colour combinations and thread lengths that worked, so each project starts a touch easier than the last.
Explore more
If you enjoy small, detailed handwork, there is a whole family of related crafts to try next. Have a look at jewellery making for beginners to build on your bracelet skills, or explore wire wrapping and wire art for a sculptural way to set beads and stones. For another soft, mouldable craft that pairs beautifully with beads, polymer clay crafts for beginners is a lovely companion.