
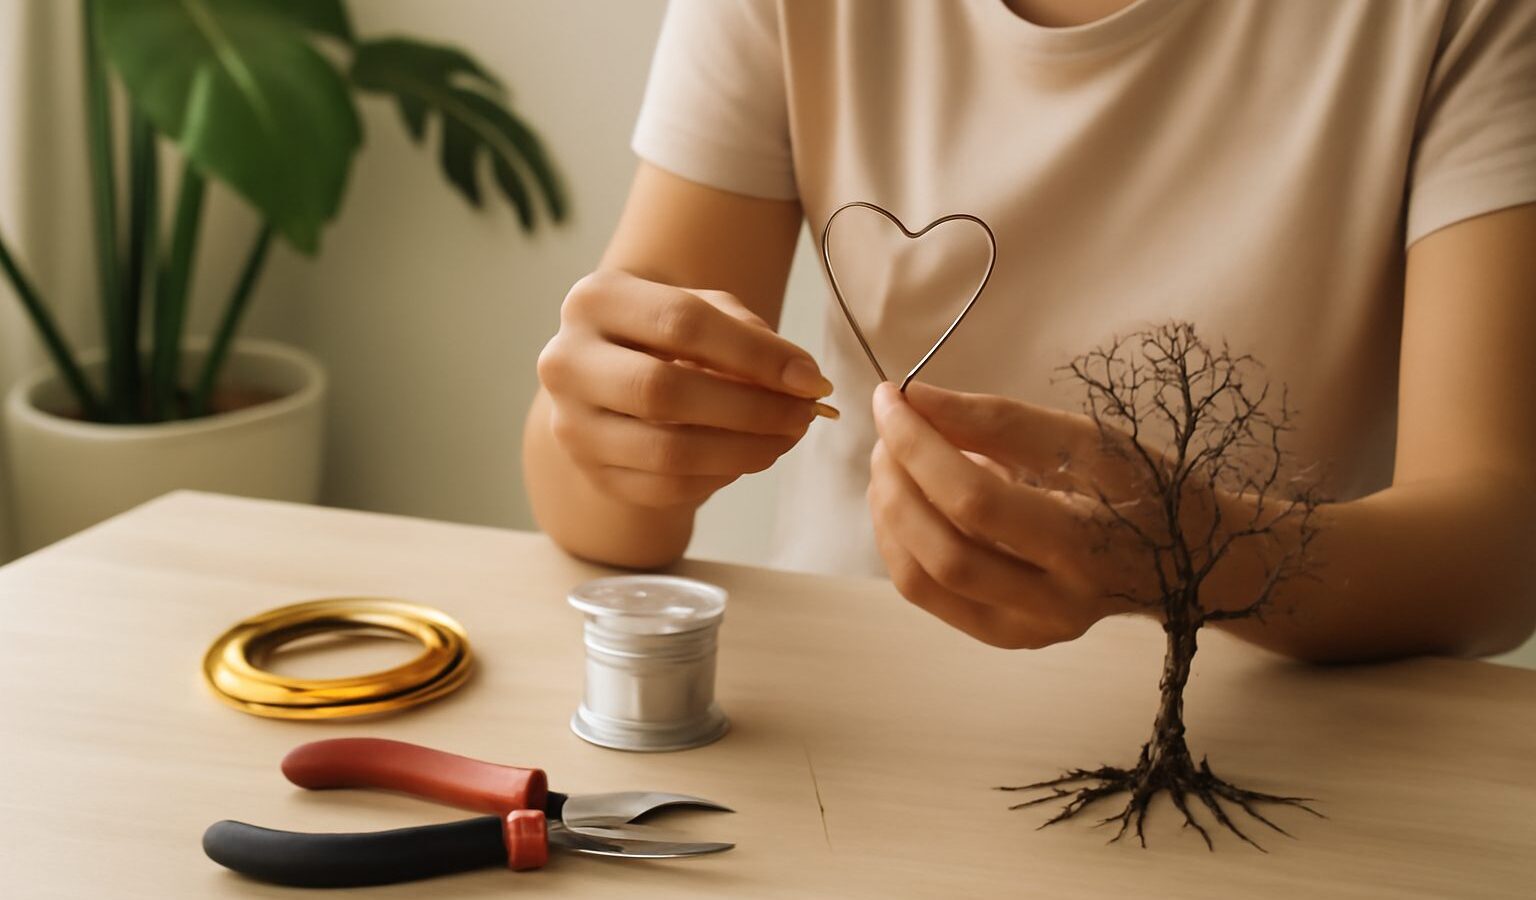
There is something quietly magical about turning a length of plain metal wire into a pendant, a ring, or a small sculpture with nothing more than your hands and a few pliers. That is the heart of wire wrapping, a craft that sits happily between jewellery making and sculpture. It is affordable, needs very little space, and rewards patience rather than expensive gear. This guide walks a total beginner in Singapore through everything you need to start wire wrapping and simple wire art, from choosing your first spool to finishing a piece you will be proud to wear.
Why Wire Wrapping Suits Beginners
Wire wrapping is forgiving in the ways that matter most when you are learning. If a wrap looks messy, you can often unwind it and try again, so a mistake costs you a little time rather than a ruined material. Unlike soldered jewellery, basic wire wrapping joins pieces mechanically, by looping and coiling wire around itself, so you can make genuinely attractive things without any heat at all.
It is also a small-space, quiet craft, which makes it ideal for an HDB flat. You need only a corner of a table, and the work makes almost no noise beyond the gentle click of pliers. There are no fumes from basic wrapping, no drying times to race against, and no machinery. That low barrier means you can sit down for twenty minutes after dinner and still make real progress. Best of all, a single spool of wire and a couple of beads can become a pendant, a ring, or a bookmark, so your money stretches a long way.
What You Need to Start
Your starter kit is short and cheap. You can find most of it in a general craft shop, a hardware store, an art-supply store, or an online marketplace, and it is worth browsing the craft stalls around areas like Chinatown or Little India for wire and beads you can choose in person.
- Wire. Copper or craft wire in a soft or dead-soft temper is the friendliest to bend. Buy a couple of thicknesses to begin with.
- Round-nose pliers. These make neat loops and curls, the backbone of most designs.
- Flat-nose or chain-nose pliers. These grip, bend sharp angles, and tuck in wire ends.
- Flush cutters. A dedicated pair snips wire cleanly and close, which keeps ends from scratching.
- A few beads and a focal stone. Beads with a hole, or a tumbled stone to cage in wire, give you something to build around.
- A ruler and a fine marker. Measuring wire before you cut saves a lot of waste.
You do not need a jeweller’s bench, a torch, or specialist equipment when starting out. Add tools only once the craft sticks and you know what you actually reach for.
Understanding Wire Gauge and Temper
The single most confusing thing for beginners is wire gauge, which describes thickness. Higher gauge numbers mean thinner wire. Thick wire holds a shape and works as a frame, while thin wire is easy to coil and weave around that frame. Temper describes how hard the wire is: soft wire bends easily but holds shape less firmly, while harder wire springs back. The table below compares common beginner choices so you can shop with confidence.
| Wire choice | How it behaves | Best used for |
|---|---|---|
| 20 gauge, soft | Sturdy but still bendable by hand | Frames, ring bands, pendant bails |
| 24 gauge, soft | Thin and flexible, coils neatly | Wrapping, weaving, securing beads |
| 28 gauge, soft | Very fine, almost thread-like | Delicate detail and tight coils |
| Copper, dead-soft | Cheap, kind on the hands, easy to shape | All-round practice wire |
For your very first pieces, a spool of 20 gauge and a spool of 24 gauge in soft copper will cover most projects. Copper is inexpensive, so you will not feel bad about practising, and it looks lovely once polished.
Working Safely With Wire and Tools
Wire wrapping is gentle, but a few sensible habits keep it that way. Cut wire ends fly off unexpectedly, so wear eye protection or at least cup your hand over the cut and point offcuts downward into a bin or tray. Freshly cut ends are sharp, so file or tuck them in neatly. Work over a tray so tiny offcuts do not end up underfoot or within reach of young children and pets, and keep small beads and stones well away from little ones who might swallow them.
Most basic wire art needs no heat at all. If you later move on to soldering to join or finish pieces, treat it as a different skill with its own rules. Work in a well-ventilated space so you are not breathing flux fumes, wear eye protection, keep a heatproof surface under your work, never touch a joint until it has cooled, and follow the safety instructions printed on your tools and materials. Keep a hot iron out of reach of children and unplug it the moment you finish.
Your First Project: A Wrapped Stone Pendant
A caged stone pendant is the classic first win because it is quick, needs no soldering, and hides small wobbles inside its curves. Choose a smooth tumbled stone or a large bead. Cut a length of 20 gauge wire for the frame and a longer length of 24 gauge for wrapping.
Bend the thicker wire around the stone to form a basket or cradle that holds it snugly, crossing the wires at the top. Use the round-nose pliers to curl a loop at the top for the bail, which is the part a chain or cord passes through. Then take the thinner wire and coil it around the frame wires, catching the stone in place and adding neat wraps for decoration. Tuck every end in firmly with your flat-nose pliers so nothing scratches. Thread a cord or chain through the bail and your first pendant is ready to wear. Start with a lightweight stone while you are learning, so your wraps are not fighting too much weight.
Common Beginner Mistakes
Most early frustration comes from a handful of predictable slips, and knowing them in advance saves a lot of unpicking.
- Cutting wire too short. Wrapping and coiling swallow far more length than you expect, so err generously and trim later.
- Overworking the wire. Bending the same spot again and again makes wire brittle until it snaps. Plan your bends so each one counts.
- Leaving sharp ends. Untucked ends scratch skin and clothes. Always tuck and file until a piece feels smooth to the touch.
- Buying pretty wire too soon. Practise on cheap copper before you spend on silver-filled or coloured wire.
Caring for Your Work in Singapore’s Humidity
Our warm, damp climate is hard on bare metal, and copper in particular tarnishes quickly here. Store finished pieces and spare wire in a sealed bag or box with a small sachet of silica gel to keep moisture out. An anti-tarnish strip tucked into the box helps too. If a piece dulls, a gentle rub with a soft polishing cloth usually brings the shine back. Keep wire away from bathrooms and open windows where humidity is highest, and wipe pieces after wearing, since sweat speeds up tarnish. A little care keeps your work looking fresh for years.
How to Improve and Go Further
Once your first pendant is done, the natural next step is to repeat a shape until your wraps look even and confident. Try making a matching pair of earrings, a simple wire ring, or a bookmark with a decorative curl. Free video tutorials are plentiful and let you learn coiling, weaving, and framing at your own pace. From there you can explore woven wire cuffs, tree-of-life pendants, and small standing wire sculptures. Keep a notebook of wire lengths and gauges that worked, so every project starts a little easier than the last.
Explore more
If shaping metal by hand appeals to you, there are gentle neighbouring crafts to try next. Have a look at jewellery making for beginners to broaden your skills, or explore beadwork for beginners for another affordable way to make things you can wear. For a completely different kind of small, detailed handwork, getting into miniatures and dioramas is a lovely companion hobby.