
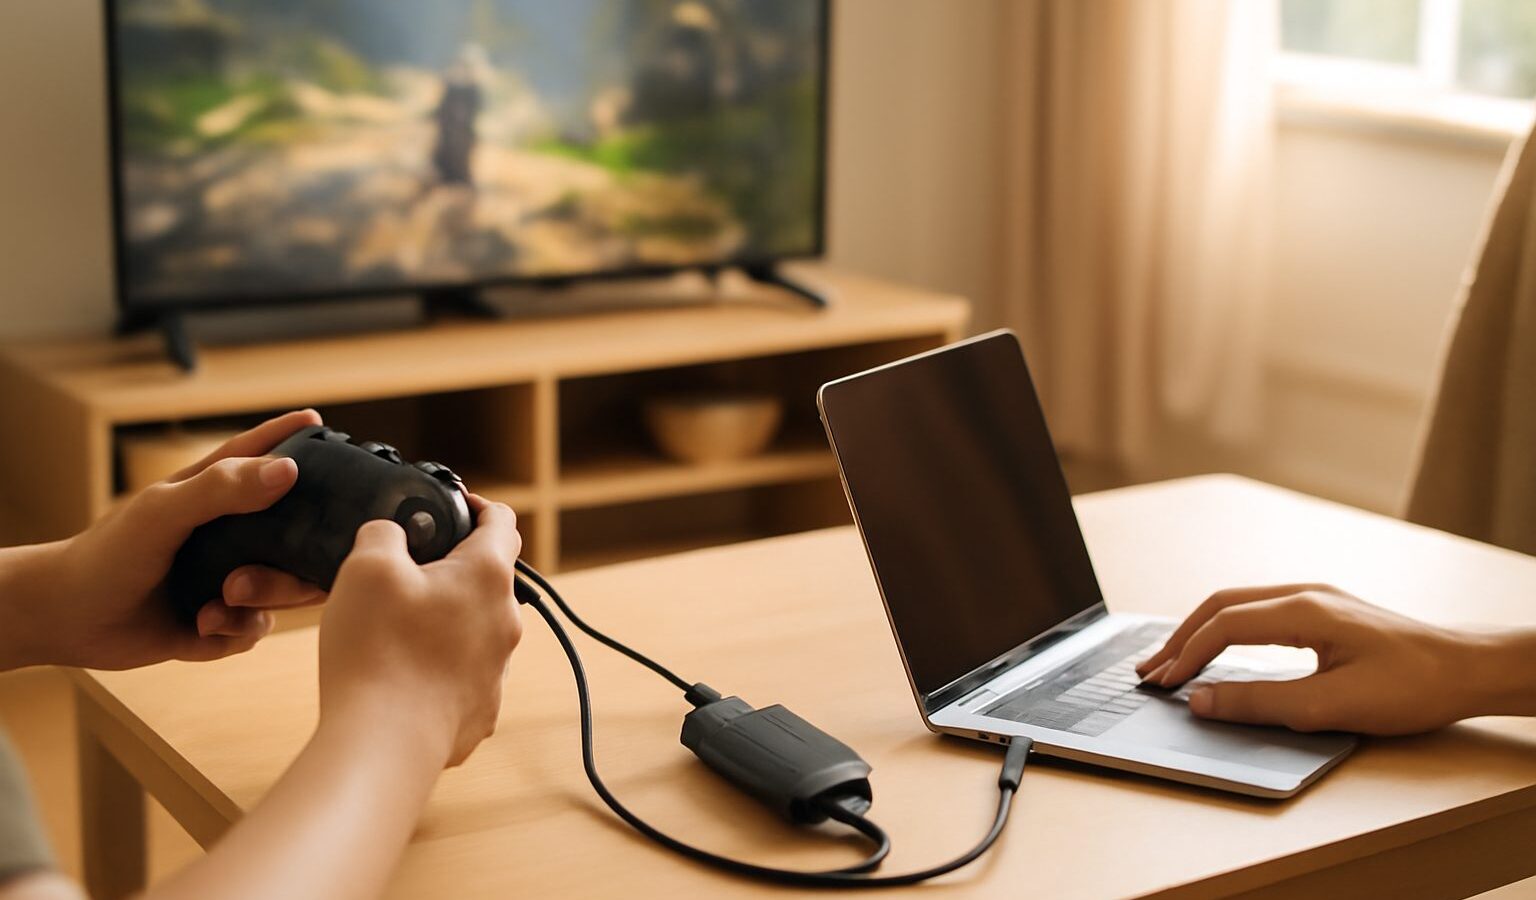
Want to save that clutch win, keep a walkthrough for later, or start a YouTube channel from your HDB gaming corner? Recording gameplay is easier than it looks, and you often do not need to spend a cent to begin. This guide explains what a capture card actually does, when you really need one, and how to record clean footage whether you play on a PC, a console, or a phone, with the jargon kept light throughout.
What Recording Gameplay Actually Means
Recording gameplay simply means saving the video and sound of what happens on your screen so you can watch it back, edit it, or share it. There are two broad ways to do this.
The first is software recording, where a program on your computer or console grabs the picture directly. This is free, built in on most modern platforms, and perfect for short clips or full sessions.
The second is hardware recording using a capture card, a small device that takes the video signal from a console (or a second PC) and feeds it into a recording computer. You need this when the machine you play on cannot record itself well, or when you want the smoothest possible footage without slowing down your game.
A quick note on terms. “FPS” here means frames per second, or how many still images make up each second of video. More frames look smoother. “1080p” and “4K” refer to the resolution, or how sharp the picture is. “Bitrate” is how much data the video uses per second, which affects both quality and file size.
When You Actually Need a Capture Card
Plenty of people record for years without ever buying a capture card, so do not rush out to an IT mall just yet. Here is the honest picture.
- Gaming on a modern PC: You usually do not need a capture card. Free software captures your screen directly and looks great.
- Gaming on a current console: Most consoles have a built-in capture feature for screenshots and short clips, no extra gear needed. A capture card only helps if you want long recordings, higher quality, or a live overlay.
- You want a professional two-computer setup: A capture card lets one PC handle the game while another records or streams, so your game never stutters. This is the classic creator setup.
- You record from older consoles or a Nintendo Switch: These cannot record themselves, so a capture card is the practical route.
If you are still deciding, start with free software first. Only buy hardware once you know exactly what it is missing.
Free Built-In Tools to Try First
Before spending money, learn the free options already sitting on your device. They are more capable than most beginners expect.
- On Windows: The built-in Game Bar can record the active game and save clips with a keyboard shortcut. It is ideal for quick highlights.
- On macOS: The built-in screen recorder captures any window or the whole screen, handy for casual clips.
- On PlayStation and Xbox: Both keep a rolling buffer of recent play, so you can save the last few moments after something exciting happens, then trim it on the console itself.
- On a Nintendo Switch: Holding the capture button saves a short clip after the action, which you can share straight away.
- On mobile: Both Android and iPhone have a screen recorder in the quick settings or control centre, so you can capture mobile games with no apps at all.
For more control on a PC, free and open-source broadcasting software is the community favourite. It records, lets you add a webcam, and doubles as streaming software later. If your goal is to go live rather than just record, our guide to setting up to stream your gameplay walks through the next steps.
Choosing a Capture Card Without Overspending
If you have decided a capture card is worth it, focus on how it connects rather than on brand hype. Prices and models change quickly, so always check current specs at a local IT mall or a trusted online store before buying.
There are two main types. An external capture card plugs into your recording PC over USB and is easy to move between machines. An internal card slots inside a desktop PC and can offer very high quality, but it is fixed in one place. Beginners usually start with an external USB card for its simplicity.
The table below compares the common ways to record so you can match a method to your situation.
| Recording method | Best for | Extra cost | Effort to set up |
|---|---|---|---|
| Built-in console or phone capture | Quick clips, total beginners | None | Very low |
| Free PC recording software | PC players, longer sessions | None | Low |
| External USB capture card | Consoles, two-PC setups | Moderate | Medium |
| Internal capture card | High-end creator desktops | Higher | Higher |
When comparing cards, check three things: the highest resolution and frame rate it supports, whether it does “passthrough” so you can still see the game on your TV with no lag, and that it works with your recording software. Do not pay for 4K capture if your console and TV only output 1080p, since you would be spending on quality you cannot use.
Settings That Keep Footage Clean
Good footage is more about sensible settings than expensive gear. A few choices make a big difference.
- Resolution: 1080p is the sweet spot for most creators. It looks sharp and keeps file sizes sensible. Only jump to 4K if your whole chain supports it and you have plenty of storage.
- Frame rate: 30 FPS is fine for slower games and tutorials. 60 FPS looks noticeably smoother for fast action like shooters or racing.
- Bitrate: Higher bitrate means better quality but larger files. Start with your software’s default and raise it only if the video looks blocky.
- Audio: Record game sound and your microphone on separate tracks if your software allows it. This lets you fix the balance later instead of being stuck with it.
- Storage: Recorded video is large. A single hour at 1080p60 can eat many gigabytes, so a spare external drive is a wise buy. Local IT stores stock plenty.
Do a short test recording before any important session. Play back thirty seconds and check the picture is smooth, the game sound is clear, and your microphone is neither too quiet nor crackly. A one-minute test saves you from losing a great moment to a bad setting.
Simple Editing and Sharing
Once you have footage, light editing turns a raw clip into something people enjoy. You do not need costly software to start.
Free video editors on Windows, Mac, and even mobile cover the basics: trimming the boring parts, joining clips, and adding simple text. For most highlight reels, trimming alone does ninety per cent of the work. Cut to the action, keep it short, and viewers will thank you.
When exporting, match your recording resolution and frame rate so nothing looks worse than the original. For sharing, uploading directly to a video platform handles the heavy lifting of compression for you. If you play with friends, a quick clip shared in a group chat is often all the audience you need.
A word on courtesy and safety. If other players appear in voice chat, avoid posting recordings that reveal their personal details without asking. If you record with a webcam, check the background for anything private first.
Start Small and Build Up
The best way to learn recording gameplay is to record something today with the free tools you already own. Watch the clip back and notice what you would improve. Once you know what your setup cannot do, you will know whether a capture card, a better microphone, or simply more practice comes next. Gear can wait; the habit of hitting record is what turns a casual player into a confident creator.