
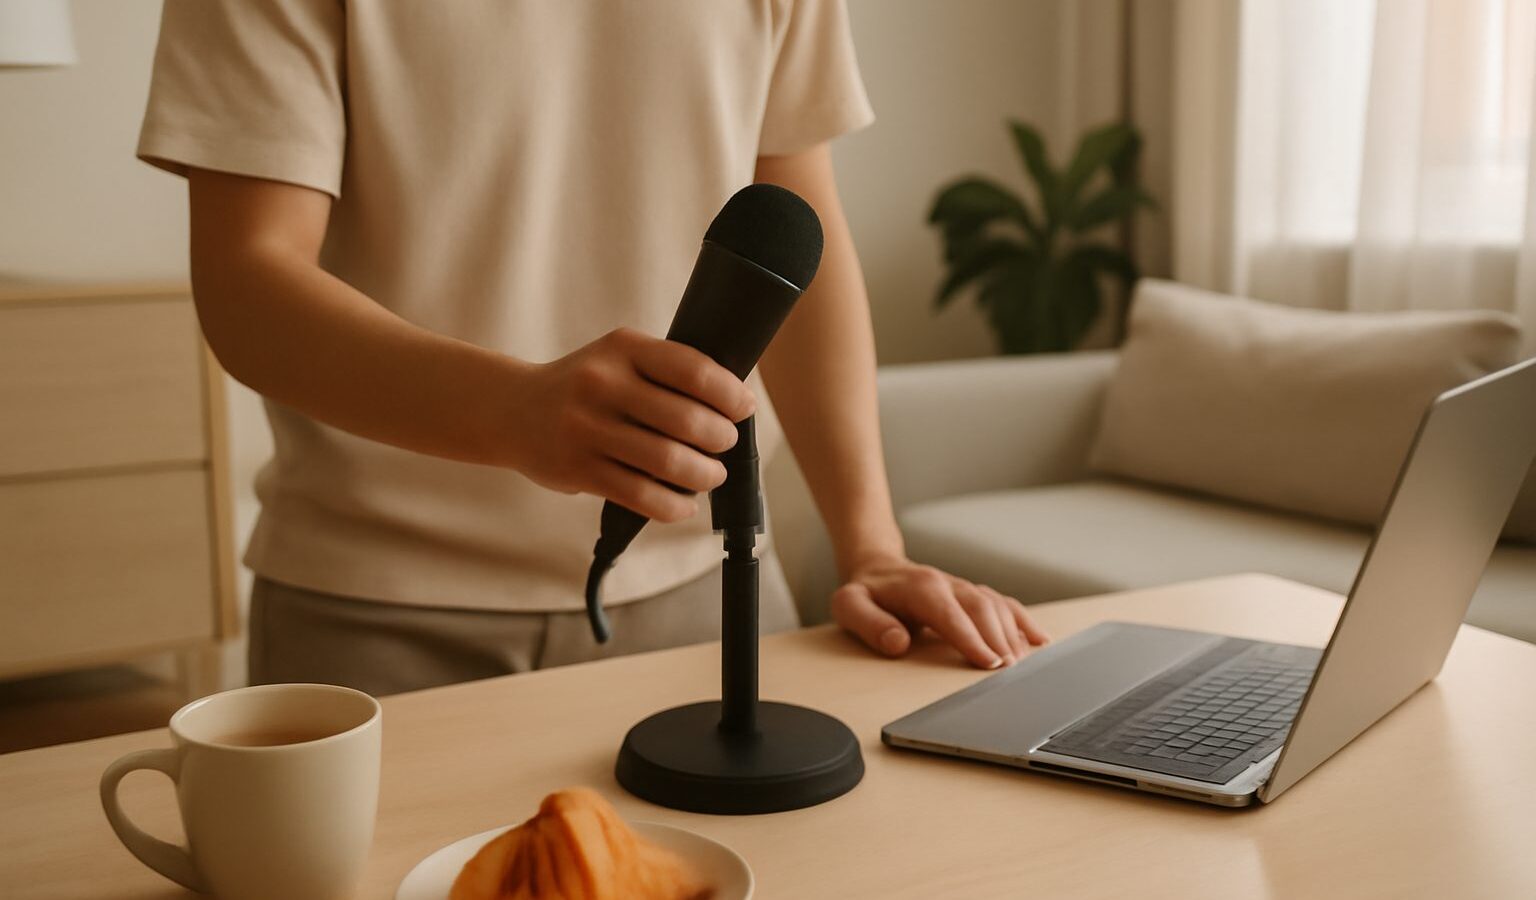
The microphone is the single part of your setup that decides how you actually sound. You can have a capable computer and clever software, but if the wrong microphone for recording is capturing your voice, everything downstream inherits its flaws. The good news is that you do not need an expensive one to sound good, and you do not need to understand every technical term to choose well. This guide walks a complete beginner through the handful of decisions that matter, in plain language, with Singapore homes and budgets in mind.
The Two Main Types of Microphone
Almost every microphone you will meet falls into one of two families. Understanding the difference is most of the battle, and neither is simply “better”, they just suit different situations.
- Dynamic microphones. These are rugged, simple and less sensitive. Because they mostly pick up whatever is close to them, they politely ignore background noise, which is a gift in a noisy flat. They are the classic choice for live singing and for spoken voice in an untreated room. They also do not need any external power to work.
- Condenser microphones. These are more sensitive and capture fine detail, which flatters vocals and acoustic instruments. That sensitivity is double-edged: a condenser also hears the fan, the traffic outside and the neighbour’s renovation. They need phantom power, a supply of electricity, usually labelled “48V”, delivered through the cable to make them work.
For a beginner recording in a normal, untreated HDB room, a dynamic microphone is often the more forgiving starting point because it hides so much unwanted noise. A condenser rewards you with more detail, but only once your room is reasonably quiet and a little treated.
USB or XLR: How the Microphone Connects
The next fork is how the microphone plugs in, and it shapes your whole setup.
- USB microphones plug straight into your computer with a single familiar cable. Everything needed is built in, so there is nothing else to buy. This is the simplest, cheapest way to start recording today, ideal for podcasts, voice-overs and casual singing.
- XLR microphones use a three-pin professional cable and cannot plug into a laptop on their own. They need an audio interface, the small box that connects microphones to a computer and supplies phantom power. This means more gear and cost, but far more room to grow.
If you already own an audio interface, or you know you want to expand later, an XLR microphone is the more flexible long-term path. If you want the fastest, tidiest start with one purchase, a USB microphone is hard to beat. Our guide to choosing an audio interface covers that box in detail if you take the XLR route.
Matching a Microphone to What You Record
What you record should steer your choice more than any brand or price tag. The table below lines up common beginner goals with a sensible starting point.
| What you want to record | Sensible first choice | Why it fits |
|---|---|---|
| Podcast or voice-over | USB dynamic microphone | Simple, hides room noise, one purchase |
| Singing in an untreated room | XLR dynamic microphone | Forgiving of background sound and echo |
| Acoustic guitar or detailed vocals | XLR condenser microphone | Captures fine detail and air |
| Casual practice and voice notes | USB microphone you own | Good enough to start, upgrade later |
Notice that no row demands the most expensive option. The right microphone for recording is the one that suits your room, your material and your budget, not the one with the highest price. Specifications, models and prices change constantly, so confirm current details at a local music shop or a trusted online store rather than relying on an old recommendation.
Beyond the Microphone Itself
A microphone rarely works well alone, and a few inexpensive extras make a bigger difference to your sound than spending more on the mic.
- A pop filter. This is a thin screen that sits between your mouth and the microphone, softening the bursts of air from “p” and “b” sounds that otherwise thump the recording. It is cheap and genuinely transformative for vocals.
- A stand or arm. Holding a microphone, or letting it sit on your desk, passes handling noise and desk knocks straight into the recording. A simple stand or a clamp-on arm keeps it steady and quiet.
- A quiet spot. The room matters as much as the microphone. Recording into a corner with soft furnishings, a wardrobe of clothes nearby or a duvet behind you tames echo for free. You do not need a studio, just a considered corner.
- Headphones, not speakers. Monitoring on headphones stops the sound looping back into the microphone and, in an HDB flat, keeps late-night sessions from disturbing the neighbours through the walls.
Recording Well in a Singapore Home
Once you have your microphone, a little care in setup and storage goes a long way in our climate and our close-quartered living.
- Get close, then set your level. Speaking or singing fairly close to the microphone gives a fuller, warmer sound and lets you record at a lower, cleaner level. Set the level so your loudest moment stays clear of distortion, with a little room to spare.
- Record during quiet hours. Even a dynamic microphone picks up lifts, renovation and traffic. Early mornings and late evenings are often the calmest windows, provided you monitor on headphones to respect your neighbours.
- Guard against humidity. Condenser microphones in particular dislike Singapore’s damp air, which can cause crackle over time. Store the microphone in a dry box or a cabinet with silica gel packs, and let it settle if you move it from air-conditioning into a warm room.
- Handle it gently. Microphones are more delicate than they look. Keep it on its stand, avoid tapping or blowing into it to test, and speak into it instead.
Choosing a microphone for recording comes down to three honest questions: dynamic or condenser, USB or XLR, and what you actually record most. Answer those with your real room and budget in mind rather than chasing the priciest option, add a pop filter and a stand, and you will have a setup that sounds far better than its cost suggests.
Explore more
Just getting started? Begin with home recording for beginners, then pair your mic with the right box in choosing an audio interface. When you are ready to press record, our guide to recording vocals at home walks you through it.