
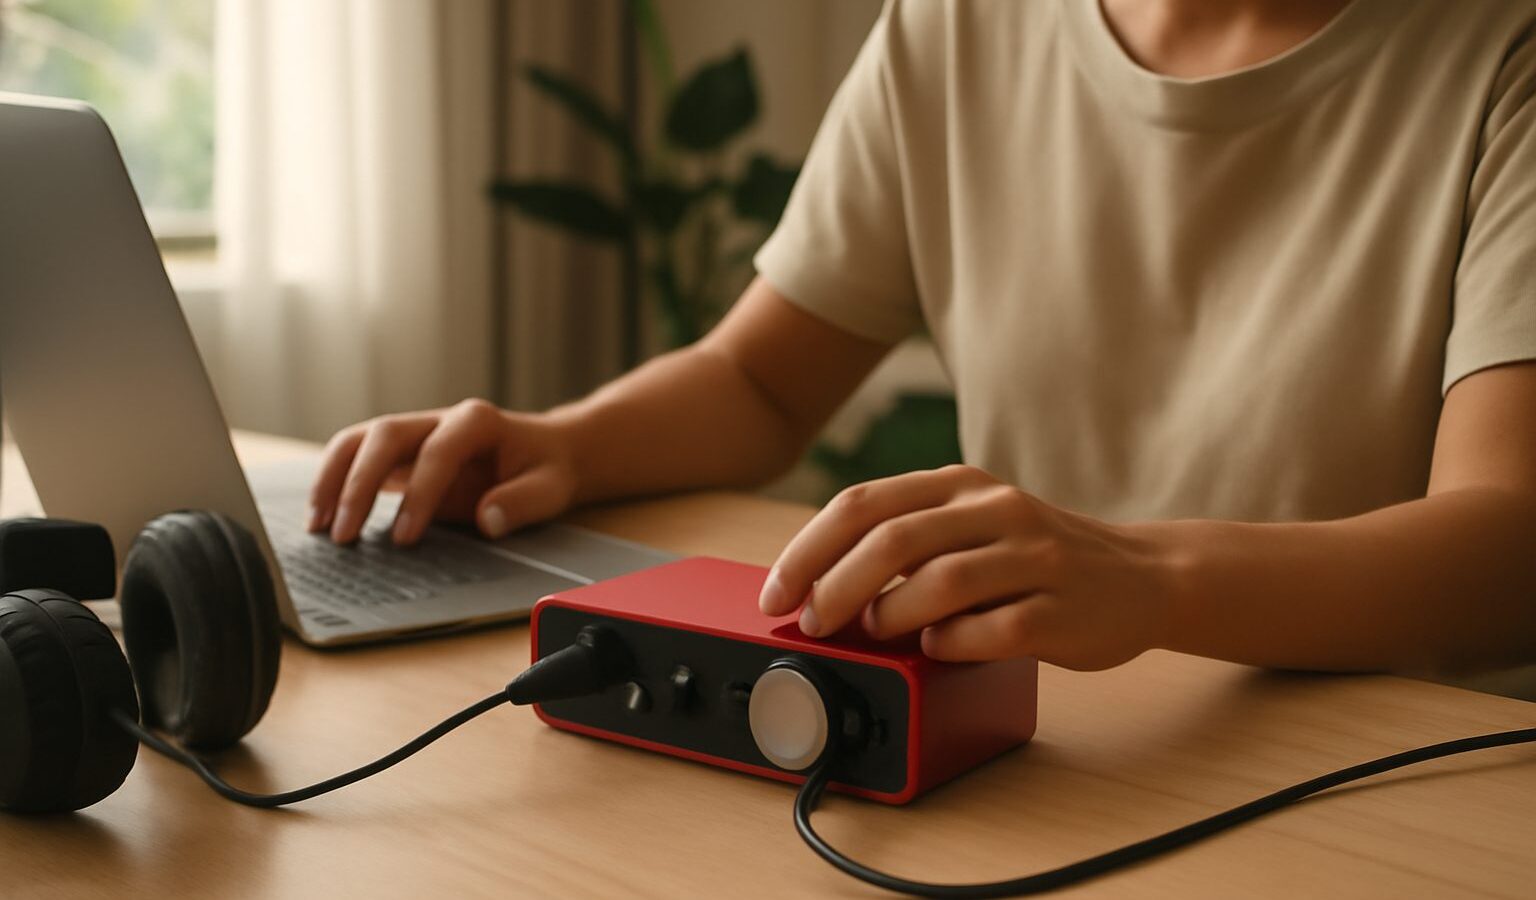
If you want to record singing, a guitar or a podcast at home, the first piece of gear people point you towards is an audio interface. It sounds technical, but the idea is simple. An audio interface is a small box that sits between your microphone or instrument and your computer, turning the sound into something your laptop can record cleanly. Plugging a proper microphone straight into a laptop rarely works well, and this is the box that fixes that. This guide explains what it does, what actually matters when you buy one, and how to set it up sensibly in a Singapore home.
What an Audio Interface Actually Does
Your laptop’s built-in microphone socket, if it even has one, is designed for headsets and video calls, not for music. An audio interface does three jobs that a bare laptop cannot do well.
- It converts sound. Microphones and instruments produce an analogue signal, meaning a continuous electrical wave. Your computer only understands digital data, meaning numbers. The interface is the translator between the two, in both directions.
- It boosts quiet signals. A microphone’s output is very weak on its own. The interface contains a preamp, short for preamplifier, which lifts that faint signal up to a usable level before recording. A good preamp keeps the sound clean rather than adding hiss.
- It handles playback. You plug your headphones or speakers into the interface too, so you can hear what you are recording with almost no delay.
The result is a cleaner, louder and more reliable recording than a laptop alone can manage, which is why an audio interface is the backbone of almost every home setup.
How Many Inputs and Outputs You Need
The single most useful question is how many things you want to record at the same time. Each physical socket you plug into is an input. Recording just your own voice needs only one. Recording yourself singing and playing guitar at once needs two, so the two sounds land on separate tracks you can adjust later. A small band or a two-person podcast needs more.
Do not overbuy. A common mistake is paying for eight inputs when you will only ever use one. It is easy to picture the setups by who they suit.
| Your situation | Inputs to look for | Why this suits you |
|---|---|---|
| Solo vocalist or voice-over | 1 input | Records one microphone cleanly, cheapest to buy |
| Singer-songwriter | 2 inputs | Captures voice and guitar on separate tracks at once |
| Two-person podcast | 2 inputs | Two microphones, each on its own track for editing |
| Small band or drum kit | 4 or more inputs | Records several instruments together in one take |
Outputs matter less for a beginner. You mostly need one headphone socket and a pair of outputs for speakers, which nearly every interface has. If two people need to listen at once, look for two headphone sockets.
Key Features to Check Before You Buy
Beyond input count, a handful of features separate a frustrating box from a pleasant one. None of these require you to be technical.
- Phantom power. This is a supply of power, usually labelled “48V” or “phantom”, that certain microphones need to work at all. Condenser microphones, the sensitive studio type, require it. If you plan to use one, the interface must offer phantom power, so check for it.
- Connection type. Most home interfaces connect to your computer by USB, the same familiar cable type used for many devices. Confirm the interface matches your laptop’s ports, and check whether an adaptor is included or needed.
- Direct monitoring. This feature lets you hear yourself through the interface with no delay while recording. Without it, your voice can come back a fraction of a second late, which is very off-putting when singing. Most modern interfaces include it.
- Build and controls. Clear, well-spaced knobs and a sturdy metal case make daily use easier and last longer, which matters in our humid climate where flimsy gear ages fast.
- Bundled software. Many interfaces come with recording software included, which can save a beginner both money and setup hassle on day one.
Resist chasing numbers you will not hear. For a first interface, a clean entry-level model with the right input count and phantom power will serve you far better than an expensive unit crammed with features you never touch. Specifications and prices change often, so check current details at a local music shop or a reputable online store before deciding.
Setting It Up in a Singapore Home
Getting an interface working is usually quick, but a few local habits save trouble. Connect the interface to your laptop, install any driver, which is the small piece of software that lets your computer talk to the hardware, and select the interface as both the input and output in your recording software. Plug your microphone or instrument into an input, and your headphones into the headphone socket.
- Set levels gently. Turn the input knob, sometimes called gain, up until your loudest singing or playing shows a healthy signal without hitting the very top, where the sound distorts. Leaving a little headroom keeps recordings clean.
- Mind your neighbours. In an HDB flat, recording vocals late at night is fine through headphones, but loud playback through speakers travels through walls. Monitor on headphones during unsociable hours to stay on good terms with the people next door.
- Protect it from humidity. Singapore’s damp air is hard on electronics. Store the interface in a dry, ventilated spot, and consider a dry box or a few silica gel packs if you keep it in an air-conditioned room that you switch off often.
- Use a stable surface. Knocks and cable tugs are the usual cause of crackles, so give the box a settled home on your desk rather than moving it around.
Common Mistakes to Avoid
A few missteps trip up almost everyone at the start, and all are easy to sidestep.
- Buying for a band you do not have yet. Choose for how you record now, not an imagined future. You can upgrade later if your needs grow.
- Forgetting the extras. An interface alone does not record anything. You still need a microphone, a cable and headphones, so budget for the whole chain rather than the box alone.
- Ignoring phantom power. Pairing a condenser microphone with an interface that has no phantom power is a classic disappointment. Match the two before buying.
- Recording too loud. Pushing levels into distortion cannot be fixed afterwards. Record a touch quieter and turn it up later instead.
An audio interface is not glamorous, but it quietly determines how clean everything you record sounds. Match the inputs to how you actually work, confirm it has phantom power if you need it, set your levels with care, and it will happily serve you for years while you focus on the music.
Explore more
New to all this? Start with our guide to home recording for beginners, then pair this box with the right mic using choosing a microphone for recording. When you are ready to hit record, our walkthrough on recording vocals at home ties it all together.