

If water from your kitchen or bathroom tap has slowed to a weak trickle, sprays sideways or spurts unevenly, the culprit is often a small part at the very end of the spout: the aerator. Knowing how to clean tap aerator screens is one of the simplest home fixes there is. It usually takes under half an hour, costs next to nothing and can make a tap feel brand new.
What a Tap Aerator Does and Why It Clogs
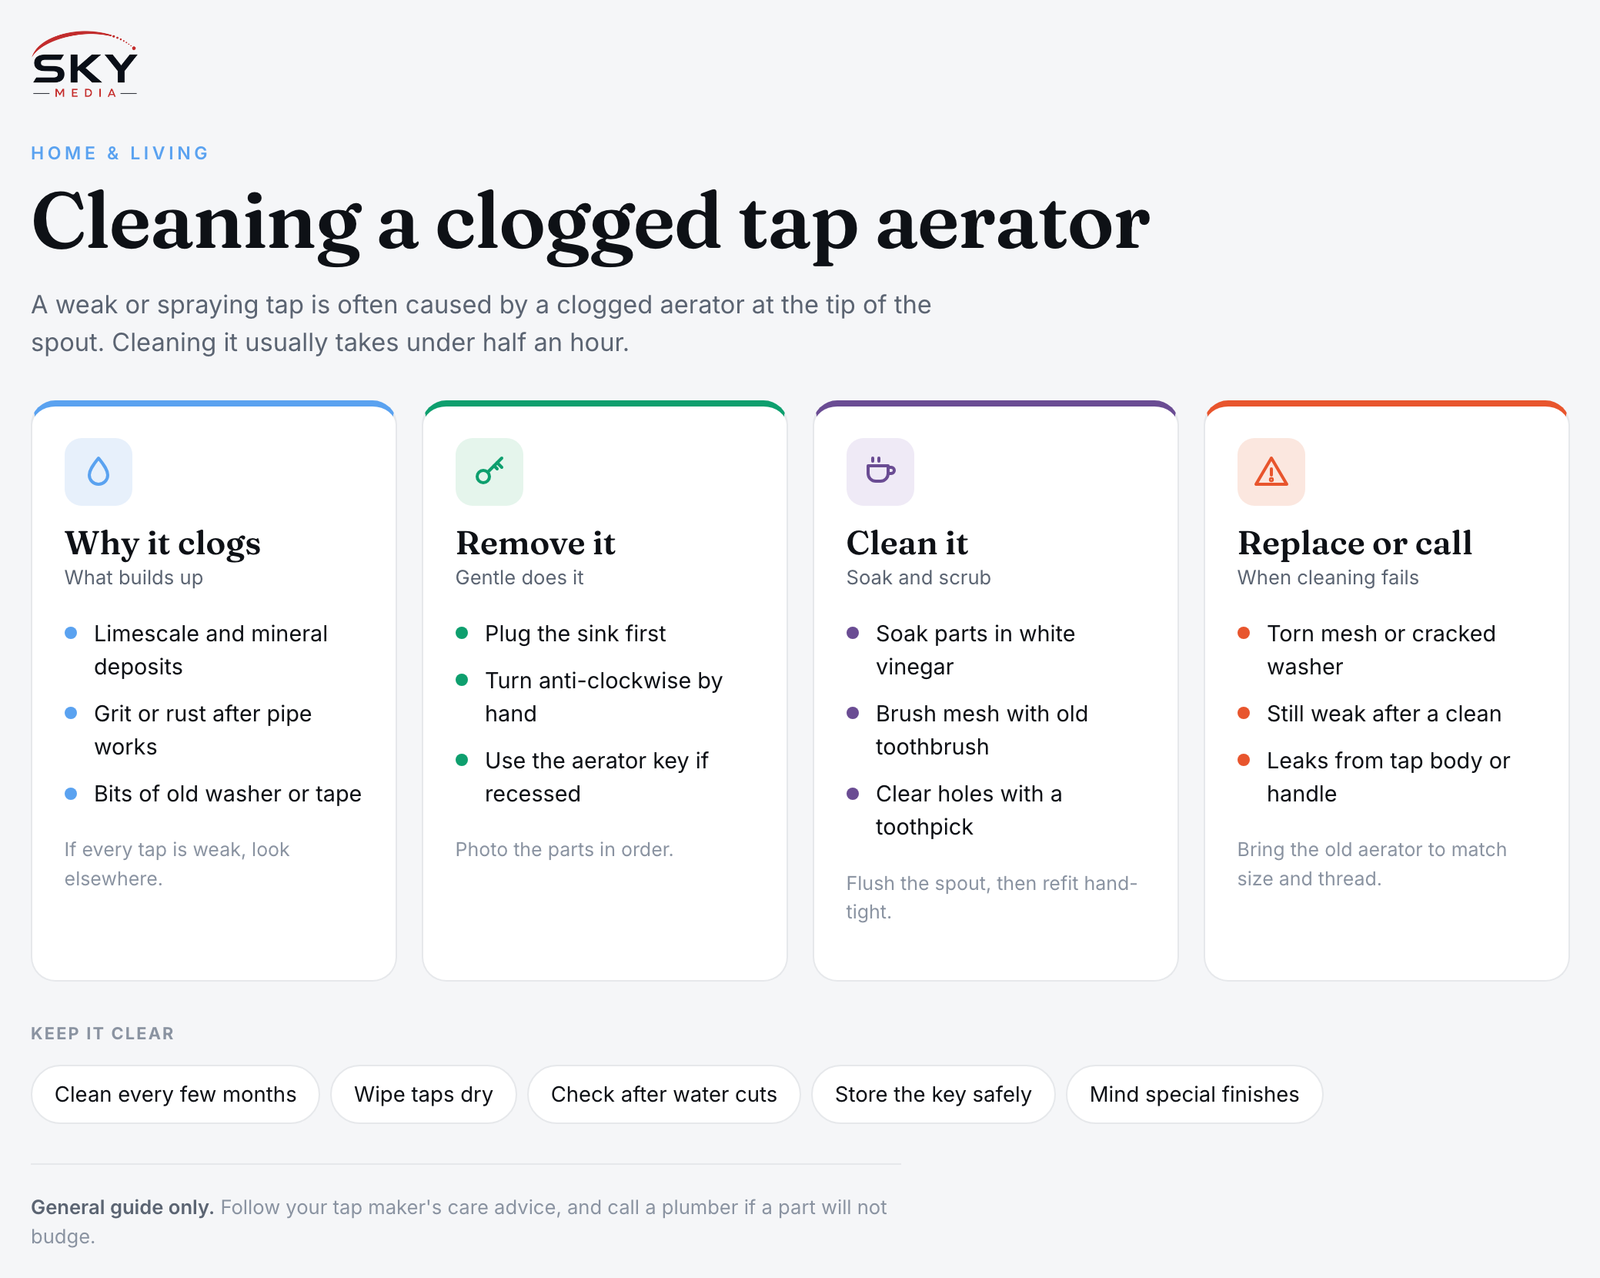
An aerator is the small round fitting screwed onto the tip of most modern taps. Inside are one or more fine mesh screens, sometimes with a plastic insert and a rubber washer. It mixes air into the water stream so the flow feels soft and even, reduces splashing and helps cut water use.
Because water must pass through tiny holes, the aerator also catches whatever is travelling through your pipes:
- Limescale and mineral deposits that build up as water dries on the mesh
- Grit, sand or rust flakes, especially after plumbing works, water supply disruptions or renovation in the block
- Bits of old washer or thread tape loosened during tap repairs
Over time the holes narrow, so the flow weakens and the stream goes wonky. If only one tap has poor pressure while others in the home are fine, the aerator is a very likely suspect. If every tap is weak, the problem is more likely elsewhere, and it is worth asking your town council or building management whether there is supply work in your block.
What You Need
Most of these are already in a Singapore household:
- a soft cloth or rubber glove for grip
- an adjustable wrench or pliers, with a cloth wrapped around the jaws to avoid scratching
- an aerator key, if your tap has a recessed (hidden) aerator; these small plastic keys often come with the tap
- a small bowl, white vinegar and an old toothbrush
- a toothpick or pin for stubborn holes
- a towel or sink plug so tiny parts do not vanish down the drain
Step by Step: How to Remove and Clean the Aerator
- Plug the sink. Before you start, close the drain or lay a towel in the basin. Aerator parts are small and easy to lose.
- Unscrew the aerator. Most turn anti-clockwise when you look down from above. Try by hand first, using a cloth or rubber glove for grip. If it is stuck, use a cloth-wrapped wrench and turn gently. For recessed aerators, fit the aerator key into the slots and turn.
- Note the order of parts. Lay out the washer, screens and insert in the order they came out, or take a quick photo on your phone. Getting the order wrong is the most common reason for leaks afterwards.
- Rinse off loose debris. Hold the parts under running water from another tap and brush away grit.
- Soak in vinegar. Place the parts in a bowl of white vinegar to dissolve limescale. Light build-up often loosens in around 30 minutes; heavy scale may need longer. Avoid soaking rubber washers for long periods, as strong acids can harden rubber over time.
- Scrub and clear the holes. Brush the mesh with an old toothbrush, then poke any remaining blocked holes gently with a toothpick. Avoid metal pins forcing through the mesh, which can tear it.
- Flush the tap. With the aerator off, run the tap briefly to push out any debris sitting in the spout.
- Rinse and reassemble. Rinse everything in clean water, rebuild the aerator in the original order, and screw it back on hand-tight. Only use a wrench for a final small turn if it drips.
If the Aerator Will Not Come Off
A badly scaled aerator can seize onto the tap. Some gentle options:
- Soak it in place. Fill a small plastic bag with vinegar, slip it over the spout so the aerator is submerged, and secure it with a rubber band. Leave it for a while, then try again. Check first whether your tap has a special finish, such as matte black, brushed gold or other coatings, because acids may dull some finishes. When in doubt, follow the tap manufacturer’s care advice.
- Use more grip, not more force. A rubber jar opener or glove often works better than a wrench.
- Stop if you are bending the spout. Cheap or older taps can crack or deform. If the aerator still will not move, a plumber can remove it, or it may be time to replace the tap.
Clean, Replace or Call a Plumber?
| Situation | Best next step | Why |
|---|---|---|
| Weak or uneven flow from one tap, aerator comes off easily | Clean and descale it yourself | Mineral build-up is the usual cause and is simple to remove |
| Mesh is torn, washer is cracked, or plastic insert is broken | Replace the aerator | Damaged parts will keep spraying or leaking even when clean |
| Water still weak after a thorough clean | Check the other taps and the angle valve under the sink | The blockage or restriction may be further back in the supply |
| Water leaks from the tap body or handle, not the tip | See a tap repair guide or a plumber | The problem lies in the cartridge or washer inside the tap |
When buying a replacement, bring the old aerator to a hardware shop so you can match the size and thread. Aerators come in male thread (threads on the outside) and female thread (threads on the inside) types, plus several sizes. Your tap’s brand may also sell exact-fit replacements.
Keeping Aerators Clear in a Singapore Home
Singapore’s tap water is treated and safe to drink, as explained in our guide to tap water and home essentials, but minerals still dry on fittings, and grit can enter pipes during maintenance. A few habits help:
- Clean aerators every few months, or whenever you notice spraying, a drop in flow or white crust on the tip.
- Wipe taps dry after use in the kitchen and bathroom to slow limescale build-up. Our guide on how to clean your kitchen sink and taps covers the rest of the routine.
- Check aerators after water disruptions or works. If your block has had a scheduled water cut or pipe replacement, run each tap for a moment afterwards and check the aerators for trapped grit.
- Keep the aerator key somewhere safe, ideally in a labelled bag with your tap’s warranty card.
If a weak shower is your main complaint, the same scale problem often affects the shower head, and our guide on choosing a shower head for low water pressure can help. And if your tap is dripping even when closed, that is a different job entirely: see how to fix a leaky tap.
A Small Fix With a Big Payoff
A clogged aerator makes daily tasks like washing dishes, rinsing vegetables or brushing teeth more frustrating than they need to be. Five minutes of unscrewing, a soak in vinegar and a careful refit usually restores a steady, splash-free stream. Make it part of your regular cleaning, and your taps will stay pleasant to use for years.
Further reading: How to Choose a Kitchen Tap or Mixer for Your Singapore Home