
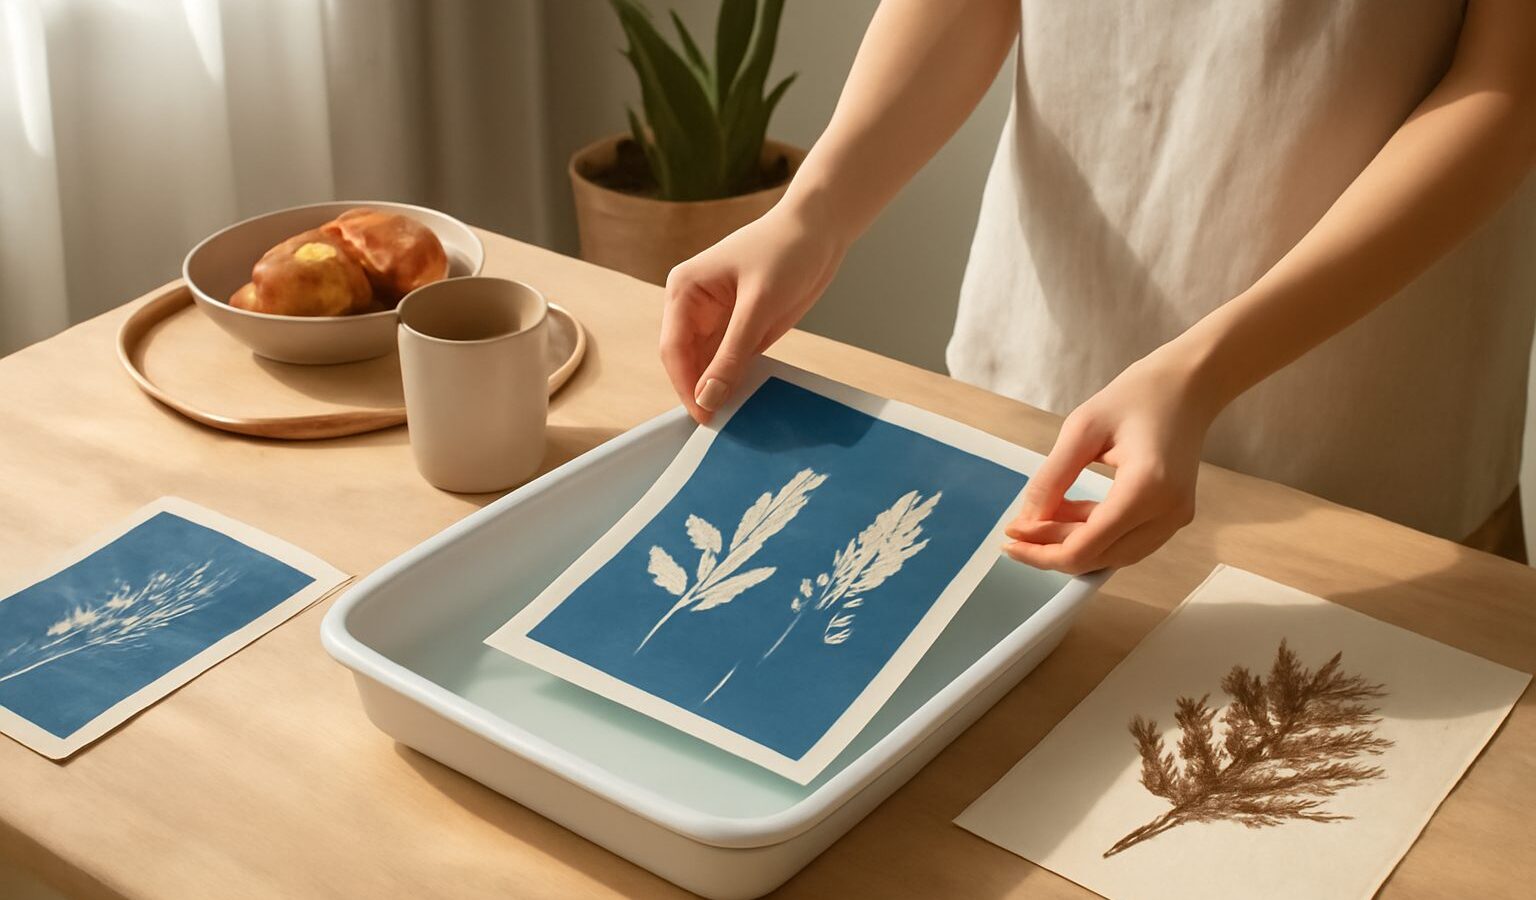
Cyanotype is one of the oldest photographic processes, and one of the easiest to try at home. Paper or fabric is coated with a light-sensitive solution, objects or a negative are placed on top, and sunlight does the rest. After a rinse in water, you are left with a white image on a deep Prussian blue background. Cyanotype printing in Singapore is especially rewarding because the strong tropical sun makes exposures quick and dramatic.
This guide explains how the process works, what you need, how to adapt it to local weather and what to do with your finished prints. It is a quiet, hands-on craft that suits adults, teenagers and supervised children alike.
How Cyanotype Sun Printing Works
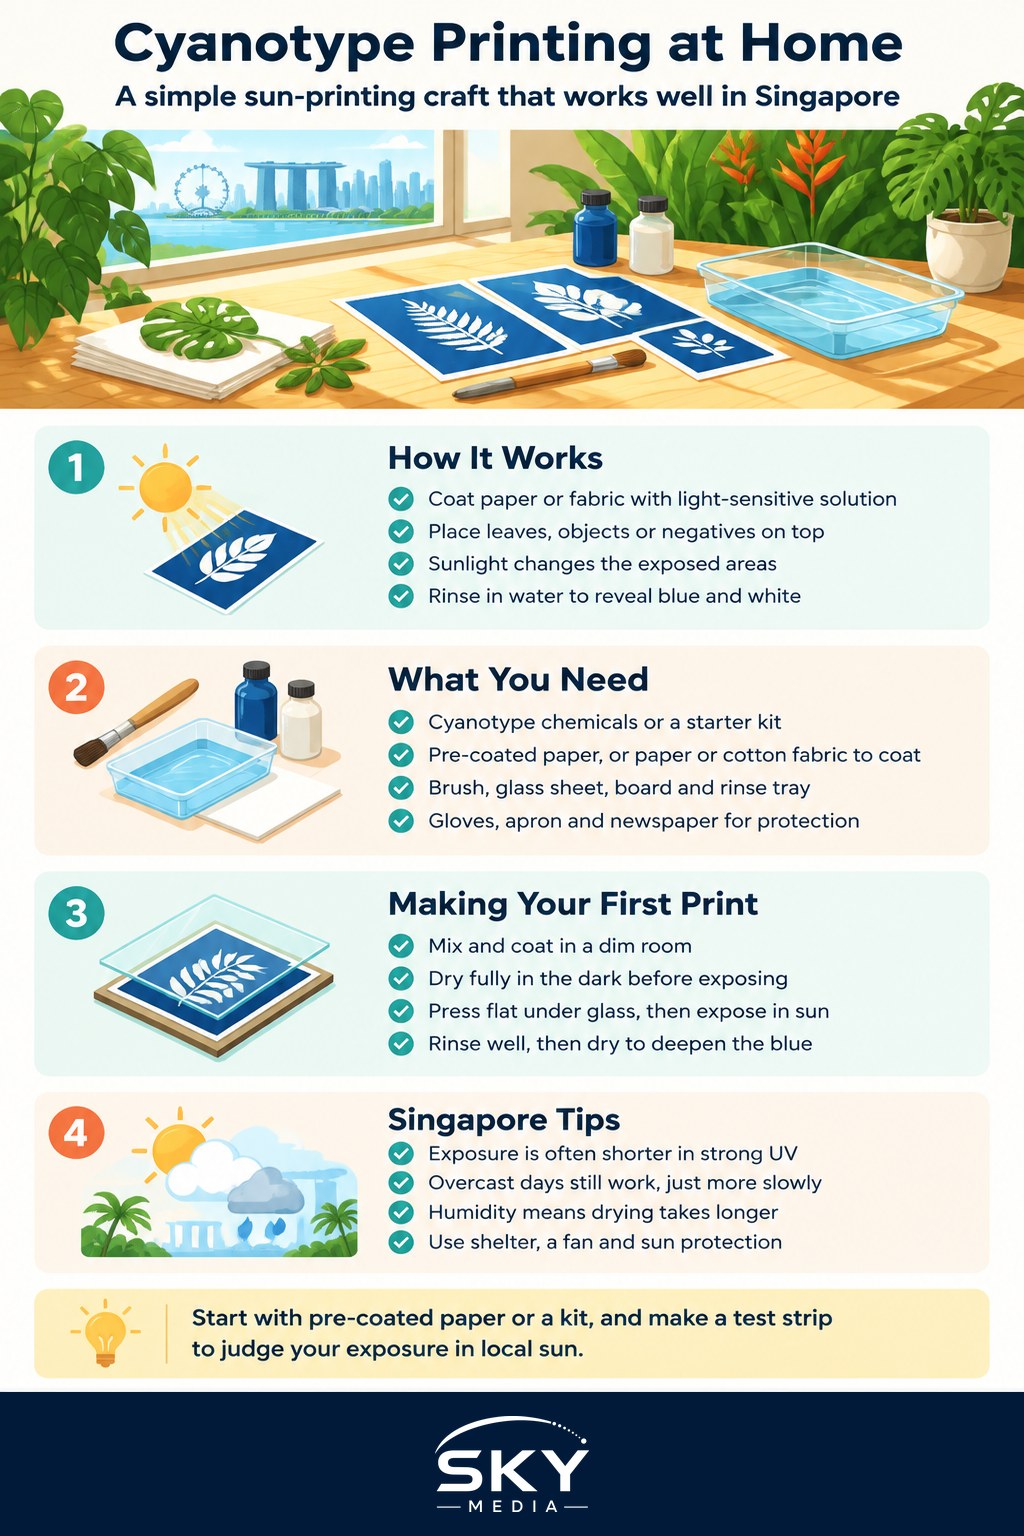
Cyanotype uses two iron-based chemicals that, once mixed and coated onto paper, react to ultraviolet (UV) light. Where light reaches the coated surface, the chemicals change into an insoluble blue compound. Where something blocks the light, such as a leaf or the dark area of a negative, the coating stays unchanged and washes away in water, leaving white or pale areas.
The result is similar to the old architectural blueprints, which is where the term “blueprint” comes from. It is a contact process, which means the image is exactly the size of whatever you place on the paper. There is no enlarger or darkroom needed, only a dim room for coating and drying.
What makes cyanotype distinct from other printing crafts is that it is both photography and printmaking. You can make botanical prints with leaves and flowers, or print your own photos using a digital negative on transparency film. If you enjoy hand-printed work, it pairs well with crafts like linocut and block printing.
What You Need to Get Started
Beginners usually start with a kit or with pre-coated paper. Both are sold by art supply stores and online craft retailers.
- Cyanotype chemicals or a kit. Kits typically contain two components you mix in equal parts. Some sellers offer ready-mixed solutions.
- Pre-coated cyanotype paper, if you want to skip the mixing and coating stage entirely.
- Heavy watercolour paper or cotton fabric to coat yourself. Thicker paper handles wetting and rinsing better.
- A foam brush or wide brush for coating.
- A sheet of glass or clear acrylic to press objects flat against the paper.
- A board or clipboard as a backing.
- Trays or a basin for rinsing.
- Gloves, an apron and old newspaper to protect hands and surfaces.
- Objects to print: leaves, ferns, flowers, lace, keys, cut paper shapes or transparency negatives.
Optional extras include a small amount of hydrogen peroxide diluted in water, which some makers use to darken the blue instantly after rinsing, and clothes pegs or a drying line.
Step by Step: Making Your First Print
Follow your kit’s instructions first, since products differ. The general process looks like this.
| Step | What you do | What happens |
|---|---|---|
| 1. Mix | Combine the two solutions in a dim room | The mixture becomes light-sensitive |
| 2. Coat | Brush a thin, even layer onto paper or fabric | The surface turns a pale yellow-green |
| 3. Dry | Leave it flat in a dark place until fully dry | The coating is ready for exposure |
| 4. Arrange | Place objects or a negative on the paper under glass | Shapes block the light where they sit |
| 5. Expose | Put the setup in direct sunlight | Exposed areas darken to grey-bronze |
| 6. Rinse | Wash in several changes of cool water | Unexposed coating washes away, blue appears |
| 7. Dry and develop | Lay flat or hang to dry | The blue deepens further over the next day |
A few tips for better results:
- Coat in dim light, not darkness. Indoor light away from windows is usually fine for a short time, but avoid direct sunlight or bright daylight bulbs.
- Use thin coats. Puddles lead to uneven patches and runs.
- Press flat. The tighter the contact, the sharper the image. Glass helps a lot.
- Rinse until the water runs clear. Leftover yellow chemical can stain the whites.
Working with Singapore’s Sun and Humidity
Singapore’s climate changes how cyanotype behaves compared with guides written for cooler countries.
Exposure times are shorter. The UV level here is often very high, especially around midday. A print that takes a long time in temperate weather may need only a fraction of that here. Rather than relying on a fixed time, make a test strip: cover parts of a coated strip and uncover them one section at a time, then rinse and compare. Note the result alongside the weather and time of day for next time.
Clouds still let UV through. Even on an overcast day, prints will expose, just more slowly. Indoor UV lamps are another option for consistent results when it rains.
Drying takes longer. Humidity slows drying of both the coating and the finished prints. Use a fan in a dark room, and avoid storing coated paper for long, since damp air can make it fog. Many makers coat only what they plan to use within a short time.
Shield your print from wind and rain. Sudden showers are common, so expose near shelter, such as a balcony, a sunny window ledge or a garden. Weigh down glass and paper if it is breezy.
Protect yourself too. If you stay outdoors while prints expose, wear sun protection, drink water and take breaks in the shade.
Safety and Clean-Up
Cyanotype chemicals are considered mild compared with traditional darkroom chemistry, but they are still chemicals and need careful handling.
- Read the safety information that comes with your kit or chemical supplier.
- Wear gloves and avoid touching your face while working.
- Keep chemicals, brushes and trays away from food areas and kitchen utensils. Use dedicated equipment.
- Supervise children at every stage, and let younger kids handle only the arranging and rinsing of pre-coated paper.
- Store chemicals in labelled containers, out of reach of children and pets, and away from heat and light.
- Do not mix cyanotype chemicals with strong acids or other chemicals.
- Follow the supplier’s guidance on disposal, and check current guidance from the National Environment Agency (NEA) if you are unsure how to dispose of chemical waste.
Ideas and Ways to Display Your Prints
Once you have the basics, cyanotype offers lots of creative directions:
- Botanical prints using leaves from your own plants or fallen leaves you collect. Do not pick plants in parks or nature reserves, where NParks rules apply.
- Photo prints from your own pictures, converted to negatives and printed on transparency film. This links neatly with printing and displaying your photos.
- Fabric cyanotypes on cotton tote bags, scarves or cushion covers. Wash gently with mild, phosphate-free detergent to protect the blue.
- Toning experiments using tea or coffee to shift blues to brown or purple tones.
- Layered designs combining cyanotype with drawing, collage or other printmaking.
For display, frame prints behind glass away from strong direct sunlight to slow fading. Cyanotypes can fade in prolonged light but often recover some colour when stored in the dark.
Cyanotype is an inexpensive way into alternative photography, and the moment the blue appears in the rinse never stops feeling like magic. Start small, keep notes, and let the Singapore sun do the work.
Frequently Asked Questions
How long should I expose a cyanotype print in the Singapore sun? Make a test strip rather than trusting a fixed time. Singapore’s UV is often very high, so exposures can be a fraction of what guides for cooler countries suggest. Cover parts of a coated strip, uncover them one section at a time, rinse, and note the weather and time of day.
Can I make cyanotype prints on a rainy or cloudy day? Yes, though it takes longer. Clouds still let UV through, so prints will expose more slowly on an overcast day. When it rains, an indoor UV lamp gives more consistent results, or you can expose under shelter such as a balcony.
Are cyanotype chemicals safe for kids to use? They are considered mild, but they are still chemicals, so adults must supervise every stage. Younger children are best limited to arranging objects and rinsing pre-coated paper. Keep gloves on, store chemicals labelled and out of reach, and follow the kit’s safety notes.
Can I do cyanotype on fabric like tote bags, and how do I wash it? Yes, cotton tote bags, scarves and cushion covers all work. Wash the finished piece gently with a mild, phosphate-free detergent to protect the blue. Fabric needs the same thin, even coating and full drying as paper.
Why are my cyanotype whites turning yellow or stained? Leftover chemical is the usual cause, so keep rinsing until the water runs clear. Puddled or thick coats and poor contact between the object and paper can also cause patches. Rinse in several changes of cool water and press objects flat under glass.