
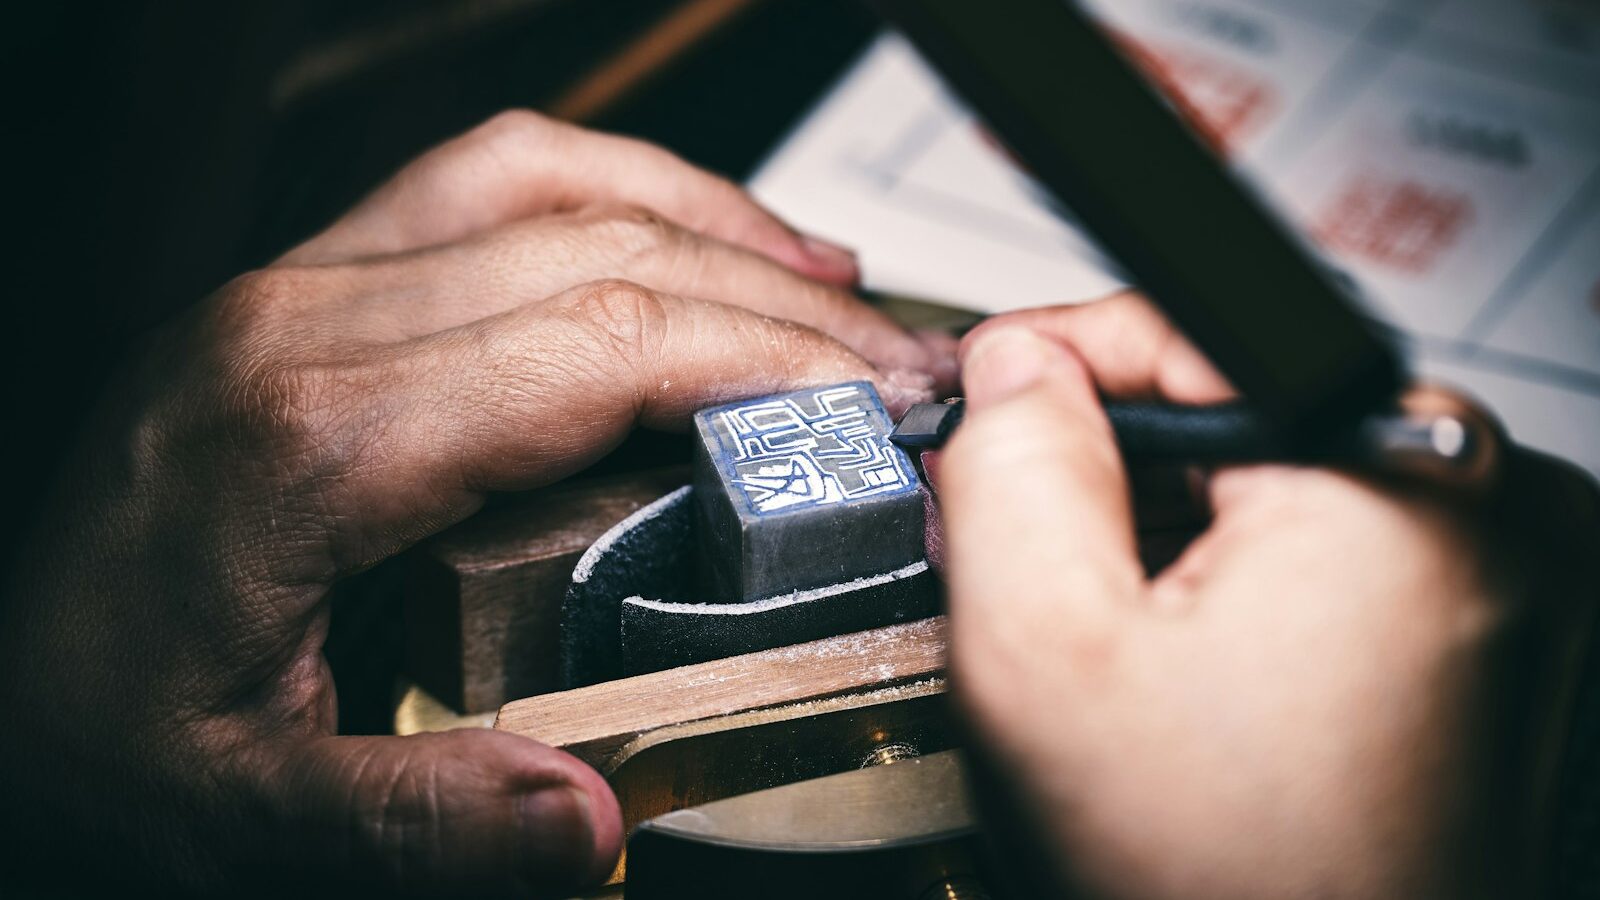
A linocut is one of the oldest and most approachable ways to make your own prints. You take a soft block, carve away everything you do not want to print, roll ink over the raised surface that remains, then press paper or fabric onto it. The parts you carved away stay blank, and the raised parts print. That is relief printing in a nutshell, and a linocut is the friendliest version of it. With a handful of tools and a quiet evening, a beginner can carve a small block and pull a print they are proud of.
This guide is for beginners in Singapore, honest about the learning curve, the cost, the mess and the small-space realities of an HDB flat, with real time spent on carving safety, because the one part of this hobby that bites is a sharp tool slipping toward your hand.
What a Linocut Is and Why It Is So Satisfying
“Linocut” is short for linoleum cut. Traditional battleship lino is a firm sheet you carve with gouges; today many beginners prefer softer rubber-like carving blocks, which cut like a firm eraser and are far kinder to the hands. Both belong to the wider family of block printing (also called relief printing), which includes carved wood, rubber stamps and even carved potatoes at the simplest end.
The appeal is the mix of drawing and craft. You start with a design, but the carving itself is meditative, almost like whittling, and peeling back the paper to reveal the first print is a small thrill every time. A finished block is also endlessly reusable, so one evening of carving can produce a run of greeting cards, a print for the wall, or the cover for a small booklet.
Because it is bold and high-contrast by nature, linocut sits happily beside other print crafts. If you enjoy pushing ink through mesh, screen printing at home is a natural next step, and carved covers are perfect for zine making.
What You Need to Start Carving a Linocut
The starting kit is refreshingly small and affordable. Bought from an art supplier, the essentials are:
- A carving block. A soft rubber block is the gentlest start; traditional grey lino is firmer and takes more muscle. Palm-sized is plenty for a first go.
- Cutting tools. A lino cutter handle with a few interchangeable blades: a fine V-shaped gouge for lines and detail, and wider U-shaped gouges for clearing large areas.
- A brayer. A small rubber roller for spreading ink evenly onto the block.
- Ink. Water-based block printing ink is the beginner-friendly, low-fume, easy-clean choice and suits our humid climate. Oil-based inks print richer but need solvents and ventilation.
- A smooth surface for rolling ink, such as glass, an acrylic offcut or a ceramic tile.
- Paper. Smooth, fairly absorbent paper prints best; ordinary printer paper is fine to practise on.
- A baren or a wooden spoon to press the paper onto the inked block by hand. No press required.
- A bench hook (or a non-slip mat against a wall or table edge) to brace the block so it cannot slide toward you while carving.
Carving Safely: The One Rule That Matters Most
Lino gouges are genuinely sharp, and the classic beginner injury is a blade slipping off the block and into the hand holding it. A few simple habits prevent almost every cut:
- Always carve away from your body and away from your other hand. Never let any part of your hand sit in front of the blade’s path.
- Keep the hand that steadies the block behind the tool, not in front of it. Better still, brace the block against a bench hook or a wall so it is never in the line of fire.
- Take shallow cuts. Rushing a deep gouge is what makes tools jump. Rotate the block towards the blade instead of forcing the blade round tight curves.
- Keep blades sharp. A dull tool needs more force and slips more easily, which is more dangerous than a sharp one.
- Cap the tools when not in use, and keep them well away from children.
- If you use oil-based inks or solvents, work in a ventilated space, wear gloves, and do not tip solvents or ink down the drain. Wipe excess ink off with rag and newspaper first and dispose of it responsibly.
Your First Linocut Projects
Start small, simple and bold. Fine detail comes later.
- A single motif stamp. Carve a simple shape (a leaf, a moon, a cat, a word) into a small block. One block, one colour, endless prints. This teaches how the tools cut and how much pressure a clean print needs.
- A set of greeting cards or gift tags. Print your motif onto a stack of blank cards. Cheap, useful and forgiving, so a slightly uneven print still looks charmingly handmade.
- A repeating pattern on a tote or tea towel. Stamp the same block across fabric with block printing ink (heat set it afterwards per the ink’s instructions so it survives the wash).
A helpful habit: draw your design on paper first, then transfer it to the block, and remember that the print comes out mirror-reversed. This matters for text and for any image with a clear left and right, so flip lettering before you carve.
Common Mistakes and How to Improve
- Carving away the wrong parts. Beginners forget that what you cut away stays blank. Shade your design so you can see which areas print and which to remove.
- Too much or too little ink. A thin, even, tacky layer prints best. Puddled ink fills your fine lines; too little gives a patchy, ghostly print. Listen for the light hiss of the brayer, which tells you the ink is well spread.
- Uneven pressure. Press and rub the whole back of the paper firmly and evenly with the baren or spoon before peeling.
- Forgetting the mirror flip on text. The most common facepalm in printmaking. Always reverse lettering.
- Digging too deep. You only need to carve deep enough that the cleared areas do not pick up ink. Deeper gouges just make carving slower and riskier.
Improvement comes from carving more blocks, attempting finer lines, then multi-block or reduction prints where you build up several colours. Keeping a sketchbook alongside your carving, much as you would for nature journaling and sketching, feeds you a steady supply of design ideas.
Cost, Space and Community in Singapore
Linocut is one of the more wallet-friendly crafts to begin. A starter set of a block, a cutter with a few blades, a brayer and a pot of ink is a modest outlay, and after that your ongoing costs are just blocks, ink and paper.
| Setup level | Typical kit | Space needed | Good for |
|---|---|---|---|
| Absolute starter | Soft block, one cutter handle, spoon, water-based ink | A desk corner | Trying it out, cards and stamps |
| Comfortable hobbyist | Several blocks, full gouge set, brayer, glass slab, baren | A dedicated table | Larger prints, regular making |
| Ambitious | Quality lino, oil inks, ventilation, drying rack | A yard or ventilated room | Multi-colour and reduction prints |
Space is very manageable in an HDB flat. Carving needs only a lit desk and a bench hook, produces dry crumbs of lino you can sweep up rather than wet mess, and makes almost no noise, which keeps the neighbours happy. The inking stage is messier, so lay down newspaper away from food surfaces. Water-based inks rinse off in the sink; with oil-based inks, clean up with rag first and dispose of solvents properly.
For learning and company, look to art studios, community centres and maker spaces that run beginner printmaking or linocut workshops, and to public libraries that occasionally host craft sessions. Local art groups on social media are great for sharing prints, sourcing supplies and hearing about print markets. Describe any studio by what it offers and check current schedules and prices yourself, as details change.
Finally, if people start asking to buy your prints, enjoy it, but treat selling as general information rather than business advice: should the hobby grow into a real income stream, register with ACRA and check your obligations with IRAS. For now, carve a small block, ink it up, and pull your first print. Few crafts give back so much for so little.