
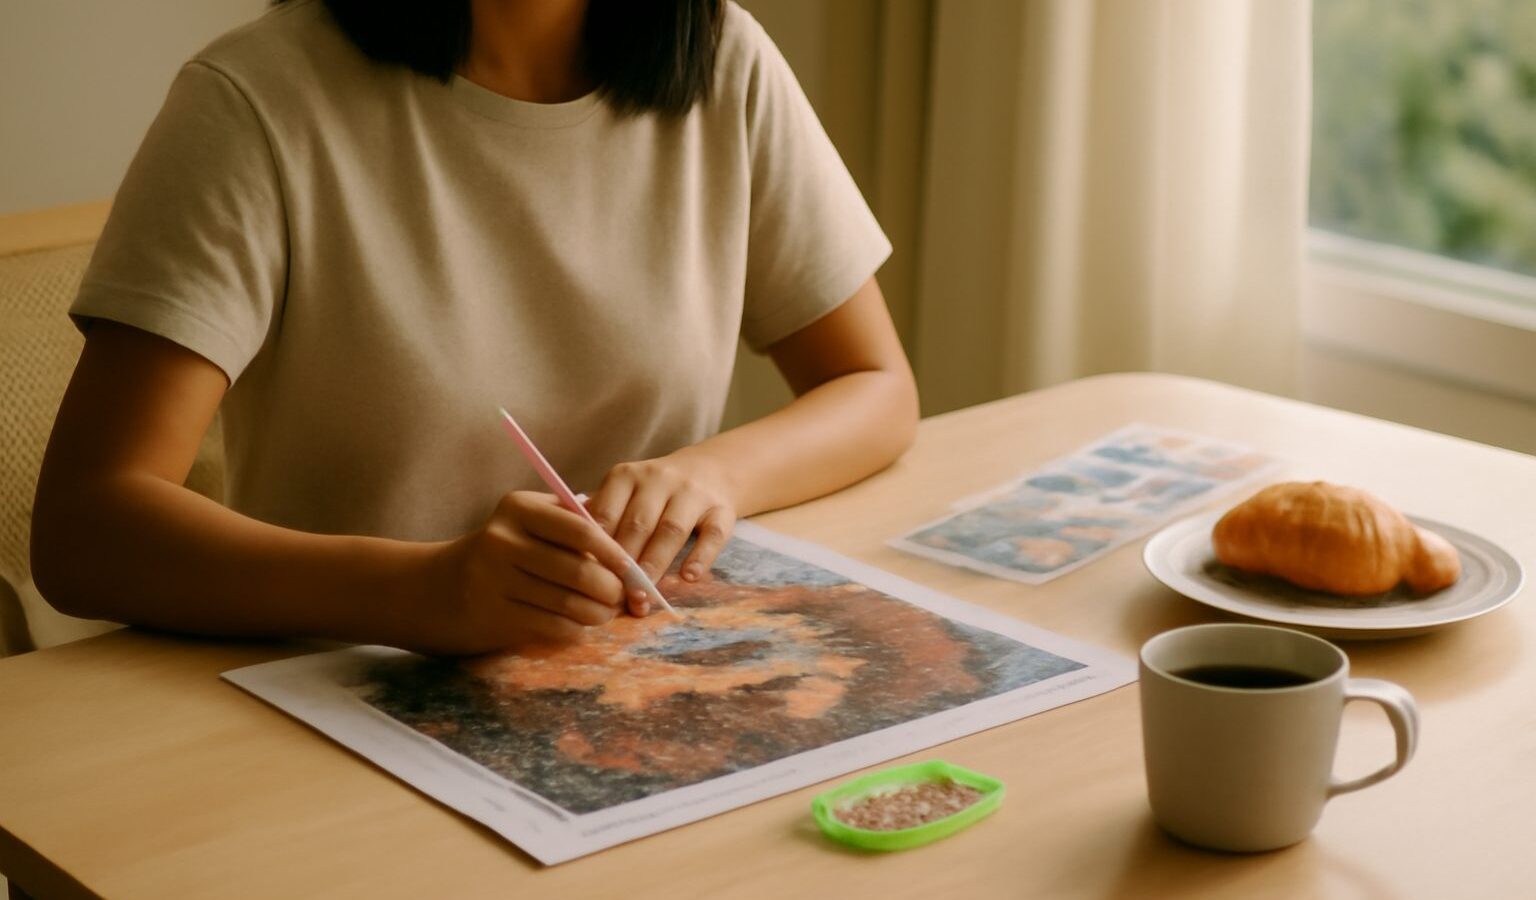
If you love the idea of a craft that is repetitive in the best way, calming, colourful and almost impossible to get wrong, diamond painting might be the perfect fit. Diamond painting sits somewhere between paint by numbers and cross-stitch: you place tiny sparkling resin gems onto a pre-printed, coded canvas, and slowly a shimmering picture appears. There is no drawing skill required and no messy paint, which makes it one of the friendliest hobbies for a total beginner in Singapore to pick up on a small budget.
This guide walks you through what diamond painting actually is, what you need to start, how to complete your first piece, the mistakes beginners often make, and how to grow from a small starter design into something you are proud to frame.
What Diamond Painting Actually Is
A diamond painting is a canvas printed with a grid of symbols. Each symbol matches a colour, and each colour has its own bag of tiny faceted beads, usually called diamonds or drills. The canvas is coated with a sticky adhesive under a protective film. You peel back a section of film, pick up a diamond with a small applicator pen, and press it onto its matching square. Repeat a few thousand times and you have a finished, sparkling artwork.
Drills come in two shapes. Round drills are easier to pick up and place, so they are the kinder choice for beginners. Square drills sit flush against each other with no gaps and give a crisper, fuller look, but they take a little more care to line up. Many people start round and move to square once their fingers know the rhythm.
The appeal is in the calm. It is quiet, tidy and portable, which suits a small HDB flat or a corner of the living room. You can do ten minutes or two hours, put it down mid-row, and come back to exactly where you left off.
What You Need to Start
The good news is that most of your kit arrives in a single box. A beginner diamond painting kit from a craft shop or an online marketplace typically includes everything below, so you rarely need to buy pieces separately at first.
Here is what a starter kit contains and what you might upgrade to later once you are hooked.
| Item | Starter kit (included) | Upgrade later |
|---|---|---|
| Canvas | Small pre-printed sticky canvas | Larger or partial-drill designs |
| Drills | Basic bags sorted by colour code | Sorted storage boxes with labels |
| Applicator pen | Single plain pen | Multi-placer pen for rows |
| Wax and tray | Small wax lump and one tray | Extra grooved trays for sorting |
| Tools | Basic tweezers | Ergonomic pen and light pad |
Beyond the kit, a few household things help. A flat, well-lit table matters most, because good light makes the symbols easy to read. A small light pad placed under the canvas is a popular later upgrade for darker colours. Keep a resealable bag or two for leftover drills, and a soft cloth to press finished sections flat. That is genuinely all you need to begin.
Setting Up and Finishing Your First Project
Choose a small first design, roughly the size of a greeting card or a small photo frame. A tiny piece finishes in a few sittings, which keeps your motivation high. Larger canvases are lovely but can feel endless when your technique is still forming.
Start by laying the canvas flat and smoothing out any curl. In our humidity the adhesive can feel extra tacky, so work in an air-conditioned or fan-cooled room and only peel back a small section of the protective film at a time. Peeling the whole sheet at once lets dust and stray hairs settle on the glue, which weakens it.
Tip a little of one colour into the grooved tray and give it a gentle shake so the drills sit facet-side up. Press the tip of your applicator pen onto the wax, then touch it to the flat back of a drill. Line the drill up over its matching square and press it down. Work one colour or one small area at a time rather than jumping around, and press each finished section firmly with a cloth or a rolling pin so every drill sticks.
When the canvas is full, cover it with the backing paper and press the whole thing again. You can then frame it, mount it on foam board, or slip it into a clip frame from a craft shop.
Common Beginner Mistakes to Avoid
Almost everyone makes the same few slips at the start, and every one of them is easy to fix.
- Peeling too much film at once, so the glue collects dust and lint before you reach it.
- Tipping out too many drills, which makes it hard to find the right facet and easy to lose beads on the floor.
- Pressing drills down crookedly, which leaves gaps that show once the piece is full.
- Working in poor light and misreading similar symbols, then having to prise drills off later.
- Storing leftover drills loose, so colours mix and you cannot top up a bag.
Keep the room cool and dry, work in small patches, and check the code chart when two colours look alike. If a drill lands wrong, lift it gently with tweezers straight away while the glue is still fresh.
Storing Supplies in a Humid Climate
Singapore humidity is the one real enemy of a sticky canvas. If you pause a project for weeks, store the canvas flat with the film pressed back down, sealed in a large zip bag away from sunlight and damp. Standing it in a bright window softens the adhesive and fades the printed symbols.
Loose drills last for years if you keep them dry. Small labelled containers or a divided box, each with its colour code, save you enormous frustration when you want to top up a shade or start a new piece. A packet of silica gel tucked into your storage box helps keep everything free of moisture.
Going Further Once You Are Hooked
Once a small canvas or two feels easy, you can stretch yourself in gentle steps. Try a larger design, switch from round to square drills, or attempt a piece with many similar shades where placement really counts. Special-shaped drills, glow-in-the-dark colours and partial-drill canvases that leave printed background showing all add variety without adding difficulty.
Some people frame their finished pieces as gifts or décor, and a few go on to sell them at craft markets. If you ever decide to sell what you make, that is general information rather than business advice, and you would want to check current rules on registering a business with ACRA. For most people, though, diamond painting stays a purely relaxing pastime, and that quiet, sparkling satisfaction is the whole point.
Explore more
If paper and glue appeal more than beads, our guide to card making and papercraft is a warm next step. You might also enjoy the tidy, methodical calm of mosaic art for beginners, which shares diamond painting’s love of building a picture one small piece at a time.