
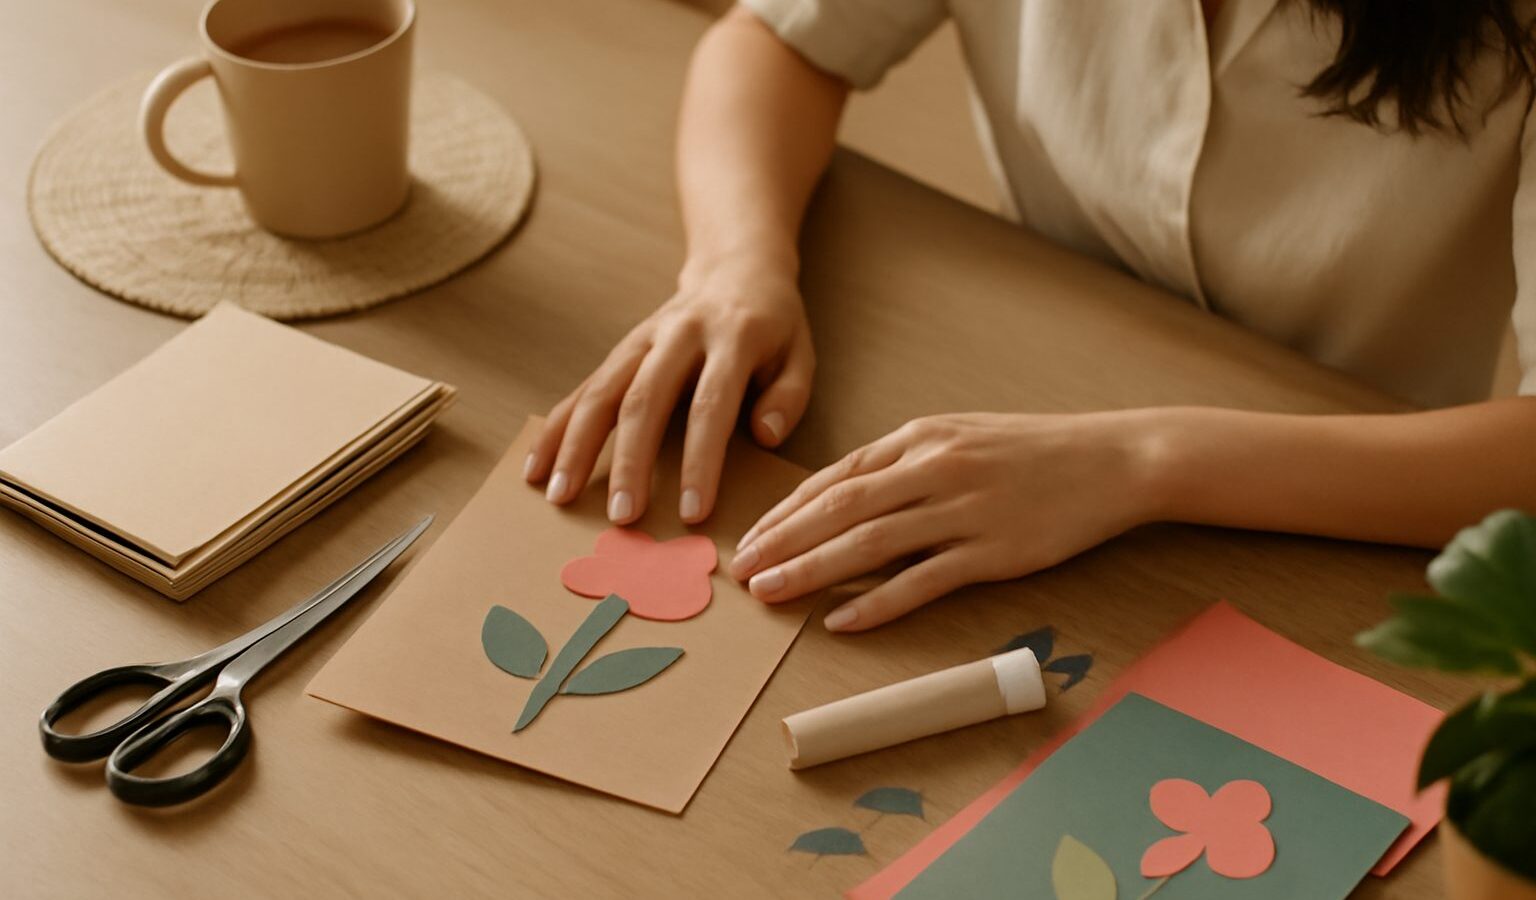
A handmade card says something a shop bought one never quite can. It tells the person holding it that you spent time thinking of them, cutting and folding and arranging until it looked just right. Card making is one of the friendliest crafts a beginner can pick up, and it is wonderfully affordable. You need no special machine, no dedicated room, and no artistic training to make a card that brings a genuine smile. A few sheets of paper, a pair of scissors, and some glue will get you started this very afternoon. This guide is for a total beginner in Singapore who wants a cheerful, low pressure hobby that turns scraps of paper into small gifts of joy.
Why Card Making Is Such a Rewarding Hobby
Card making rewards you far out of proportion to what it costs. A single pad of coloured paper stretches across dozens of cards, and most of what you need can live in a single drawer or a biscuit tin. It is quiet, tidy enough for any dining table, and needs no noisy tools, so it suits an HDB flat and considerate neighbours perfectly. When you are done, you simply pack the box away and reclaim your table.
The craft also gives you a steady supply of things worth making. Birthdays, weddings, Chinese New Year, Deepavali, Hari Raya, Christmas, thank you notes, and get well wishes all come around, and a handmade card fits every one of them. Because each card is small and finishes in an hour or two, you feel that satisfying sense of completion again and again, which is exactly what keeps a new hobby alive. It is also endlessly flexible: you can keep things clean and simple or pile on layers, textures, and colour as your confidence grows.
Gathering Your First Kit
You can begin card making with almost nothing, then add pieces as you discover what you enjoy. A craft shop, an art supply store, a bookshop stationery aisle, or an online marketplace will have everything on this list, and the craft stalls around areas like Chinatown offer lovely papers to explore.
A practical starter kit looks like this:
- Cardstock, the thick paper that forms the card base. A5 folded to A6 is a comfortable size to begin with.
- Patterned and coloured paper for backgrounds and layers. An inexpensive craft paper pad gives you plenty of variety.
- A pair of sharp scissors and, when you are ready, a craft knife with a metal ruler for crisp straight cuts.
- A glue stick for light work and PVA glue or double sided tape for a stronger, neater hold.
- A bone folder or the back of a clean plastic card for sharp, professional folds.
- A cutting mat or a thick offcut of card to protect your table when using a blade.
- Small extras for decoration: stickers, ribbon, washi tape, buttons, pens, and a few rubber stamps if they appeal.
If you add a craft knife later, treat it with respect. Cut away from your body on a proper mat, keep your other hand behind the blade, replace the blade once it starts to tug rather than slice, and cap it after every use. Keep the knife and any small parts well out of reach of young children, and supervise closely if you craft alongside them.
Simple Techniques to Learn First
The beauty of papercraft is that a few basic moves carry you a very long way. Master these and you can make an endless variety of cards.
Layering is the first and most useful. You cut a piece of patterned paper slightly smaller than your card front, then a plain panel smaller again, and glue them one atop the other. The tiny borders of colour that peek out instantly make a card look considered and finished. Matting is the same idea applied to a photo or a sentiment, framing it with a thin edge of contrasting paper.
Next comes the fold. A crisp, straight fold is what separates a homemade card from a handmade one, so score the line first by running a bone folder along a ruler, then fold and press. Simple die free die cutting can wait; for now, hand cut shapes such as hearts, stars, and leaves add charm, and punches make repeated shapes effortless. Finally, learn to balance a card by leaving generous empty space rather than crowding every corner. Restraint often looks more elegant than abundance.
Choosing Your Papers Wisely
Not all paper behaves the same, and picking the right weight for the job saves a lot of frustration. The main choice is between thin patterned paper for decoration and thick cardstock for structure, with a few useful options in between.
| Paper type | Weight | Best use | Notes for beginners |
|---|---|---|---|
| Printer paper | Light | Test folds and practice | Too flimsy for a card base |
| Patterned craft paper | Light to medium | Backgrounds and layers | Buy in variety pads for value |
| Cardstock | Heavy | The card base itself | Holds a crisp fold and stands up |
| Specialty paper | Varies | Accents like vellum or foil | Add sparingly for special cards |
The lesson is simple. Use sturdy cardstock for the base so the card stands on a shelf, and save the lighter, prettier papers for the decoration on top. A card that flops over has usually been built on paper that is too thin.
Avoiding Common Beginner Mistakes
Most early cards go wrong in small, fixable ways. The commonest is too much glue, which wrinkles thin paper and leaves shiny marks; use a thin, even layer and press pieces down flat under a book while they dry. Wonky cuts are the next culprit, and the cure is a metal ruler and a sharp blade rather than tired scissors. Crowding is a third, so resist the urge to fill every space and let a little emptiness breathe.
Singapore humidity is worth planning around. Damp air can curl paper, soften glue, and leave stickers reluctant to hold, so store your papers flat in a sealed box with a sachet of silica gel, and craft in a fan cooled or air conditioned room when you can. Give glued cards longer to dry than you would expect, pressing them under a heavy book overnight so they finish flat rather than warped. A little care with storage keeps your supplies crisp for months.
Growing Your Skills and Sharing the Joy
Once the basics feel natural, the craft opens up beautifully. You can explore stamping and simple ink blending, add dimension with foam pads that lift elements off the page, try interactive cards that pop up or slide, or coordinate a card with a matching gift tag and envelope. Keeping a small stash of finished blank cards means you always have something heartfelt ready when an occasion sneaks up on you.
Card making is also a lovely craft to share. Children take to it happily with safe scissors and glue, and a quiet afternoon of cutting and sticking makes a fine gathering with friends. Should people start asking to buy your cards, treat selling as a separate decision and check the current rules on registering a small business with the relevant authority before you begin. For now, keep it playful and personal. The real reward of card making is watching someone open an envelope, realise you made it yourself, and light up. That moment is worth every snip and fold.
Explore more
If turning paper into something special appeals to you, there are more gentle crafts to try next. Bind your own notebooks and keepsakes with our guide to bookbinding and journal making, or coil colourful strips into art in paper quilling for beginners. To preserve the cards and mementoes you gather, see our guide to scrapbooking for beginners.