
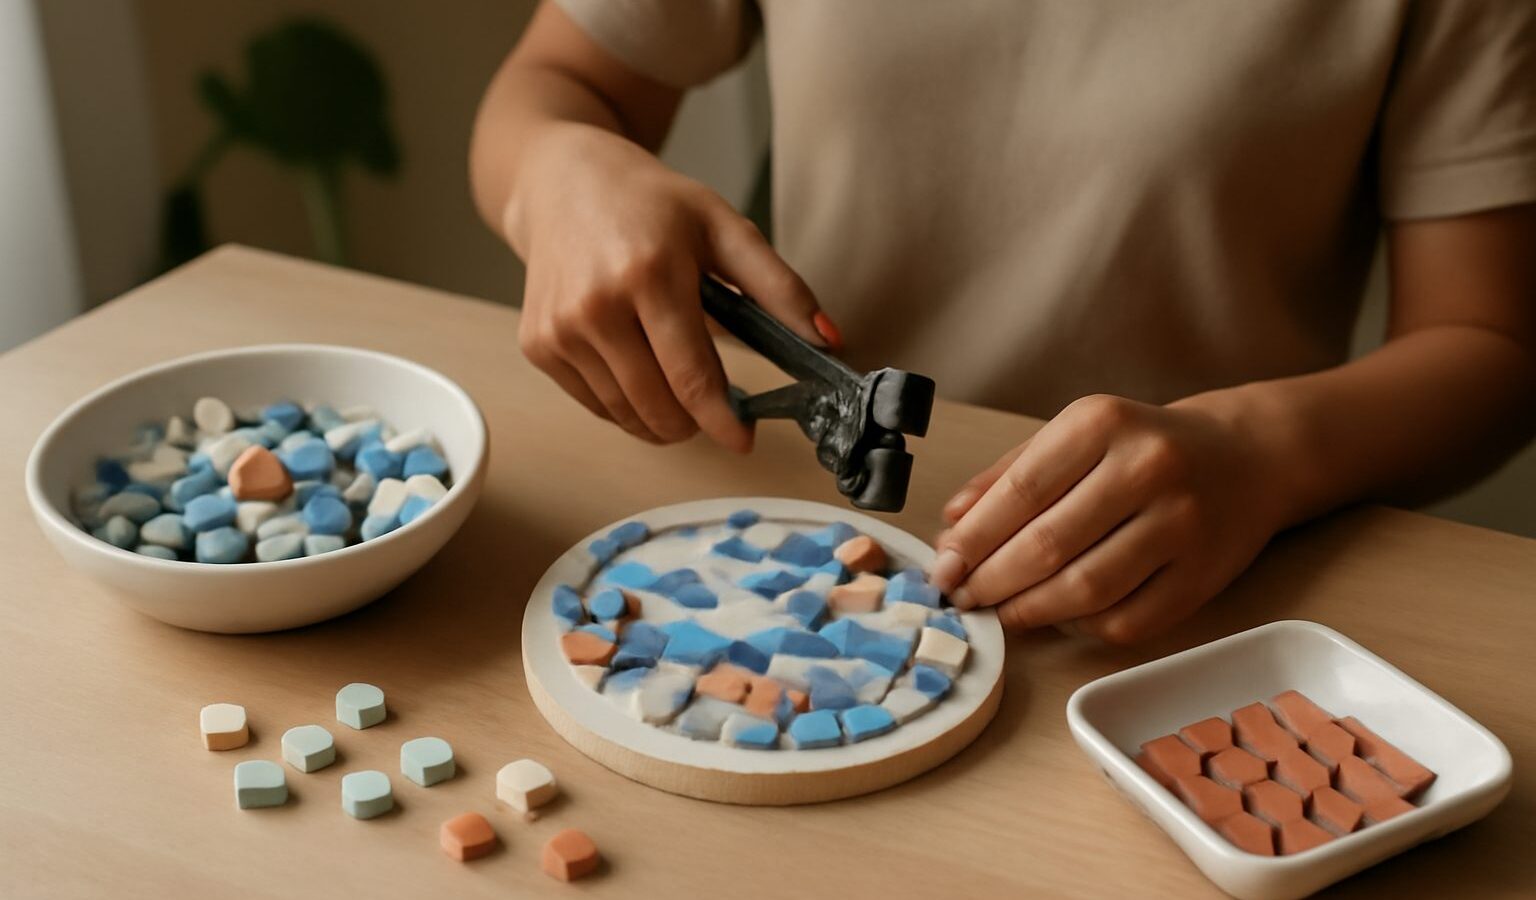
Few crafts feel as satisfying as fitting small pieces of colour together until a picture appears. Mosaic art is the practice of arranging little tiles, glass, pebbles or broken crockery onto a surface, then setting them with glue and grout. It is patient, forgiving and wonderfully tactile, which makes it a lovely first craft for anyone in Singapore who wants a low-pressure way to make something beautiful with their hands. You do not need talent for drawing, and you do not need much space. A coaster, a small tray or a plant pot is enough to begin.
This guide walks you through what to buy, how to work safely, and how to finish your first piece without frustration. Start small, start cheap, and let the craft grow with you.
Why Mosaic Art Suits Beginners
Mosaic is one of the most beginner-friendly crafts because it rewards care rather than skill. There is no single brushstroke you can ruin. If a tile sits wrong, you lift it and try again. The whole process is slow and steady, which many people find genuinely calming after a long day.
It also fits Singapore life well. A small project takes up a corner of a dining table, packs away into a shoebox, and makes very little mess if you work on a tray or a sheet of newspaper. There is no kiln, no oven and no loud machinery, so it is friendly to HDB flats and considerate to neighbours. The main thing to manage is the sharp edges of cut tiles, which we cover below.
Because materials are cheap and widely sold, you can experiment freely. A bag of assorted tiles, a tube of glue and a small board will get you a finished coaster in an afternoon.
What You Need to Start
You can assemble a starter set from a craft shop, an art-supply store, a hardware store, or an online marketplace. Nothing here is exotic.
- Tesserae (the little pieces): glass tiles, ceramic tiles, or offcuts of broken crockery. Glass tiles are the easiest to cut cleanly and come in bright colours.
- A base: a wooden coaster, a small MDF board, a terracotta pot, or an old picture frame. Choose something flat and rigid for your first go.
- Tile nippers: a plier-like tool that scores and snaps tiles. This is the one specialist tool worth buying early.
- Adhesive: white craft glue (PVA) for indoor pieces, or a tile adhesive for anything that will get wet.
- Grout: the paste that fills the gaps between pieces. Ready-mixed tubs are simplest for beginners.
- Safety gear: wraparound glasses or goggles, plus a spreading tool and a sponge.
Buy small quantities first. Humidity is worth a thought in our climate: keep dry powdered grout sealed tightly, because Singapore air will turn an open bag lumpy quite quickly. Store tiles in labelled tubs so colours stay sorted.
Cutting Tiles Safely
Cutting is the only part of mosaic that calls for real care, so give it your full attention. Tile nippers work by concentrating pressure at the very edge of the tile so it snaps along a line. Small chips of glass or ceramic can fly off, and cut edges can be sharp enough to nick a finger.
Follow a few simple habits every time:
- Wear eye protection. Wraparound glasses or goggles are non-negotiable when nipping. A stray glass chip in the eye is exactly the kind of injury this craft can cause and easily avoids.
- Cut inside a box or over a tray so chips are contained and easy to sweep up, rather than scattering across the floor.
- Hold the tile at the very edge of the nippers, keep your other hand and fingers clear of the blade, and snap with a firm, controlled squeeze.
- Handle cut edges gently. Freshly cut glass can be sharp. Nudge pieces into place with a tool rather than dragging a fingertip along an edge.
- Keep chips, nippers and loose tiles away from young children, and supervise closely if a child joins in. Follow the safety notes printed on your tools and adhesives.
Practise a few cuts on spare tiles before you commit to your design. Within ten minutes your hands will know the feel of it.
Your First Mosaic Project
Begin with a coaster or a small trivet, roughly the size of your palm. A simple, bold design works best while you learn.
- Sketch a rough guide on the base with a pencil. A single flower, a heart, a fish, or just bands of colour are all forgiving choices.
- Do a dry lay first. Arrange your tiles on the base without glue to see how they fit and where you need to nip pieces smaller. This dry run is where beginners save themselves the most grief.
- Glue the pieces down one section at a time, leaving small, even gaps between them. Consistent gaps look tidy once grouted.
- Let the glue cure fully. In our humidity this can take a little longer than the tube suggests, so leave it overnight to be safe.
- Grout the piece. Spread grout across the surface, working it into every gap, then wipe away the excess with a damp sponge before it sets. Buff off the haze once it has dried.
That is a complete piece. It will not be perfect, and it does not need to be. The slightly wonky charm of a first mosaic is part of its appeal.
Common Beginner Mistakes
Most early problems come down to rushing. Watch for these:
- Gaps too wide or uneven, which leaves a piece looking gappy after grouting. Aim for narrow, consistent spacing.
- Skipping the dry lay, then discovering pieces do not fit once the glue is already down.
- Too much glue, which oozes up between tiles and blocks the grout. A thin, even layer is plenty.
- Grouting before the glue has cured, which can shift your tiles. Patience here pays off.
- Forgetting eye protection during cutting, the one shortcut that genuinely matters.
Starter Kit or Upgrade
As you settle in, you will wonder what is worth spending a little more on. This comparison helps you decide.
| Item | Beginner choice | When to upgrade |
|---|---|---|
| Tiles | Assorted glass and ceramic mix | Hand-cut smalti or specialist glass for detail work |
| Cutting tool | Basic tile nippers | Wheeled nippers for cleaner, rounder cuts |
| Base | Wooden coaster or MDF board | Weatherproof board for outdoor or wet pieces |
| Adhesive | White craft glue (PVA) | Tile adhesive and grout for durable, washable work |
| Design | Small, bold single motif | Larger portraits, patterns and mixed materials |
Stick to the beginner column for your first three or four projects. Upgrade only when a specific limitation starts to annoy you, which is the honest signal that you are ready.
Growing Your Skills
Once coasters feel easy, scale up gently. Try a small tray, a house-number plaque, or a mirror frame. Experiment with mixing materials, adding a few pebbles or beads among the tiles for texture. Look at photographs of Roman and Byzantine mosaics for a sense of how ancient this craft is, then borrow their trick of following the flow of a shape with your tile lines.
If you enjoy the tactile side, join a casual workshop to watch someone cut in person, since a few minutes of demonstration teaches what words cannot. Above all, keep pieces small enough to finish. A stack of completed coasters builds far more confidence than one ambitious project abandoned half done.
Explore more
If mosaic has you hooked on making things with your hands, try a few neighbouring crafts. String art shares the same joy of building an image from simple parts, while pressed flower crafts and diamond painting offer the same calm, methodical pleasure on a budget.