
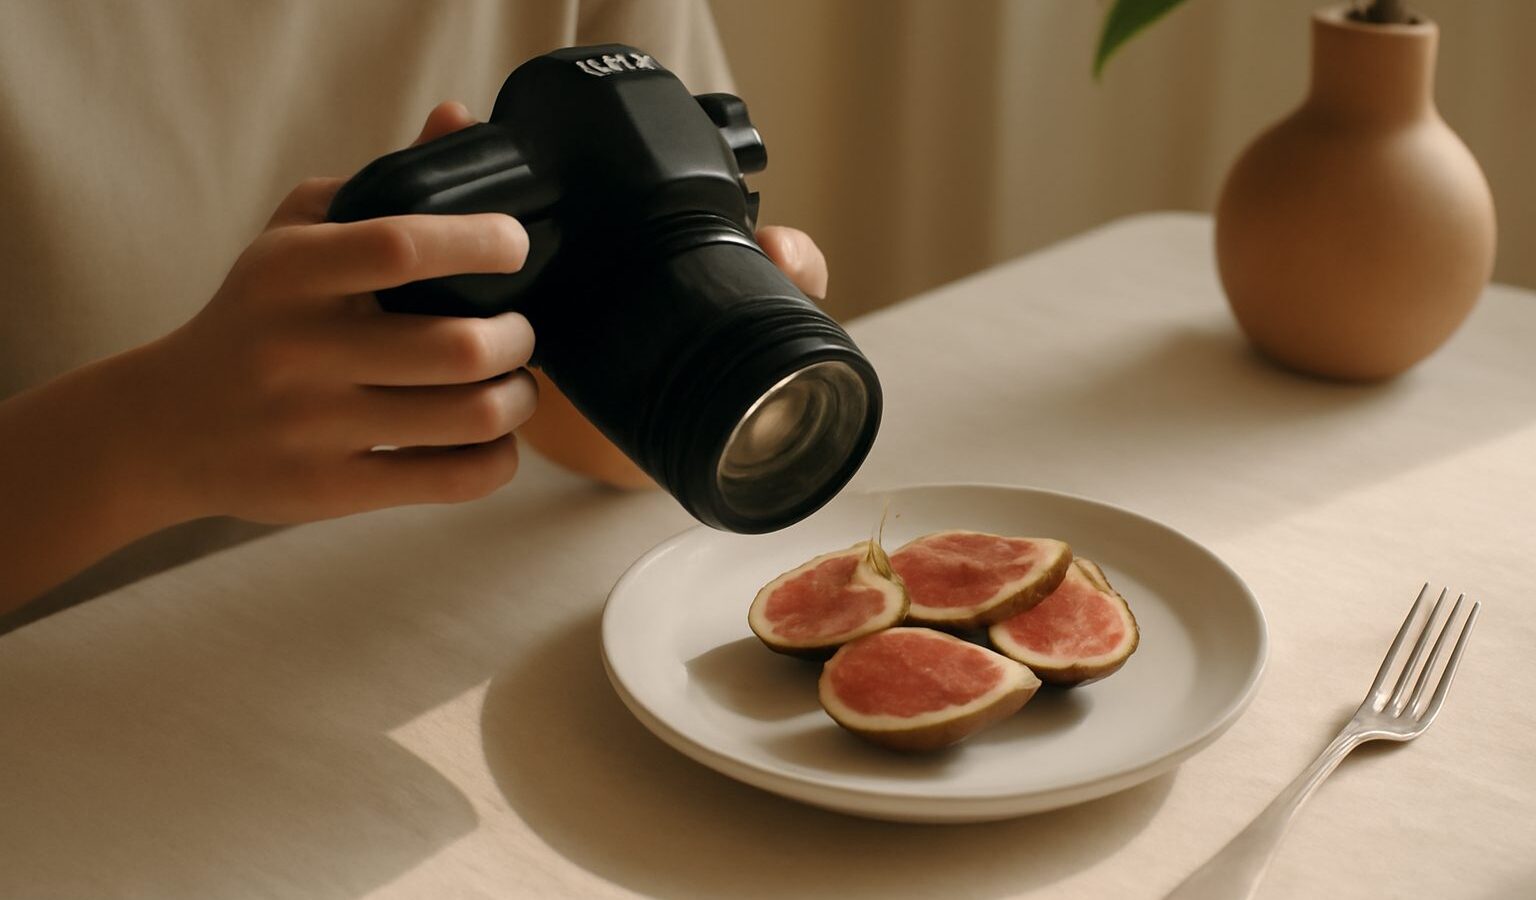
Ever taken a close-up of a flower at Gardens by the Bay where the petals in front are crisp but the centre melts into a blur? That is depth of field working against you. Depth of field is simply how much of a scene, from near to far, appears sharp. When you shoot close or use a wide aperture, that sharp zone can shrink to a few millimetres. Focus stacking is the fix. You take several frames, each focused on a different slice of the subject, then blend them so the whole thing is sharp front to back.
It sounds technical, but the idea is gentle and the payoff is huge for macro, product shots, and detailed landscapes. This guide covers both phone and dedicated-camera routes, with realistic expectations.
Why One Frame Is Not Enough
Sharpness in a photo comes from focus, and a lens can only focus at one precise distance at a time. Everything in front of or behind that distance falls off gradually. The band that still looks acceptably sharp is your depth of field.
Two things shrink it fast: getting close to your subject, and opening the aperture wide. Aperture is the size of the opening that lets light through the lens, written as an f-number, where a smaller number like f/2.8 means a wider opening and a shallower sharp zone. For a dewy leaf at Sungei Buloh shot up close, even f/8 may not keep the whole leaf sharp. Stopping down further to f/16 or f/22 helps, but then diffraction softens the whole image and you lose fine detail anyway. Focus stacking sidesteps the trade-off entirely.
When Focus Stacking Is Worth the Effort
This technique rewards patience and stillness, so it suits some jobs far better than others.
Good candidates:
- Macro subjects like flowers, insects that are resting, jewellery, or food details.
- Product and flat-lay shots where the client wants every part crisp.
- Landscapes with strong foreground interest, such as rocks at East Coast leading to a distant skyline.
- Still-life and heritage detail work, like carved shophouse tiles.
Poor candidates:
- Anything that moves, including people, water, and leaves in a breeze.
- Fast-changing light, such as our brief equatorial golden hour.
- Casual snaps where a single well-chosen focus point is plenty.
If your subject will not hold still, stacking will leave ghosting where things shifted between frames.
Shooting a Stack on a Dedicated Camera
A tripod is close to essential here, because every frame must line up. A sturdy entry-level tripod is fine.
- Mount the camera and compose the shot. Lock down the tripod so nothing shifts.
- Switch to manual focus and set a middle aperture such as f/5.6 to f/8, which is often the sharpest range for a lens.
- Keep ISO and aperture fixed for every frame so only the focus point changes. ISO is your sensor’s sensitivity to light.
- Focus on the nearest point of your subject and take a frame. Nudge focus slightly further back and take the next. Repeat until you have covered through to the farthest point.
- Overlap generously. More frames with small focus steps blend more smoothly than a few big jumps.
- Some cameras offer a focus bracketing or focus shift mode that automates the steps. Use it if you have it.
Shoot in raw for the most detail, and use a timer or remote so pressing the shutter does not jolt the frame.
Shooting a Stack on a Phone
Phones have naturally deep depth of field, so a single frame often keeps a lot in focus already. For true close-ups, though, even a phone blurs the background, and that is where stacking helps.
- Prop the phone on a small tripod or rest it on a firm surface. Stability matters even more than on a camera.
- Use a manual or pro camera app that lets you set focus by hand.
- Take a series, tapping to move focus from the nearest detail to the farthest between each shot.
- Transfer the frames to an app or desktop program that supports focus stacking and let it blend them.
Some phones include a built-in macro mode, which is convenient but does not truly stack. For genuine front-to-back sharpness on a tiny subject, the manual multi-frame route still wins.
Blending the Frames
Editing software aligns your frames and picks the sharpest pixels from each, building one fully sharp image. To get a clean result:
- Keep the framing identical across shots. Any drift makes alignment harder.
- Feed the software your raw or highest-quality files.
- Check the blended image at full size for soft seams or halos where two frames met, and re-stack with more frames if needed.
- Do minor cloning to tidy any small blending artefacts, then finish with normal editing.
Be honest about heavy manipulation where it matters, such as product listings, and never pass off a composite as a single untouched frame in a context that demands accuracy.
Method and Gear Compared
| Approach | Sharpness gain | Gear needed | Best for |
|---|---|---|---|
| Single frame, small aperture | Modest, softens overall | Just your camera | Quick shots, deep scenes |
| Phone manual stack | Good on close-ups | Phone plus mini tripod | Casual macro, flat-lays |
| Camera manual stack | Very high | Tripod, manual focus | Serious macro, products |
| Camera auto focus bracketing | Very high, fastest | Camera with the feature | Repeatable stacks |
Making It Work in the Tropics
Singapore’s humidity fogs a lens the moment you step from air-conditioning into the heat, and a foggy lens wastes an entire stack. Let your gear settle for a few minutes and keep a microfibre cloth handy. Wind is the other enemy, so for outdoor macro at the Botanic Gardens, shoot on a still morning or shield your subject from the breeze with your body.
Indoors, HDB and condo spaces make lovely controlled studios for product and flat-lay stacking, where you can block draughts and steady the light. If you are shooting in a park or nature reserve, keep to the paths, do not disturb wildlife or nesting birds, and follow NParks guidance. Some venues also restrict tripods, so check first.
Focus stacking is not for every shot, and it is not a quick one either. But once you have blended your first crisp flower or product frame, you will see detail your eyes could barely resolve, and that is a satisfying kind of sharp.
Explore more: Bracketing and HDR Photography, Framing Your Shots Creatively, and Using Leading Lines in Your Photos.