
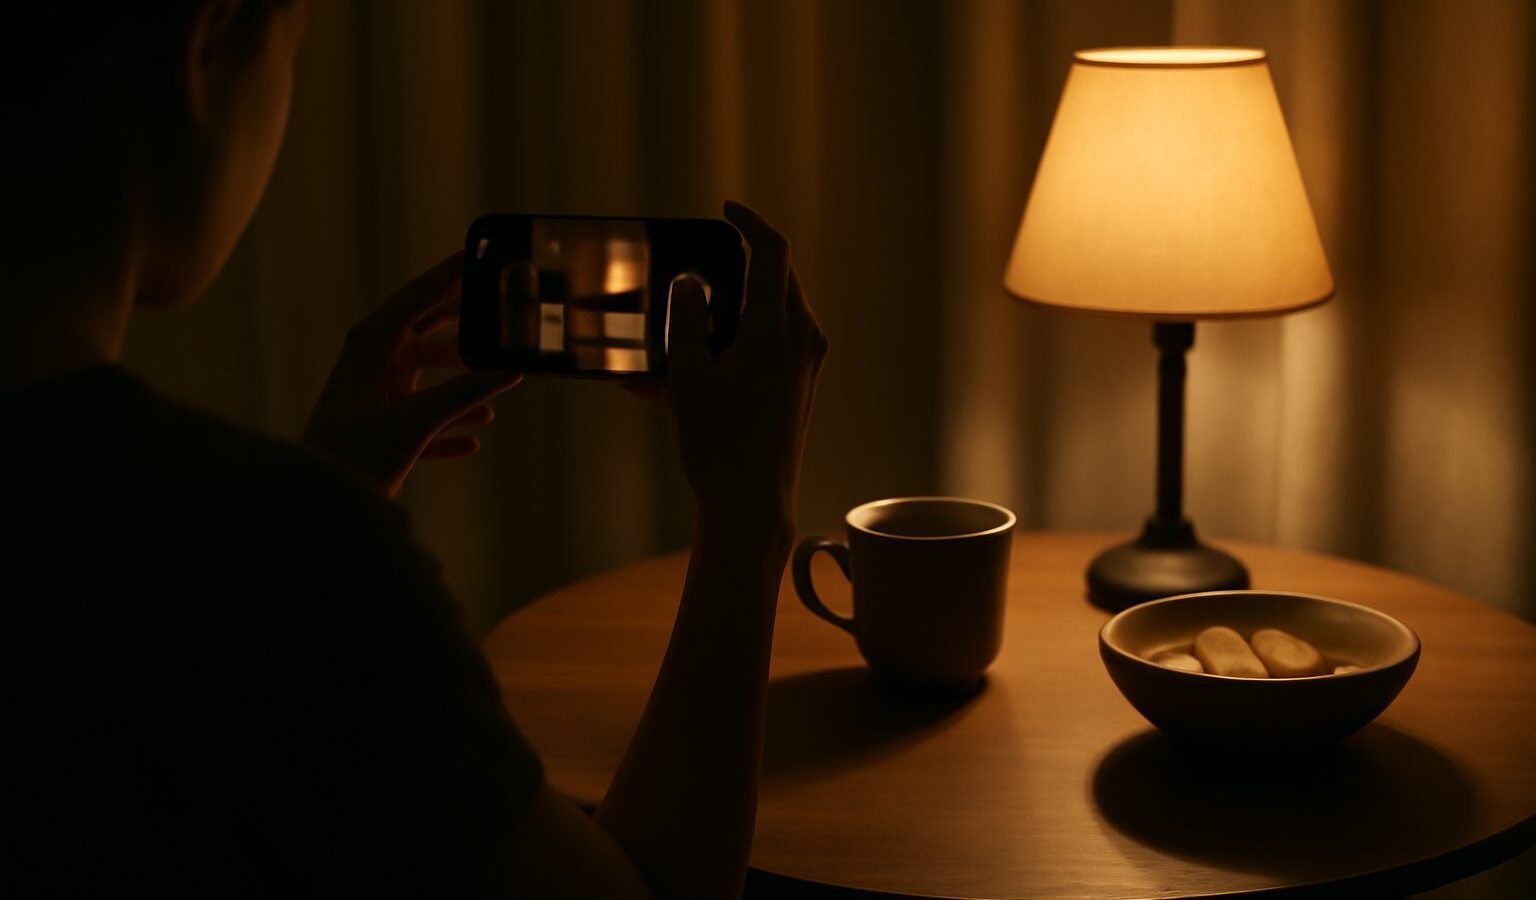
Some of Singapore’s most photogenic moments happen after the sun drops: the Marina Bay skyline glowing over the water, lanterns strung across a Chinatown street, the warm clutter of a hawker centre at dinner. Yet these are exactly the scenes that leave beginners with dark, blurry, grainy photos. The good news is that low-light phone photography has improved enormously, and a few simple habits will get far more from the camera you already carry.
This guide explains how night mode actually works, how to hold steady, and how to make smart choices when the light runs low. None of it requires new gear or deep technical knowledge. Understand a handful of ideas about light and movement, and those tricky evening shots become some of the most rewarding photos you take.
Why Low Light Is Hard for Phones
A camera makes a picture by collecting light, and at night there is simply less of it to collect. Phone sensors are tiny compared with those in dedicated cameras, so they struggle more in the dark. To compensate, the phone does one of two things, and both come with a catch.
It can keep the shutter open longer to gather more light, but anything that moves during that time, including your own hands, turns into blur. Or it can boost the sensitivity, known as ISO, to brighten the image, but cranking ISO high introduces “noise”, the grainy, speckled texture you see in dim photos. Understanding this trade-off is the key to everything else: your job in low light is to help the camera gather light cleanly, so it does not have to lean so hard on either blur or noise.
This is also why a still subject photographs far better at night than a moving one. A calm skyline is easy; a friend walking past a shop is hard. Keep that distinction in mind and you will pick your low-light shots more wisely.
How Night Mode Actually Works
Night mode is not a single long exposure. When you trigger it, the phone quietly takes a burst of several frames over a few seconds, then merges them into one, keeping the sharp parts and cleaning up the noise. That is why it asks you to hold still for a moment after you tap the shutter.
To get the best from it, a few things help.
- Wait for the countdown to finish. The phone is still capturing during those two or three seconds. Move early and you get a smeared result.
- Hold as still as you possibly can. The steadier you are, the more of those merged frames line up cleanly, and the sharper the final photo.
- Let it decide the timing. In very dark scenes the phone may want a longer capture. Give it the time it asks for rather than rushing the shot.
- Expect it to struggle with motion. Night mode shines on static scenes like buildings and streets. Moving people or passing traffic will still blur.
On many phones night mode switches on automatically when it senses darkness, but you can usually toggle it by hand too. If your photos come out dark, check that it is actually on.
Hold Steady, or Better Still, Do Not Hold at All
Because low-light shots need a longer capture, camera shake is the number one thing ruining them. Steadiness matters more here than anywhere else in phone photography, and there is a clear ladder of options from good to best.
- Brace yourself. Tuck your elbows into your body, hold the phone with both hands, and gently breathe out as you shoot. This alone sharpens many night shots.
- Lean on something solid. Press your shoulder against a lamp post, or rest your forearms on a railing along the Marina Bay waterfront. A bit of support beats none.
- Rest the phone on a surface. A ledge, a wall or a bench turns almost any low-light scene sharp. Prop it at the angle you want with a wallet or a folded tissue.
- Use a tripod. A small, affordable phone tripod is the single best low-light upgrade you can make. Check current models and prices, as options change often.
- Use the timer. Even resting on a ledge, the tap of your finger can nudge the phone. Set a two or three second timer so it fires after your hand is clear.
Combine a steady base with the timer and you can capture surprisingly long exposures, the sort that render the CBD skyline crisp and its reflections glassy on the water.
Choosing the Right Approach for the Scene
Different night scenes call for different tactics. This table matches common low-light situations you will meet around Singapore with the approach most likely to work.
| Scene | Main challenge | Best approach |
|---|---|---|
| Marina Bay skyline at blue hour | Wide, still, needs sharpness | Rest phone on a railing, use night mode and the timer |
| Hawker centre at dinner | Mixed light, people moving | Steady your hands, tap to focus on the still dish |
| Street lanterns and shop lights | Bright points in a dark frame | Tap the lights to set exposure, avoid over-brightening |
| A friend’s portrait at night | Person may move and blur | Find a pool of steady light, ask them to stay still |
| Fireworks or light trails | Long streaks of motion | Prop on a solid surface, use a long-exposure mode if available |
Reach for blue hour whenever you can. The half hour after sunset, when the sky is a deep blue rather than black, gives the richest city photos because there is still some light to balance the glow of the lights.
Small Habits That Lift Every Night Shot
Beyond gear and modes, a few quiet habits make a steady difference. First, keep your lens clean. Fingerprints and the film of humidity we all deal with here scatter light and cause hazy, flared night photos, so give the lens a quick wipe before you shoot.
Second, be careful with exposure. In a dark scene the phone often tries to brighten everything, which flattens the mood and adds noise. Tap on a brighter part of the frame, like a lit building, then slide the exposure down a touch. A night photo is allowed to look like night. Preserving some genuine darkness usually looks better than a muddy, over-lifted image.
Finally, resist the urge to zoom. Digital zoom in low light magnifies noise and blur badly. Move closer with your feet if you can, or shoot wider and crop later. And when a shot still comes out grainy, a light touch of editing can tame the noise, though it is always better to capture cleanly in the first place than to rescue it afterwards.
Explore more
Night shooting builds on the same foundations as everything else, so pair this with our smartphone photography tips for Singapore and mastering your phone camera settings for full control after dark. When you have your shots, a good free photo editing app helps tame noise, and better portraits on your phone carries these lessons into daylight.