
Singapore hands you tricky light almost every day. A bright tropical sky sits above a shaded five-foot way, and your camera cannot hold both at once. This is where HDR photography earns its keep. HDR stands for high dynamic range, and it simply means capturing more detail from the brightest highlights to the darkest shadows than a single exposure allows. Bracketing is the honest way to get there: you take the same scene at a few different brightness levels, then blend them.
This guide keeps things practical for both phone shooters and dedicated-camera users. You do not need expensive gear. You need a steady hand, a little patience, and a clear idea of when to reach for HDR and when to leave it alone.
What Dynamic Range Actually Means
Dynamic range is the gap between the brightest and darkest parts of a scene that your camera can record with detail. Your eyes handle this gap beautifully. A camera sensor is narrower, so it forces a choice. Expose for the bright Marina Bay sky and the water below turns to black. Expose for the shadows and the sky blows out to a flat white.
Bracketing solves this by taking several frames of the same scene at different exposures. A typical set is three frames: one at the camera’s chosen exposure, one darker to protect the highlights, and one brighter to open up the shadows. Software then merges them so the final image keeps detail across the whole range. The brightness steps are measured in stops, where one stop means doubling or halving the light.
When HDR Helps in Singapore, and When It Does Not
HDR shines in high contrast scenes. It is less useful, and sometimes harmful, in soft even light.
Reach for it when:
- You are shooting the Marina Bay or CBD skyline at blue hour, with bright windows and dark water.
- You face a heritage shophouse interior where the doorway looks out onto harsh midday sun.
- You are inside a hawker centre with dim corners and bright signage.
- A landscape at Sungei Buloh has a glaring sky over shaded mangrove.
Skip it when:
- The light is already even, such as an overcast monsoon afternoon.
- Anything is moving, like traffic, people, or leaves in the wind, because merging frames will smear them.
- You want punchy contrast on purpose, such as a silhouette against the sunset.
Our short golden hour near the equator means the sky shifts fast, so decide quickly and shoot your bracket in one smooth burst.
Shooting a Bracket on a Phone
Most modern phones run an automatic HDR mode that brackets and merges for you in a fraction of a second. For everyday high contrast scenes this is genuinely good, and it handles slight movement better than manual blending because it aligns frames cleverly.
To get the most from it:
- Open your camera app and check that HDR or Smart HDR is set to Auto or On.
- Tap the darkest important area to set focus, then drag the exposure slider so the bright sky is not fully white.
- Hold steady for a beat after you press the shutter, since the phone is capturing and blending several frames.
- For more control, use a pro or manual mode with an exposure bracketing option, or a third-party camera app that saves the separate frames.
Brace your elbows against your body or rest the phone on a railing at the Helix Bridge. Steadier frames merge more cleanly.
Shooting a Bracket on a Dedicated Camera
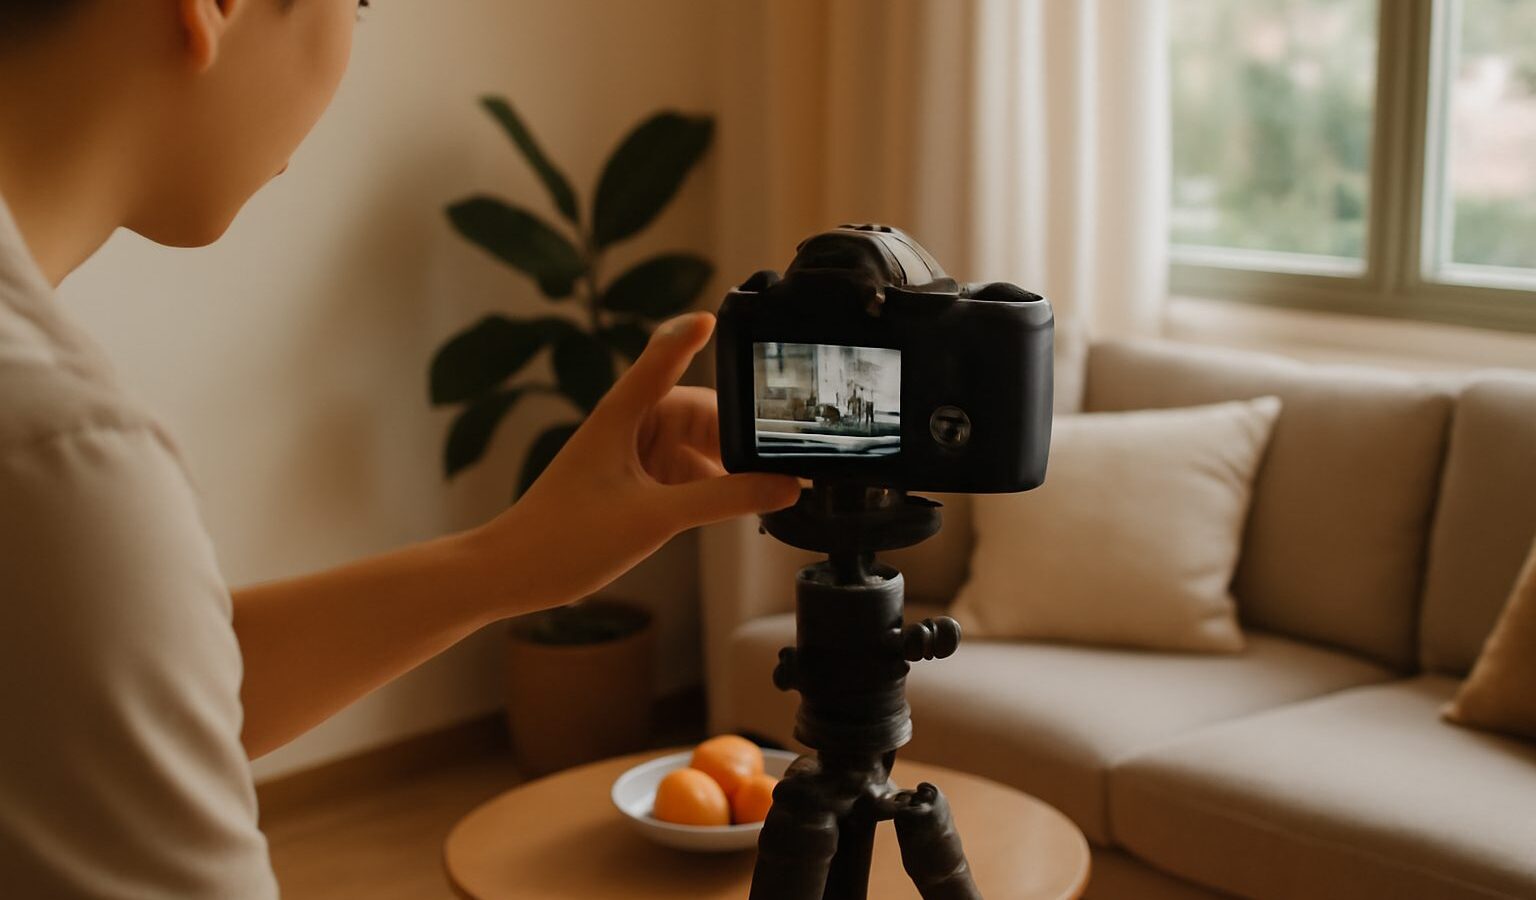
A mirrorless or DSLR camera gives you full control through auto exposure bracketing, usually labelled AEB or BKT in the menu.
- Mount the camera on a tripod. Even a small travel tripod helps a lot, and many local parks and reserves allow them, though you should always check venue rules first as some sites restrict tripods.
- Set the camera to aperture priority or manual so the aperture stays constant across frames. Only the shutter speed should change.
- Turn on auto exposure bracketing and choose three or five frames, one or two stops apart.
- Use continuous or timer drive so all frames fire in one press, reducing movement between them.
- Shoot in raw if you can, since raw files hold more recoverable detail and merge better.
If your camera lacks AEB, you can bracket manually by keeping aperture and ISO fixed and changing only the shutter speed between shots.
Merging and Tone Mapping Without the Fake Look
Once you have your frames, editing software combines them and lets you tone map, which is the process of squeezing that wide range back into a viewable image. This is where HDR earns its bad reputation. Overcooked tone mapping gives you halos around buildings, grubby grey skies, and an unnatural cartoon feel.
Aim for restraint:
- Start with a natural or realistic merge setting, then adjust gently.
- Pull highlights down and lift shadows only until detail returns, not until everything is flat.
- Watch the edges of the skyline for glowing halos and back off if you see them.
- Keep colours believable. Singapore’s evening sky is warm, not radioactive.
A well-merged HDR image should look like a scene your eyes could believe, just with detail kept in both the sky and the shadows.
Bracketing Choices at a Glance
| Situation | Frames and spacing | Best tool | Watch out for |
|---|---|---|---|
| Everyday high contrast, some movement | Auto HDR, single press | Phone auto HDR | Slight blending if subjects move fast |
| Blue hour skyline, still scene | 3 frames, 2 stops apart | Camera on tripod | Halos when tone mapping too hard |
| Very extreme contrast interior | 5 frames, 1 to 2 stops apart | Camera plus software merge | Long total capture time |
| Fast-changing sunset sky | 3 frames, fast burst | Either, shot quickly | Sky shifting between frames |
Practical Tips for the Tropics
High humidity is the quiet enemy. Moving from an air-conditioned MRT into the outdoor heat fogs your lens instantly, and a foggy lens ruins every frame in the bracket. Let the gear acclimatise for a few minutes before shooting. A microfibre cloth in your bag is cheap insurance.
Sudden monsoon downpours arrive with little warning, so protect your kit and never risk your safety for a shot. And remember consent: if recognisable people appear in your frames at a hawker centre or on the street, be respectful, ask before shooting close up, and delete images on request. This is general guidance for hobbyists, not legal advice.
Bracketing rewards a calm, deliberate approach. Once you can read a scene and judge its contrast, you will know at a glance whether one frame will do or whether HDR photography is the tool for the job.
Explore more: Focus Stacking for Sharp Shots, Cityscape and Skyline Photography, and How to Photograph Reflections.