
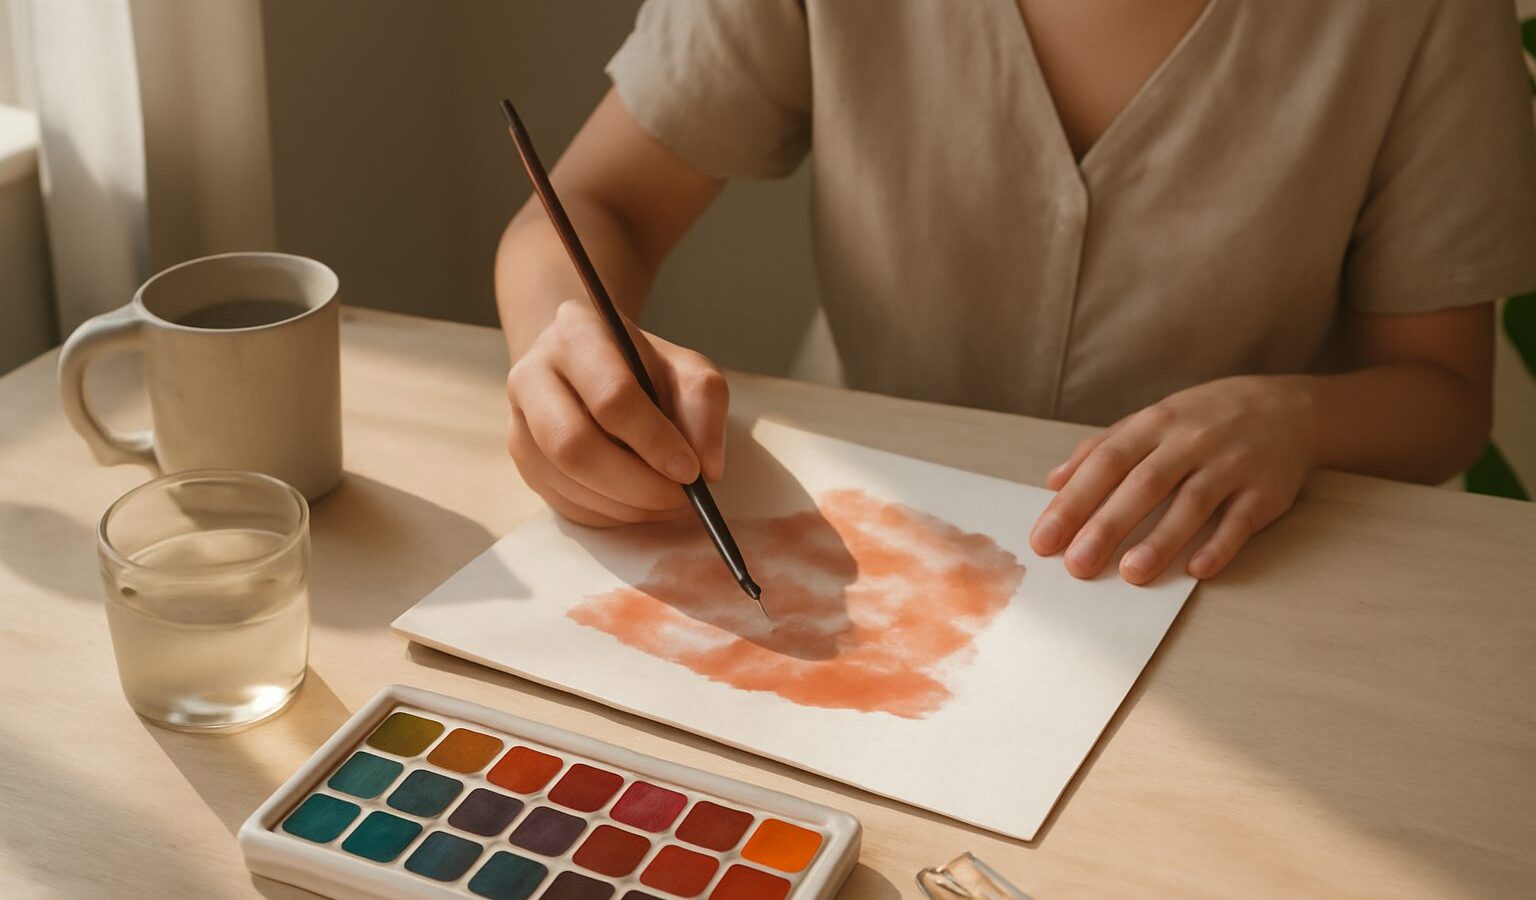
Few hobbies feel as relaxing as watercolour. The way pigment blooms across wet paper is a small daily magic, and the whole kit tucks into a pencil case. If you have been drawn to watercolour painting in Singapore but worry it looks too fiddly or arty, take heart. Watercolour is beginner friendly, forgiving of a loose hand, and cheap to try. You can set up on a kitchen table this weekend with a modest set of paints and a jar of water, and be making happy little washes within the hour.
This guide covers the starter kit that gets you painting, a few core techniques, where to buy supplies locally, and how to protect your paper from our sticky weather. Go gently, embrace the happy accidents, and enjoy the flow.
Why Watercolour Suits Beginners and Small Spaces
Watercolour is wonderfully low fuss. Unlike oils, there are no strong solvents or fumes, so it is comfortable and HDB friendly to paint at a dining table. Clean up is just water and a rinse, and everything packs away in minutes. For flats and small rooms, that easy setup and pack down is a real gift.
It is also affordable to start. A basic pan set, one brush, a pad of paper and a water jar will get you painting properly. And watercolour rewards a relaxed attitude. Much of its charm comes from letting colours mingle and bloom on their own, so a little unpredictability is a feature, not a failure. Beginners who loosen up and play tend to make the loveliest work.
Finally, it is portable. Many painters love taking a tiny travel set to a park or hawker centre and painting on the spot. Few hobbies pack this much joy into so small a bag.
What You Need to Start
Keep your first kit simple. You can always add colours later once you know what you reach for. A sensible beginner setup includes:
- Paints. A small pan set of around 12 to 24 colours is ideal to begin. Pans are tidy and travel well. You can mix most colours from a few, so you do not need a huge range.
- Brushes. Start with a round brush in a medium size, say a number 8, plus a smaller one for details. A round brush with a good point does most jobs.
- Paper. This matters more than you would think. Use proper watercolour paper of around 300gsm, ideally cotton or a good cellulose pad. Thin printer paper buckles and disappoints, so paper is the one place beginners should not skimp.
- A water jar, a rag or tissue, and a palette. An old ceramic plate works fine as a palette.
- A pencil and eraser for light guide sketches, and masking tape to hold the paper flat.
That is a complete kit. Start cheap with a student grade set; you can upgrade to artist grade paints and cotton paper once you are hooked.
Core Techniques to Practise First
Watercolour has a small set of core moves. Learn these and you can paint almost anything. Try each on scrap paper before a real piece.
- Flat wash. Load your brush and lay an even layer of colour across a shape. This teaches you to control water and pigment.
- Graded wash. Start dark and add water as you go so the colour fades to light. Lovely for skies and backgrounds.
- Wet on wet. Wet the paper first, then drop in colour and watch it bloom and spread. This is the dreamy, soft edged effect watercolour is loved for.
- Wet on dry. Paint onto dry paper for crisp, controlled edges. Use it for details and shapes.
- Layering, or glazing. Let a layer dry fully, then paint a transparent layer on top to build depth. Patience with drying time is half the skill.
- Lifting. Dab wet paint with a clean, damp brush or tissue to pull colour back out. Handy for clouds and gentle highlights.
The golden rule is to work light to dark, because you cannot easily paint light over dark in watercolour. Leave your whites as bare paper. Above all, let go of control and let the water do some of the work.
Choosing Paints and Paper Without Overspending
The market ranges from pocket money pans to premium artist sets, and it is easy to overspend before you know your taste. The table below compares common beginner options so you can start sensibly. All cost bands are rough, illustrative guides only, so check the shop for current prices.
| Setup | Best for | Rough cost band | Notes |
|---|---|---|---|
| Student pan set and a cellulose paper pad | First timers testing the hobby | Budget | Great value; perfect for learning the basics |
| Small travel set and a pocket sketchbook | Painting outdoors and on the go | Budget to mid | Compact and quick to set up anywhere |
| Artist pans or tubes and cotton paper | Painters ready to level up | Mid to premium | Richer colour and paper that handles water beautifully |
| Boxed set with brushes and palette | Gift buyers wanting one purchase | Mid | Convenient, though quality varies by brand |
Begin near the top rows. Many beginners find that upgrading the paper first, before the paints, makes the biggest difference to how their work looks and feels.
Where to Buy Supplies and Learn in Singapore
For paints, brushes and paper, Art Friend is the reliable first stop, with branches at malls including Bras Basah Complex and Takashimaya and a range across every budget. Bras Basah Complex has several art shops worth browsing side by side to compare. Spotlight stocks paper, brushes and beginner sets, while Popular and Daiso carry cheap pans and pads that are fine for early practice. Online marketplaces are useful for topping up specific colours or brands.
To learn, community centres and CCs run friendly, affordable art classes, and studios around the island offer beginner watercolour workshops; check each provider for current schedules and fees. Sketching and painting groups sometimes gather outdoors at spots like the Botanic Gardens, Chinatown and along the river, which is a lovely, low pressure way to practise with others. Free tutorials on YouTube are excellent too. Painting along with a video builds confidence fast without any pressure to perform.
Painting and Storing Work in a Humid Climate
Singapore’s humidity changes how watercolour behaves. Paper stays damp longer, so washes take more time to dry, which can be a bonus for blending but a nuisance when you want crisp edges. A fan or an air conditioned room speeds drying and helps you keep control.
Store paper and finished paintings flat in a dry place. Damp cupboards invite foxing, those little brown spots, and mould, so a box with a refreshed silica gel sachet or a small dehumidifier protects your work. Keep pan sets closed when not in use so dust and moisture stay out, and let paintings dry completely before stacking them, or the colours may transfer. A little care keeps your paintings and your paper fresh for years.
Explore More
Want to keep building your art skills? If you would like stronger foundations, our guide to drawing and sketching pairs perfectly with painting. Curious about a digital route? See digital art and illustration. And if lettering appeals, you might enjoy calligraphy and hand lettering.