
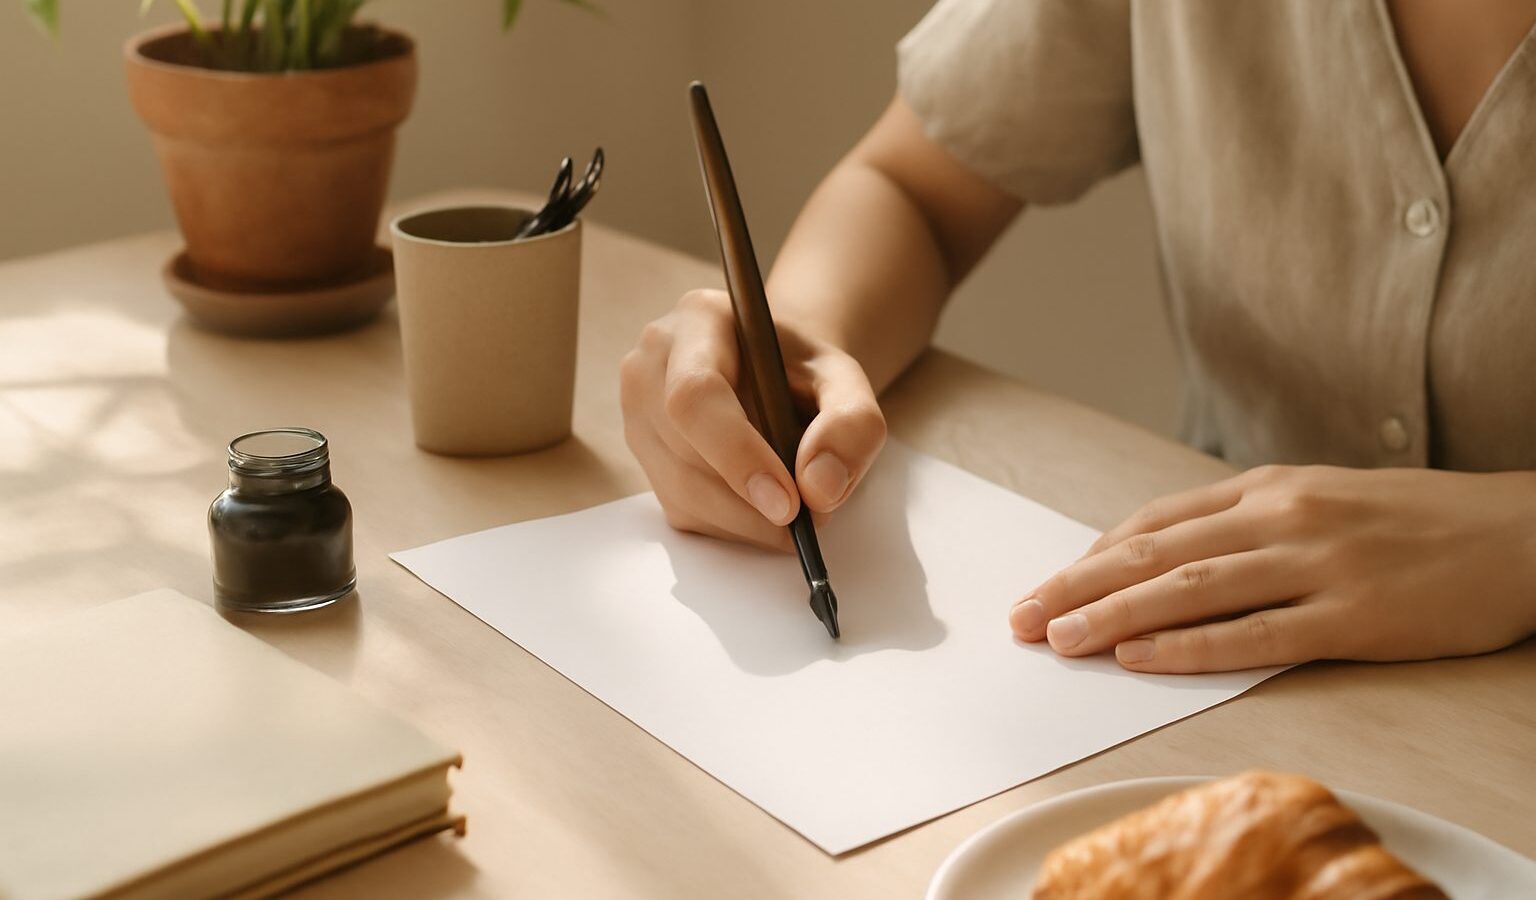
There is something quietly satisfying about slowing down to make letters beautiful. In a world of typing and voice notes, calligraphy in Singapore has become a gentle antidote: twenty minutes with a pen and a sheet of paper, no screen in sight. Best of all, you do not need neat handwriting, an art background or a big budget to begin. Calligraphy is a skill you build stroke by stroke, and the awkward early attempts are part of the deal for everyone.
This guide walks you through the difference between calligraphy and hand-lettering, the small starter kit you actually need, and where to buy supplies and take a class here. The aim is simple: help you picture sitting down to practise your first strokes this weekend.
Calligraphy, Hand-Lettering or Brush Lettering?
These terms get used loosely, so it helps to know what you are choosing between. Calligraphy is the art of writing letters in a flowing, joined-up style, usually with a tool that gives thick and thin strokes depending on pressure. Hand-lettering is closer to drawing letters, building each one up shape by shape rather than writing it in one pass, so it is forgiving and great for quotes and posters. Brush lettering is a popular modern branch that uses a flexible brush pen to create those elegant thick-and-thin swells, and it is where many beginners start.
You do not have to pick a lane on day one. Most people dabble across all three, then drift towards whatever they enjoy. If you like the meditative rhythm of writing, lean into calligraphy. If you like designing and decorating, hand-lettering will suit you. Brush lettering sits happily in the middle and needs the least gear to try.
What You Need to Start
The lovely thing about this hobby is how little it asks of you. You can begin for the price of a couple of lunches and upgrade only once you know you enjoy it. A sensible first kit looks like this:
- A brush pen or two. A small-tip brush pen is the friendliest starting tool. Pick one fine tip for practice and, if you like, a larger one for headings.
- Smooth paper. Cheap fibrous paper frays brush tips and bleeds ink. Smooth printer paper or a marker or laser pad keeps your pens alive and your strokes clean.
- A pencil and eraser. For sketching guidelines and laying out hand-lettered pieces before you ink them.
- Practice sheets. Free downloadable worksheets and drill grids teach you the basic strokes and letter shapes.
- Patience and a small, regular slot of time. Fifteen minutes a few evenings a week beats one long, frustrated session.
Resist the urge to buy a big bundle of every nib, ink and pen colour on day one. Beginners rarely need premium gear, and a fancy dip-pen set often sits unused while you are still learning basic strokes. Start with a brush pen, wear it out, then add tools you actually reach for.
Choosing Your Tools by Style and Budget
Different lettering styles call for different tools, and each sits at a different price point and difficulty level. The table below groups the common starting options so you can match one to your style and your wallet. Prices vary, so check the retailer for current rates rather than assuming.
| Tool | Best for | Rough budget | Difficulty | Good if you want |
|---|---|---|---|---|
| Small brush pen | Modern brush lettering | Low | Beginner friendly | The easiest, tidiest way in |
| Large brush pen or marker | Big headings, posters | Low | Beginner friendly | Bold quotes and signage |
| Fineliner or monoline pen | Hand-lettering, faux calligraphy | Low | Very easy | To letter with any pen you own |
| Dip pen and pointed nib | Traditional pointed-pen scripts | Low to mid | Steeper learning curve | Classic, expressive thin-to-thick lines |
| Broad-edge pen or marker | Gothic and italic hands | Mid | Moderate | Structured, historic letterforms |
Notice that most starting budgets are low. You can taste every style here without spending much, then invest in a good dip pen and bottled ink only once you are hooked.
Learning the Basics Without Getting Discouraged
Calligraphy rewards drills far more than talent. Before you write words, spend your first sessions on the basic strokes: thin upstrokes with light pressure, thick downstrokes with firmer pressure, and the ovals and curves that build letters. Ten minutes of these warm-ups trains your hand faster than copying whole quotes.
A few habits that make the early weeks smoother:
- Go slow. Calligraphy is not handwriting. Lift, pause and draw each stroke deliberately; speed comes later on its own.
- Use guidelines. Light pencil lines for the baseline, x-height and slant keep your letters even while your muscle memory catches up.
- Practise one letter at a time. Fill a row with a single letter before moving on, then join letters into short words.
- Keep your old sheets. Date them and compare after a month. Seeing your own progress is the best motivation there is.
- Follow one teacher first. Pick a single beginner course or worksheet and finish it before hopping between styles online.
Expect your first letters to wobble. Everyone’s do. That awkward stage is normal and passes surprisingly quickly if you show up for a few short sessions each week.
Where to Learn and Buy in Singapore
You are well served here. For supplies, Art Friend carries brush pens, nibs, inks and marker pads, and Bras Basah Complex is a treasure trove of art and stationery shops worth browsing in person. Popular and Spotlight stock beginner brush pens and paper, while Daiso and Value Dollar stores are unbeatable for a couple-of-dollars first attempt. Plenty of local sellers also trade calligraphy kits and specialist inks on Shopee, Lazada and Carousell.
To learn and meet people, community centres run approachable lettering workshops through the PA network, and craft studios across the island offer single beginner sessions, often themed around brush lettering or festive cards. The National Library Board lends how-to books and hosts occasional workshops, so you can borrow before you buy. Look for calligraphy and lettering groups on Meetup, Telegram and Instagram too, where locals share practice prompts and meet-ups. Fees vary a lot, so check the studio or class provider for current prices rather than assuming.
One local reality worth planning for is our humidity. Damp air makes ink slow to dry, warps paper and can leave brush pens and bottled inks prone to mould. Keep your pens capped and stored flat, tuck paper and worksheets in a lidded box with a few silica gel packets, and store everything away from windows and bathrooms so your supplies last far longer.
Turning Practice Into Something You Use
Half the joy of lettering is that it makes things. Once your strokes settle, put them to work: address envelopes, letter a birthday card, label your kitchen jars, or frame a favourite quote for your wall. Small finished pieces keep the hobby rewarding and give you an excuse to practise with purpose. If a friend admires a card you made, you have found your next project. Keep the first ones tiny enough to finish in a sitting, celebrate the wins, and let the skill grow at its own gentle pace.
Explore more
If lettering has you hooked on making marks on paper, our beginner’s guide to drawing and sketching is a natural next step, and pairs beautifully with lettering for cards and posters. For a calmer daily creative habit, see starting a journal and bullet journaling, where hand-lettering really shines. And if you want to add colour to your pieces, try getting started with watercolour painting.