
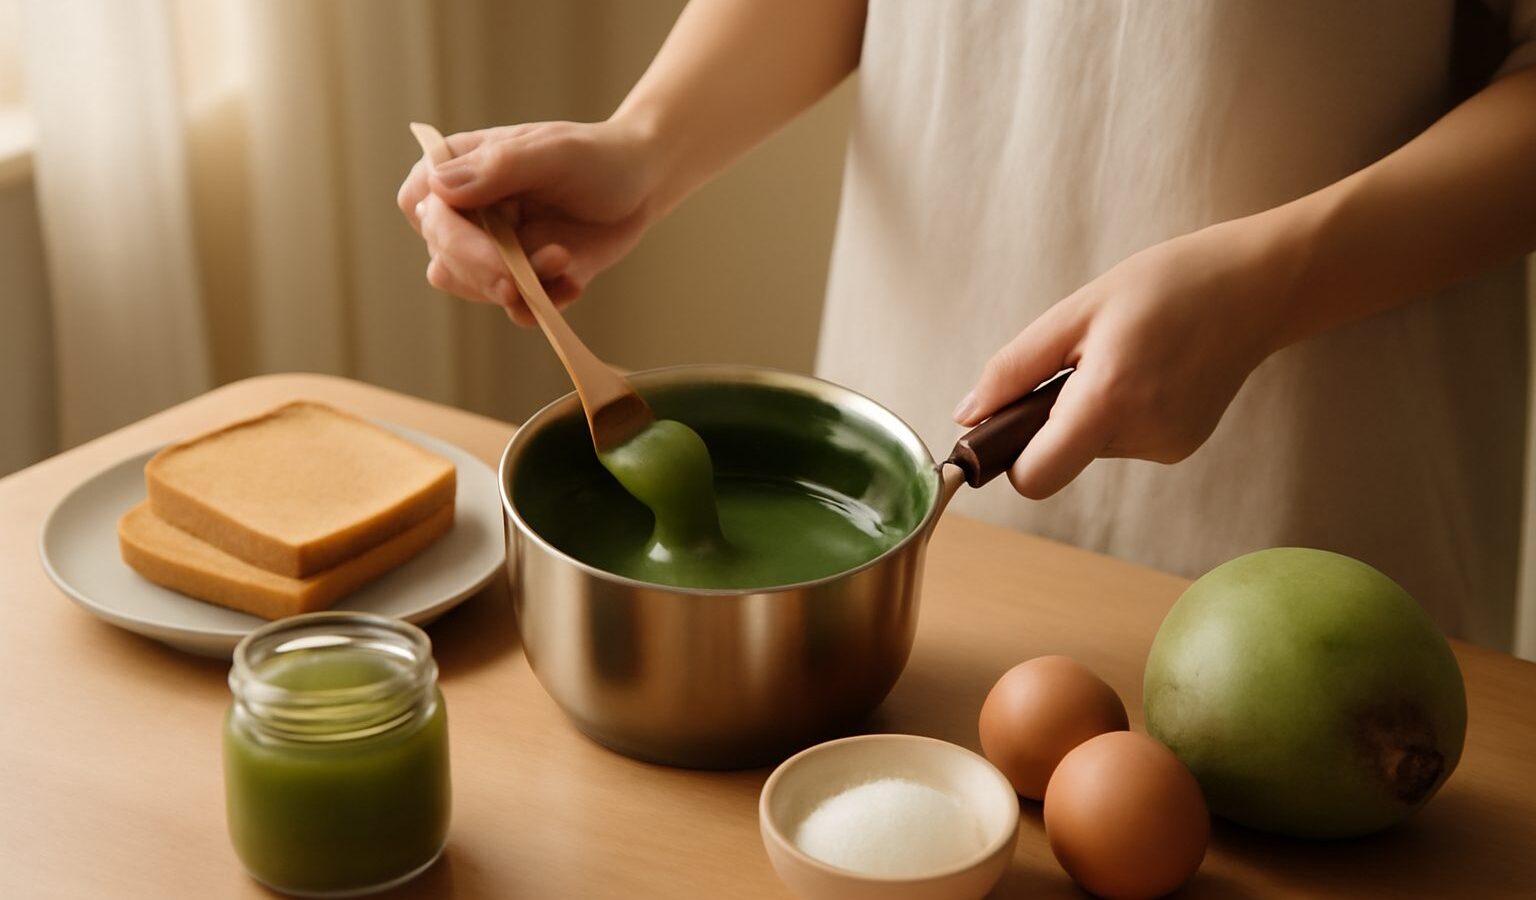
Kaya is the coconut and egg jam we spread thick on toast with cold butter, and making your own is far less scary than it looks. A jar of homemade kaya in Singapore costs you a bit of patience and a few everyday ingredients, and the reward is a spread with real pandan fragrance and gula melaka depth that most shop versions cannot match. If you can stir a pot without walking away, you can do this in a small HDB kitchen.
There are two families of kaya. The Hainanese style is browner and caramelised, cooked slowly so the sugar takes on colour. The Nyonya style stays greener and lighter, leaning on pandan. Both use the same base of eggs, coconut milk and sugar, so once you understand the method you can lean either way to suit your taste.
What You Need and Where to Buy It
The ingredient list is short. You want eggs, coconut milk, sugar and pandan leaves. For a small batch, think along the lines of four to five eggs, around 200ml of coconut milk, a similar volume of sugar by feel, and a handful of pandan.
- Eggs give the jam its body. Use them fresh, and cook them fully through, since raw egg is never safe to leave underdone in our heat.
- Coconut milk brings the richness. The wet market sells fresh santan that tastes wonderful, but boxed or canned coconut milk from any supermarket works perfectly and keeps longer.
- Sugar can be plain white for a lighter jam. For that classic dark, treacly flavour, swap part or all of it for gula melaka, the palm sugar sold as hard discs near the baking or local-ingredients shelf. Chop or grate it so it melts evenly.
- Pandan leaves sit in the chiller with the herbs. Rinse, knot them, and either steep them in the coconut milk or blitz a few with a splash of water and strain for a stronger green note.
You do not need special gear. A heatproof bowl, a saucepan for a water bath, and a whisk or spoon are enough. A fine sieve is the one tool that genuinely lifts the result, because straining removes the little cooked egg bits and gives you a silky spread.
The Low and Slow Method
Kaya is a custard, and custards split when they get too hot too fast. The safest home method is a double boiler, which is just a heatproof bowl resting over a pot of gently simmering water, not touching the water itself. This caps the temperature and stops the egg from scrambling.
Here is the flow:
- Whisk the eggs and sugar together until smooth, then whisk in the coconut milk and your strained pandan.
- Strain the whole mixture once through a sieve into your bowl. This step alone saves a lot of grief.
- Set the bowl over barely simmering water and stir. Keep stirring, scraping the sides and base, so nothing sets on the bottom.
- After a while the mixture thickens from a thin liquid to something that coats the back of a spoon. Keep going until it holds a line when you draw a finger across the spoon.
- For a darker Hainanese finish, caramelise a little extra gula melaka or sugar separately until it is a deep amber, cool it slightly, then stir it in for colour and a toasty edge.
The whole thing is a test of patience more than skill. Depending on your batch size and heat, expect to stir for a good while, so put on a podcast and settle in. If the texture looks grainy at the end, blend it briefly or push it through the sieve again and it will smooth out.
Getting the Texture and Flavour Right
Most first tries are perfectly edible even when they are not perfect, so do not be discouraged. The common issues are easy to read once you know the cues.
| What went wrong | Likely cause | How to fix it |
|---|---|---|
| Scrambled or lumpy | Heat too high, or not stirring | Blend smooth, then strain; next time lower the heat |
| Too runny | Undercooked | Keep cooking gently until it coats a spoon |
| Too stiff and pasty | Overcooked | Loosen with a spoon of warm coconut milk |
| Weak flavour | Not enough pandan or sugar | Steep more pandan; adjust sweetness while warm |
| Pale and flat colour | No caramelisation | Add caramelised gula melaka for depth |
Taste as you go while it is still warm and adjust the sweetness. Remember the jam firms up as it cools, so stop while it is a touch looser than you think you want. If you like a pronounced pandan green, blitzed fresh leaves beat steeping. If you love the smoky caramel of kopitiam kaya, lean on the gula melaka and take the sugar darker.
Storing Your Kaya Safely
Because kaya is egg based and we live in a warm, humid climate, treat it like any fresh custard. Cool it fully, then keep it in a clean, airtight jar in the fridge, never left out on the counter where it will spoil quickly and attract ants. Use a clean, dry spoon each time so you do not introduce moisture or crumbs that shorten its life.
Homemade kaya has no preservatives, so make small batches you will finish within a week or so rather than one giant jar, and use your senses. If it smells off, tastes sour, or grows any mould, throw it out without hesitation. Do not leave it out during a long breakfast spread in the heat. If you want to keep some longer, portion it into small containers and freeze, then thaw a portion in the fridge as you need it.
Now for the best part. Toast a thick slice of bread, spread the kaya generously, add a cold slab of butter so it half melts into the jam, and pair it with soft-boiled eggs and kopi. That first bite of your own kaya, made from a pot you stirred yourself, tastes better than any jar you can buy.
Explore more
Kaya is a gentle place to start, and the same patience pays off across our local kitchen. If you enjoyed this, try building bigger flavour bases with our guide on making a rempah spice paste and making sambal chilli from scratch. When you are ready for a full hawker-style breakfast and beyond, see cooking hawker favourites at home.