
There is real joy in freezing the effort on a runner’s face as they push through the last kilometre. Whether you are cheering on a friend at a neighbourhood fun run or covering a big road race in town, marathon photography in Singapore is a rewarding challenge that mixes timing, movement and emotion. You are working with fast subjects, changing light and large crowds, all at once. This guide walks you through the gear, settings and technique that will help you come home with sharp, lively shots, while shooting safely and respectfully so you never get in the runners’ way.
Plan Ahead and Respect the Rules
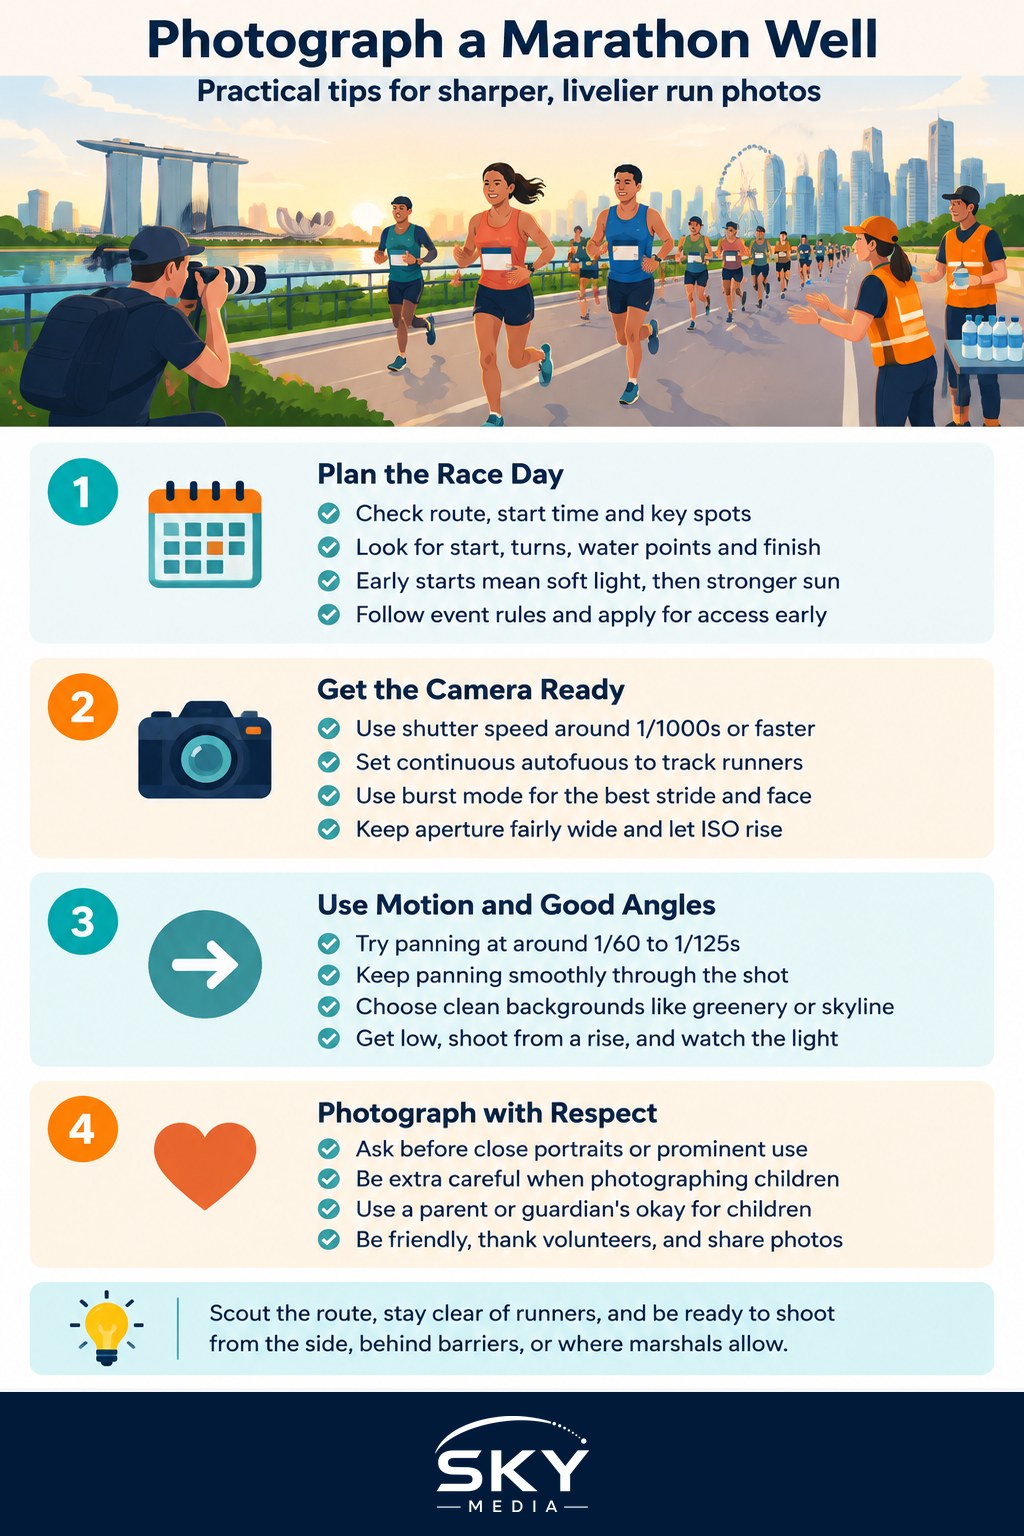
Good race photos start before you press the shutter. Look up the route map, the start time and where the interesting moments will happen, such as the start line, big turns, water points, bridges and the final stretch. Early morning starts are common here to beat the heat, which means soft light at first and harder light as the sun climbs.
Before race day, sort out the basics:
- Check the event rules. Many organised races have their own photography and access policies, and larger events may require media accreditation for course-side or restricted positions. If you want that access, apply through the official channels in advance.
- Stay out of the runners’ path. Never step onto the course, block a water station, or stand where you force runners to swerve. Shoot from the side, from behind barriers, or from spots marshals allow.
- Follow marshals and signage. If someone asks you to move, move.
- Mind public spaces. If a section runs through private property or a managed venue, respect their rules too.
Pack light because you may be on your feet and moving between spots for hours. A single versatile zoom lens, a spare battery, a couple of memory cards and water for yourself will cover most of the day. Our overview of sports and action photography is a good companion read for the wider skill set.
Dial In Settings for Fast, Sharp Shots
Runners move quickly, so your camera needs to be ready. The exact numbers depend on your gear and the light, but these starting points work well and you can adjust from there.
- Shutter speed: to freeze a running stride cleanly, start around 1/1000 second or faster. Learning how to freeze fast motion will make this second nature.
- Autofocus: use continuous autofocus, sometimes labelled AF-C or AI Servo, so focus tracks the runner as they approach.
- Drive mode: switch to burst so you capture a sequence and can pick the frame where both feet, arms and expression look best, without filling your card with junk.
- ISO and aperture: use aperture priority or manual, keep the aperture fairly wide to blur the background and lift the runner off it, and let ISO rise as needed to protect your fast shutter speed.
Pre-focus on a spot on the road, wait for the runner to reach it, and fire a short burst as they pass. Shooting slightly against the direction of travel, so runners come toward you at an angle, gives a stronger sense of motion than a flat side-on view.
Add Motion With Panning and Smart Positioning
Freezing action is one look. The other is panning, where you use a slower shutter speed and swing the camera to follow the runner, keeping them sharp while the background blurs into streaks of speed. It takes practice and you will bin many frames, but the keepers feel alive.
To try it, drop your shutter speed to somewhere around 1/60 to 1/125 second, track the runner smoothly, and keep panning through the shot even after the shutter fires. Our dedicated guide to panning to capture motion breaks the technique down step by step.
Think about your position and background too. Look for clean backdrops like greenery, water or the city skyline rather than a cluttered mess of signs and spectators. Get low to make runners look powerful, or find a slight rise to shoot over the crowd. Watch the light so faces are not lost in harsh shadow, and turn around now and then to capture supporters, volunteers and quiet moments of exhaustion and relief, which often tell the story better than the running itself.
Shoot People Respectfully
Races are full of raw emotion, which makes for wonderful pictures, but the people in them deserve your consideration. For wide crowd shots at a public event, general documentary shooting is normal. When you move in close for a portrait, a tight face shot, or anything you plan to publish prominently or use commercially, ask for consent and be gentle about it. A quick thumbs up or a nod is often all it takes, and most runners are happy to be photographed if you are friendly.
Be extra careful with children, and seek a parent or guardian’s okay before photographing them. If you intend to use images commercially, look into a proper model release. Our notes on model release and consent explain the general idea so you stay on the right side of it.
Above all, be a good presence on the course. Cheer, stay out of the way, thank the volunteers, and share your best shots with the runners afterwards. Do that, and marathon photography becomes not just good practice but a genuine part of the day’s celebration. Charge your batteries, scout your spots, and enjoy the run.
Frequently Asked Questions
Do I need permission to photograph a race as a spectator? For personal photos from public spots, you usually do not need special permission, but follow the event rules and marshals’ instructions. Accreditation is for course-side or restricted positions. If you plan to sell or publish the images, check the organiser’s policy first.
Can I sell or share photos of runners I do not know? Posting a few event photos for personal sharing is usually fine, but selling them or using them commercially is different. Check the organiser’s rules, respect runners who ask you to remove a photo, and ask for consent for close portraits or when children are involved.
What should I do about shooting at a dark dawn start? Raise your ISO, open the aperture and use a fast shutter speed, accepting some grain. Position yourself near lights along the course and wait for runners to pass through them. Keep flash off, as it can startle and distract runners and spoil the light.
Can I photograph a race well with just a phone? Yes, if you pick the right spot. Use burst mode, tap to focus and stay near the runners, since phones struggle with distant fast subjects. Shoot in bright light, wipe the lens often and keep the phone steady. A camera helps when you want reach.
How do I protect my camera at an early-morning race in the heat or rain? Bring a rain cover or a plastic bag, a microfibre cloth, and a bag with a zip. Avoid placing gear on wet ground and wipe off sweat and moisture often. Let it dry in a ventilated spot at home afterwards, and store it with silica gel.
Further reading: How to Photograph Fitness and Gym Sessions