
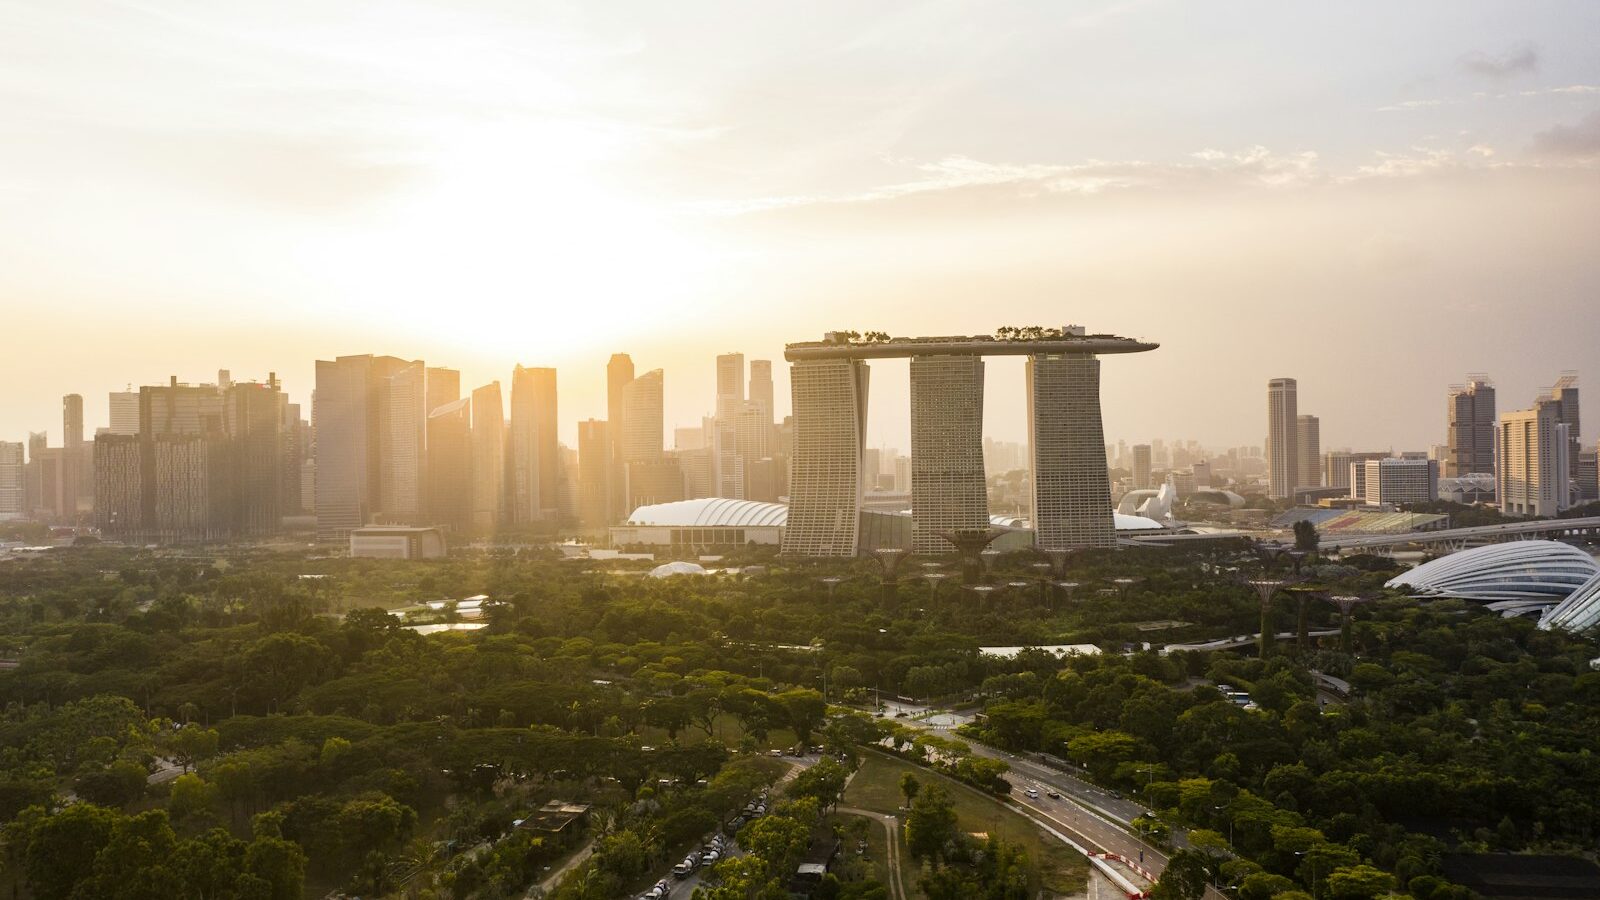
A glowing sky is one of the easiest scenes to fall in love with and one of the trickiest to capture well. Learning how to photograph sunsets means understanding a single key idea: expose for the bright sky, not the dark land, and let the foreground go rich and shadowy. Add good timing, a thoughtful composition and a little patience, and you can turn the everyday drama of dawn and dusk into photographs that hold real feeling.
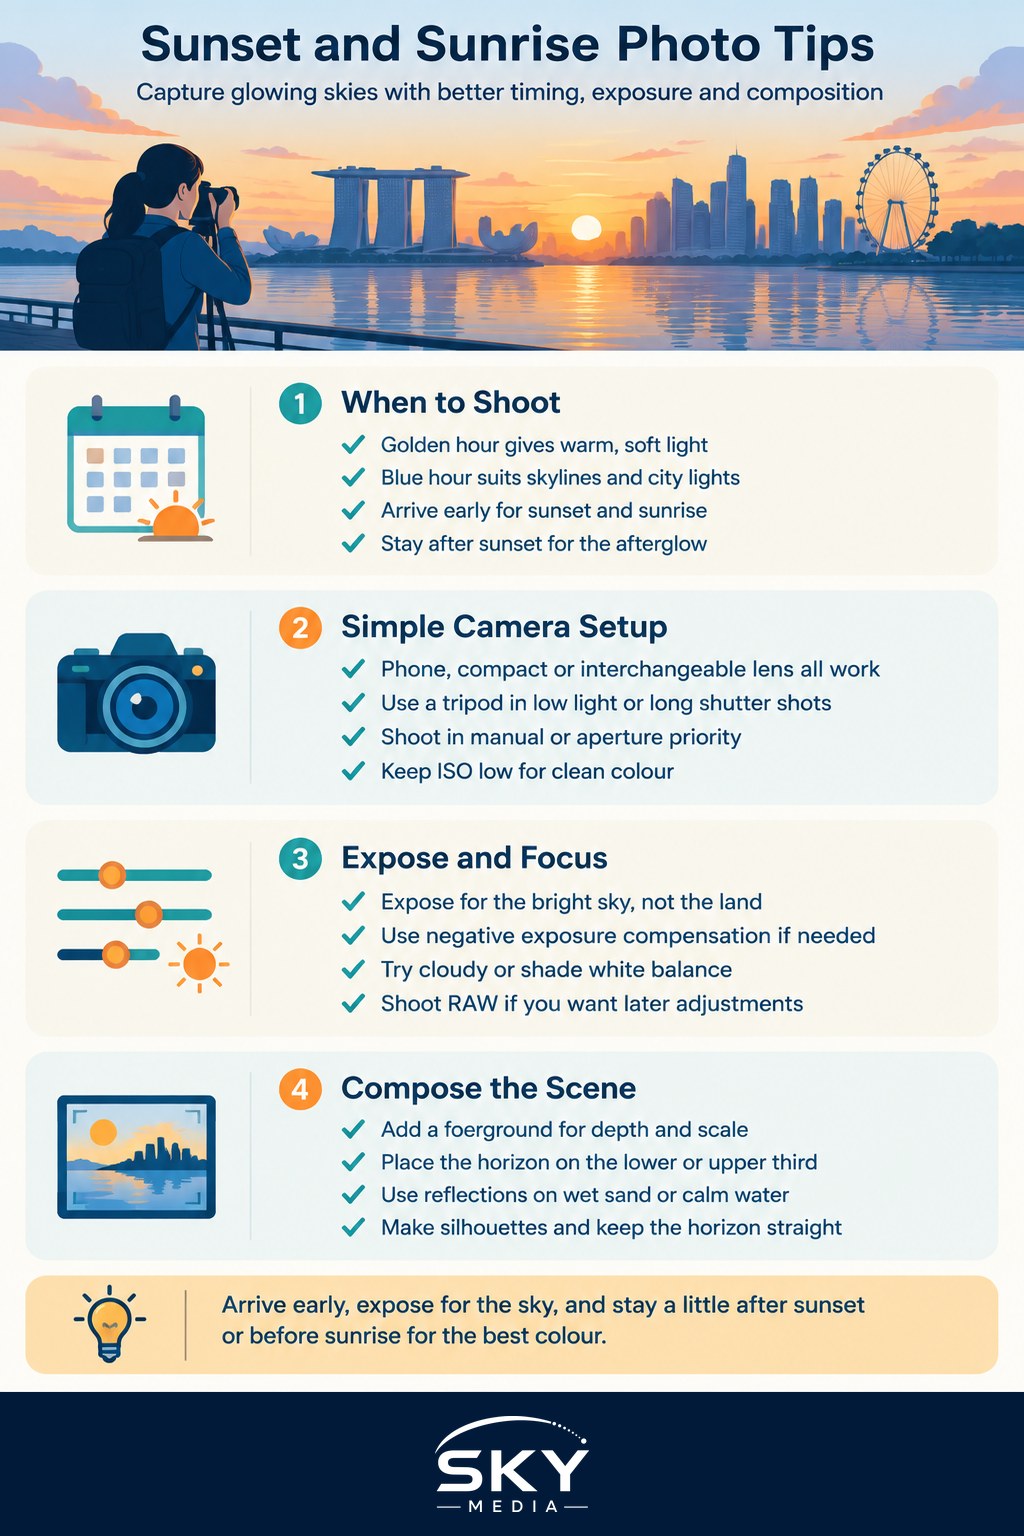
Timing is everything
The best light does not last long, so plan ahead. Two windows matter most.
Golden hour is the period shortly after sunrise and before sunset, when the sun sits low and paints everything in warm, soft light. Colours glow, shadows stretch long, and the harsh contrast of midday disappears.
Blue hour is the quieter stretch just before sunrise and just after sunset, when the sun is below the horizon and the sky turns deep blue and violet. City lights balance beautifully against the sky at this time, which makes it perfect for skylines.
Arrive early. For a sunset, be in position at least half an hour before the sun drops, so you can compose calmly and catch the build-up. For a sunrise, arrive in the dark and let the colour grow. The sky often looks best in the minutes after the sun has gone, so do not pack up too soon.
Gear and settings
You do not need much. A phone, a compact camera or an interchangeable lens body all handle sunsets well. A tripod helps in the low light of blue hour, when shutter speeds get long.
Shoot in manual or aperture priority so you control the brightness. The central rule is to expose for the sky. If you let the camera brighten the whole scene, the sky washes out to pale nothing. Instead, meter off the bright part of the sky, or dial in negative exposure compensation of around minus 1 stop, so the colours stay deep and saturated. The land will darken, which is exactly the look you want.
- ISO: keep it low, ISO 100 to 400, for clean colour.
- Aperture: f/8 to f/11 keeps a landscape sharp front to back. For a starburst effect from the sun, try f/16.
- Shutter: let it adjust to your exposure. In blue hour it may run to several seconds, so use a tripod.
- White balance: try the cloudy or shade setting to warm the colours, or shoot RAW so you can adjust later.
Settings by moment
| Moment | ISO | Aperture | Exposure approach | Tripod |
|---|---|---|---|---|
| Golden hour landscape | 100 to 200 | f/8 to f/11 | Meter the sky, minus 0.5 stop | Optional |
| Sun in frame, starburst | 100 | f/16 | Expose for sky, watch flare | Helpful |
| Silhouette against sky | 100 | f/8 | Expose for the bright sky | Optional |
| Blue hour skyline | 100 to 400 | f/8 to f/11 | Longer shutter, balance lights | Yes |
| After the sun has set | 200 to 800 | f/8 | Watch the fading colour | Yes |
Composition that lifts the scene
A pretty sky alone can feel empty. The strongest sunset photos give the eye something to hold on to.
- Add a foreground: a tree, a jetty, a person, a building or a rock gives depth and scale.
- Use the rule of thirds: place the horizon on the lower third to feature a dramatic sky, or the upper third to feature a colourful foreground or reflection.
- Look for reflections: wet sand, calm water and puddles double the colour.
- Make silhouettes: expose for the bright sky and let a clean shape, such as a lone figure or a palm tree, go fully black against the glow.
- Keep the horizon straight. A tilted sea line is distracting and easy to fix by being careful in the moment.
Common mistakes to avoid
- Over-exposing the sky until the colour vanishes. Expose darker and protect those highlights.
- Arriving late and missing the best light, or leaving right at sunset before the afterglow.
- Cluttered foregrounds. Simplify, and let one clear shape or subject carry the frame.
- Forgetting to clean the lens. Smudges turn bright skies hazy and create ugly flare.
- Only shooting toward the sun. Turn around, because the opposite sky often glows with soft pastel colour too.
Bracketing for tricky light
Sunsets have huge contrast between the bright sky and the dark land, sometimes more than the camera can hold in one frame. If your foreground turns to solid black but you wanted detail in it, try exposure bracketing. You take the same composition at several brightness levels, one exposed for the sky, one for the land, and one in between, then blend them in editing for a balanced result. A graduated neutral density filter does a similar job in one shot, darkening the bright sky while leaving the foreground alone. Neither is essential for a good silhouette, but both are handy when you want a fuller, more detailed scene.
Great spots around Singapore
The island offers wonderful vantage points. The East Coast and Marina Barrage are favourites for open skies and reflections. Marina Bay and the Esplanade shine during blue hour, when the skyline lights balance the deep sky. Reservoir edges, HDB rooftops, Henderson Waves and the southern beaches all give clean horizons. A weather app that shows cloud cover helps you predict a good evening, because a sky with some high cloud usually lights up more dramatically than a completely clear one.
Chase the light
Sunsets and sunrises reward the photographers who show up prepared and stay a little longer than everyone else. Watch the light, expose for the sky, and build a simple, strong composition around it. Do that a few times and you will have the instinct for how to photograph sunsets in any weather, ready for the next glowing sky over the city.
Explore more: Shooting in golden hour and blue hour · Using natural light in photography · Best places to photograph in Singapore
Frequently Asked Questions
What is the difference between golden hour and blue hour? Golden hour comes shortly after sunrise and before sunset, when low sun gives warm, soft light and long shadows. Blue hour is just before sunrise and just after sunset, when the sun is below the horizon and the sky turns deep blue. Blue hour suits city skylines.
How do I get a starburst effect from the sun? Use a small aperture such as f/16 with the sun partly in frame. Expose for the sky, and watch for flare. A tripod helps, and keeping the lens clean avoids smudges that create hazy, ugly flare around the bright sun.
Should I stay after the sun has set? Yes. The sky often looks best in the minutes after the sun has gone, so do not pack up too soon. Use a tripod, since the shutter may run longer, and keep watching the fading colour.
What can I do when the sky is bright but the ground is too dark? Try exposure bracketing: shoot the same scene at several brightness levels and blend them in editing. A graduated neutral density filter darkens the bright sky in a single shot. For a silhouette, you can simply let the foreground go black.
How can I tell if the weather will give a good sunset? A weather app that shows cloud cover helps. A sky with some high cloud usually lights up more dramatically than a completely clear one. Arrive at least half an hour early to compose calmly and catch the build-up.
Further reading: How to Photograph at Singapore’s Beaches Without Haze Ruining Your Shots