
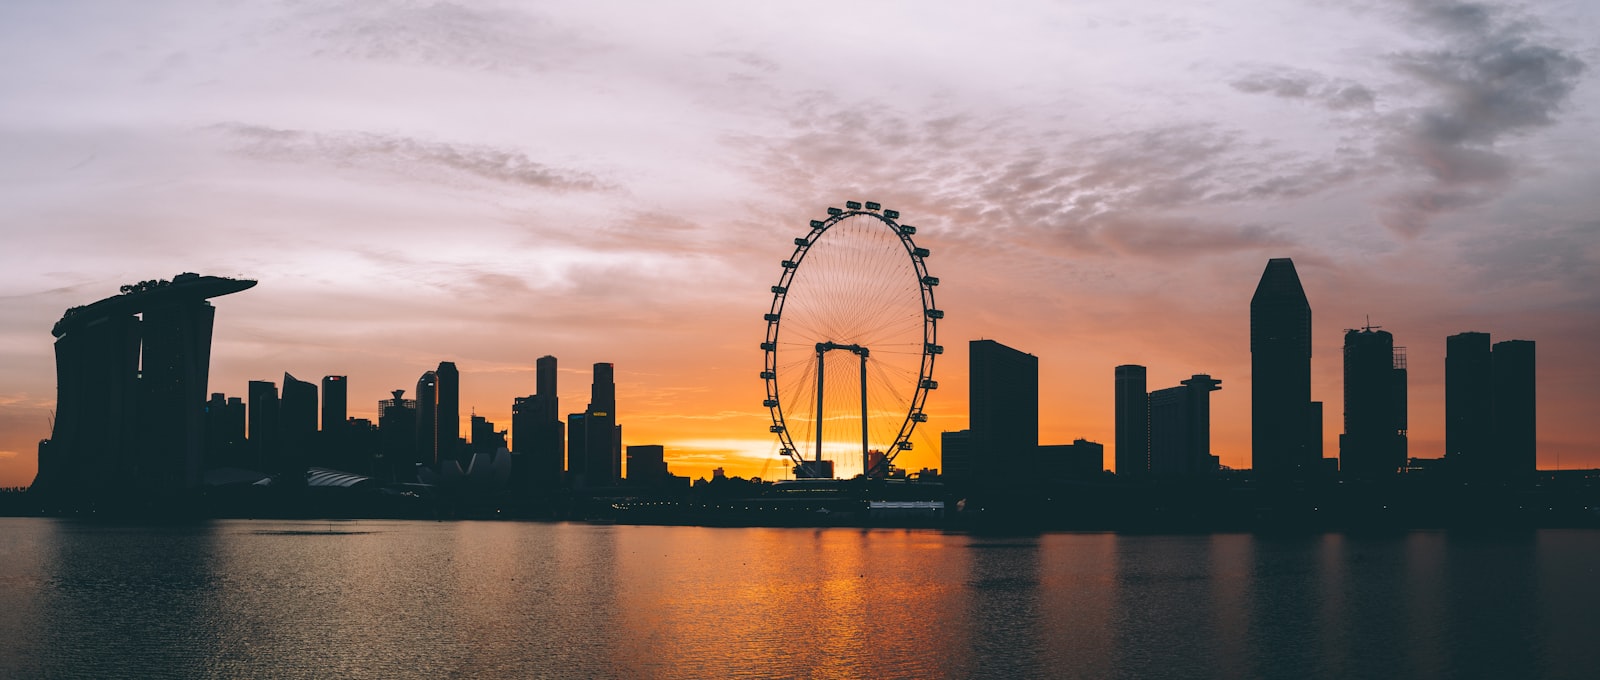
There is something timeless about a silhouette. A single dark figure against a burning sky says more with less, and it is one of the few dramatic looks you can nail on any camera or phone once you understand the idea. Silhouette photography is really just deliberate underexposure. You expose for the bright background and let your subject fall into solid black shape. Get the light and the pose right and you have a frame that stops the scroll. Here is how to do it, tuned for our short, fierce equatorial sunsets.
What a Silhouette Actually Is
A silhouette happens when your subject is much darker than what is behind it, so it records as a shape with little or no internal detail. The classic recipe is simple. Put a strong light source, usually the sky at sunrise or sunset, behind your subject, then expose so the bright sky looks correct. Because the camera is set for that brightness, the backlit subject, receiving no light on the side facing you, goes dark.
The reason this works so well in Singapore is our geography. Near the equator, the sun rises and sets quickly and close to vertical, giving you a brief, intense window of colour low in the sky. That short golden and blue hour is exactly when the sky glows brightest behind a subject. You have to be ready, because the good light does not linger the way it does in higher latitudes.
Finding the Right Light and Location
You need a clean, bright background and a subject you can place against it. Look for open horizons where the sky is unobstructed.
- East Coast Park and the southern coast give you sea and open sky for sunrise, with joggers, cyclists and kite flyers as ready-made subjects.
- Marina Barrage and the bay offer the skyline as a backdrop and a raised horizon for evening colour.
- Any west-facing spot with a clear view, such as a high void deck corridor, a bridge or a reservoir edge, works for sunset.
The key is that the space behind your subject must be brighter than the subject itself. A person standing against a bright sky silhouettes cleanly. The same person against a dark tree line does not. Time it for the roughly 20 to 30 minutes around sunrise or sunset when the sky is vivid but the sun is not so blinding that it flares your lens.
If you photograph identifiable strangers up close, ask permission first, and be especially careful and seek a parent’s consent before photographing children. A silhouette hides the face, but courtesy still applies.
Camera and Phone Settings for Clean Silhouettes
The whole game is telling your camera to expose for the bright sky, not the dark subject. Cameras naturally try to brighten a scene to an average, which lifts your subject out of shadow and kills the silhouette, so you have to override that.
On a camera:
- Switch to Manual or aperture priority mode.
- Set a low ISO, around 100, for clean colour. ISO is the sensor’s sensitivity to light.
- Meter off the bright sky, not the subject. Point the camera at a bright area beside the sun, note the exposure, then recompose.
- Dial in negative exposure compensation, which tells the camera to darken the frame. Start at around minus one to minus two stops. Our guide on using exposure compensation explains this control in depth.
- Focus on your subject’s edge, then shoot and review.
On a phone:
- Open the camera and tap on the bright sky to set exposure there.
- Most phones then show a small sun or slider. Drag it down to darken the frame until the subject goes black.
- Lock the exposure if your app allows, so it does not drift when you recompose.
- Turn off the flash, which would ruin the effect by lighting the subject.
Exposing for Sky Versus Subject
This table shows why the choice matters so much.
| You expose for | The sky looks | Your subject looks | Result |
|---|---|---|---|
| The bright sky | Rich, saturated colour | Dark, solid shape | A clean silhouette |
| An average of the scene | Slightly washed out | Partly visible, muddy | A weak, in-between shot |
| The dark subject | Blown out, white | Fully lit, detailed | No silhouette at all |
Aim squarely for the top row. When in doubt, darken further rather than lighter, because a touch of extra underexposure deepens the colour and strengthens the shape.
Composition: The Make or Break of a Silhouette
Because you lose all internal detail, the outline is everything. A silhouette lives or dies on a clean, readable shape.
Keep these in mind:
- Separate your subjects. Two people who overlap become one confusing blob. Ask them to stand slightly apart so each shape reads clearly. The same goes for limbs. A hand on a hip creates a visible gap that says arm.
- Pose with the profile in mind. A side-on face reads better than a front-on one. A jump, a raised hand, a held balloon or an umbrella all create instantly recognisable outlines.
- Watch the horizon line. Place it low to let the sky dominate, and keep your subject from merging into background clutter like lamp posts or trees.
- Use leading lines and the setting. A lone figure at the end of a jetty, a cyclist on the crest of a bridge, a family on an open beach. Context in the shape tells the story.
Beyond the Basic Black Shape
Once you have the standard silhouette, play with variations. A partial silhouette, where a sliver of rim light catches the edge of your subject, adds depth and is achieved by exposing just slightly brighter. Reflections double the drama when your subject stands on wet sand or beside still water at the barrage. And silhouettes translate beautifully into black and white photography, where the absence of colour distils the image down to pure form.
The best part is how repeatable this is. Once the expose-for-the-sky habit sticks, you will start spotting silhouette opportunities everywhere, from a stranger on an escalator against a bright window to your own family framed against a monsoon sky breaking into gold. Go out at the next clear sunset and try it. You will likely get a keeper on your first evening.
Explore more: using exposure compensation, black and white photography tips, and cityscape and skyline photography.