
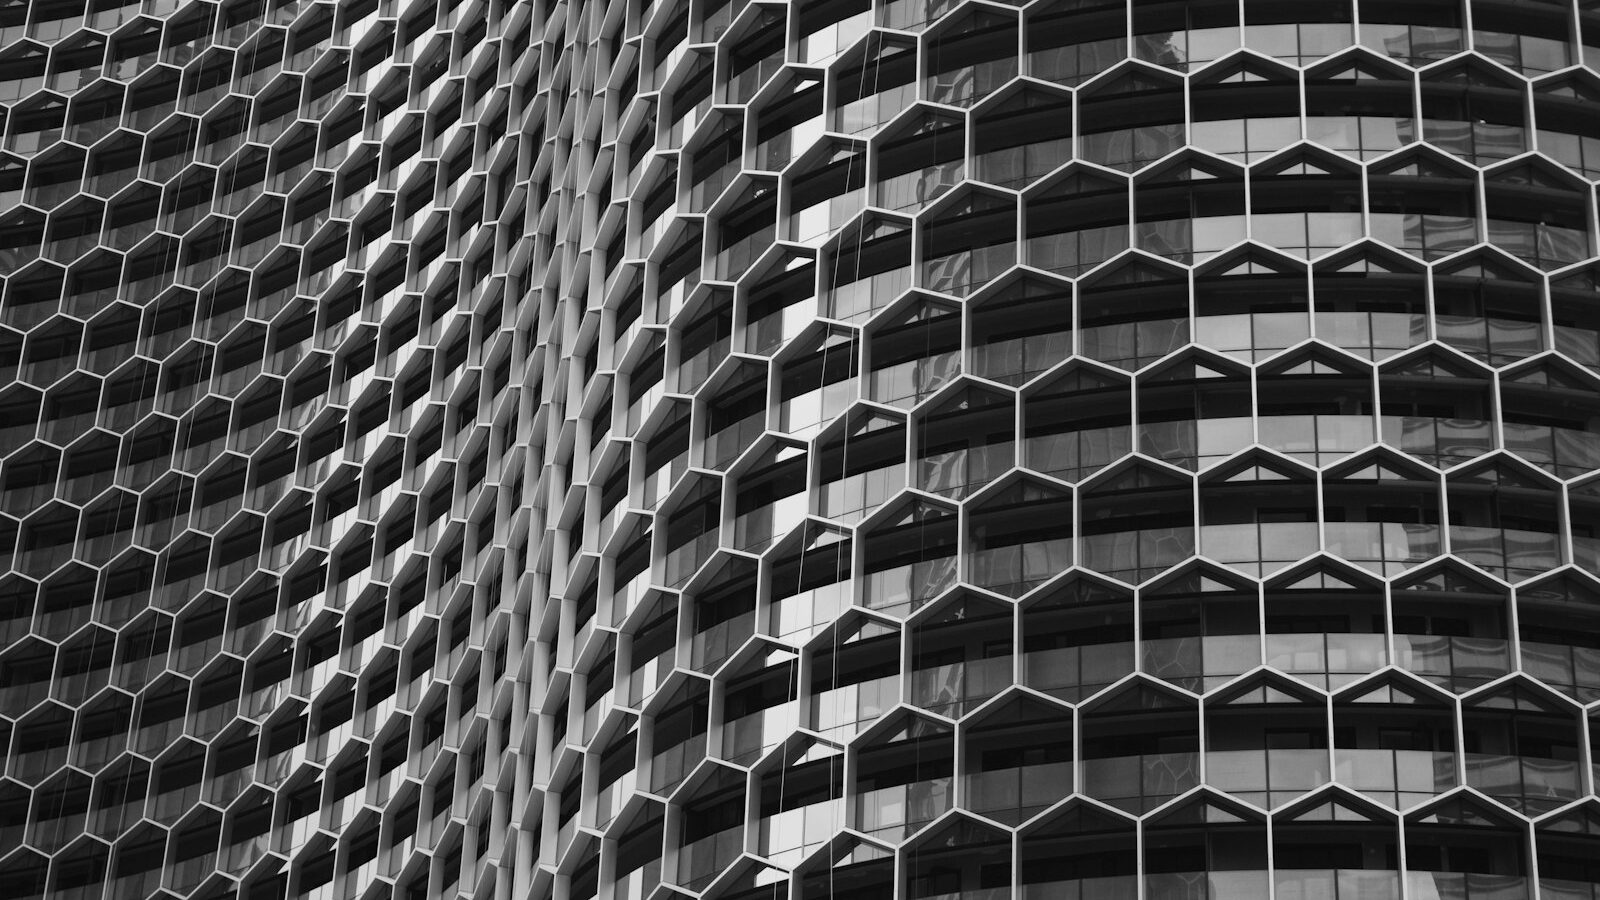
Texture photography trains you to see the small world most people walk past: the grain of weathered wood, peeling paint on a shophouse shutter, the weave of a rattan chair, dew on a leaf. Done well, these close-ups become striking abstract images in their own right and a rich library for backgrounds and design work. The secret is nearly always the same: rake light across the surface from the side and fill the frame. This guide shows you how.
Gear and settings to start with
You do not need a dedicated macro lens to begin, though one helps for the tiniest subjects. A standard zoom, a phone with a close-focus mode, or a kit lens will capture most textures, from tree bark to fabric.
For genuine macro, small subjects at life-size, a macro lens or a set of extension tubes opens up dew drops, insect wings and thread. A tripod becomes important the closer you get, because depth of field shrinks and any shake is magnified.
Sensible starting settings for a flat texture:
- Aperture: f/8 to f/11 to keep a flat surface sharp corner to corner.
- Shutter speed: on a tripod, whatever balances the exposure; handheld, keep it above 1/160s.
- ISO: 100 to 400 for clean detail.
- Focus: manual focus is often easier for close work; focus on the plane of the texture.
Shoot RAW to preserve the subtle tonal range that gives texture its depth.
Side lighting: the heart of texture
If you take one thing from this guide, take this: texture is created by shadow, and shadow comes from light striking a surface at a low angle. Front-on light flattens everything; raking side light rakes across the bumps and ridges and makes them pop into three dimensions.
To see it, hold a small light or your phone torch almost parallel to a surface and watch the texture leap out. Then find that quality in the world: early morning or late afternoon sun striking a wall at a shallow angle is perfect natural side light. Indoors, place your subject beside a window so the light skims across rather than hits it head-on. For more on directional light, see using natural light in photography.
You can control the effect further. Move the light lower for deeper, more dramatic shadows; raise it for subtler texture. A single hard light source, the sun or a bare lamp, gives crisper texture than soft diffused light, which is the opposite of what you want for portraits.
Fill the frame
Detail photography works best when the texture becomes the whole image. Get close, then closer, until the edges of the object disappear and only the pattern remains. A frame filled edge to edge with the weave of a basket or the cracks in dried mud reads as a bold abstract; the same subject shot from far away reads as a snapshot of a basket.
Look for repetition and rhythm, rows of tiles, stacked chairs, a grid of windows, and let the pattern carry the composition. Sometimes a single break in the pattern, one red tile among grey, becomes your focal point. The compositional habits in the rule of thirds and composition basics still apply, but texture often rewards a more central, symmetrical, wallpaper-like frame.
Where to find texture in Singapore
The material is everywhere once you start looking:
- Weathered shophouse shutters and peeling paint in the older districts.
- Rust, rivets and flaking metal on gates, letterboxes and old signage.
- Natural textures: tree bark, monstera leaves, moss on a drain, sand ripples at the beach.
- Fabric and craft: batik, rattan, woven baskets in a market.
- Food surfaces: the char on satay, the crackle of roast pork skin, a scattering of coffee beans.
Keep a running mental list and shoot when the light is raking. For more spots, browse best places to photograph in Singapore.
Settings by subject: a quick reference
| Subject | Aperture | Shutter | ISO | Note |
|---|---|---|---|---|
| Flat wall or peeling paint | f/8 | 1/200s | 100 | Skim light from the side |
| Fabric weave or rattan | f/8 | 1/160s | 200 | Fill the frame, raking light |
| Macro dew drop or thread | f/11 | 1/125s | 400 | Tripod, manual focus |
| Rust and metal detail | f/11 | 1/160s | 200 | Low-angle sun for depth |
| Repeating pattern of tiles | f/9 | 1/200s | 100 | Shoot square-on and central |
Getting sharp close-ups
The closer you focus, the thinner your depth of field becomes, so keeping a texture sharp takes care. Shoot square-on to a flat surface so the whole plane sits within focus. For three-dimensional subjects where you want front-to-back sharpness, consider focus stacking: take several frames focused at different depths and blend them later.
Steady the camera. A tripod plus a two-second self-timer removes shake at the moment of exposure. If you must shoot handheld, brace against a wall, raise your shutter speed, and fire a short burst.
Common mistakes to avoid
- Flat, front-on light. It erases texture. Move the light or the subject so it rakes across the surface.
- Standing too far back. Texture needs to fill the frame. Get closer than feels comfortable.
- Wide apertures for flat surfaces. f/2 leaves the corners soft. Stop down to f/8 or f/11.
- Ignoring camera shake. At close range, tiny movement blurs everything. Use a tripod or brace.
- Skipping the pattern break. A single point of difference often makes an abstract sing. Look for it.
- Over-sharpening in editing. Good side light does the work; heavy sharpening adds crunchy artefacts.
Bringing it together
Rake the light across the surface, fill the frame, and keep the plane sharp. Those three habits turn texture photography from a technical exercise into a genuinely creative one. Start noticing the surfaces you pass every day, wait for the light to fall low and hard, and move in close. You will build a library of striking abstracts and, along the way, sharpen the seeing skills that improve every other kind of photograph you take.
Explore more: Product Photography at Home in Singapore · Using Natural Light in Photography · Best Places to Photograph in Singapore