
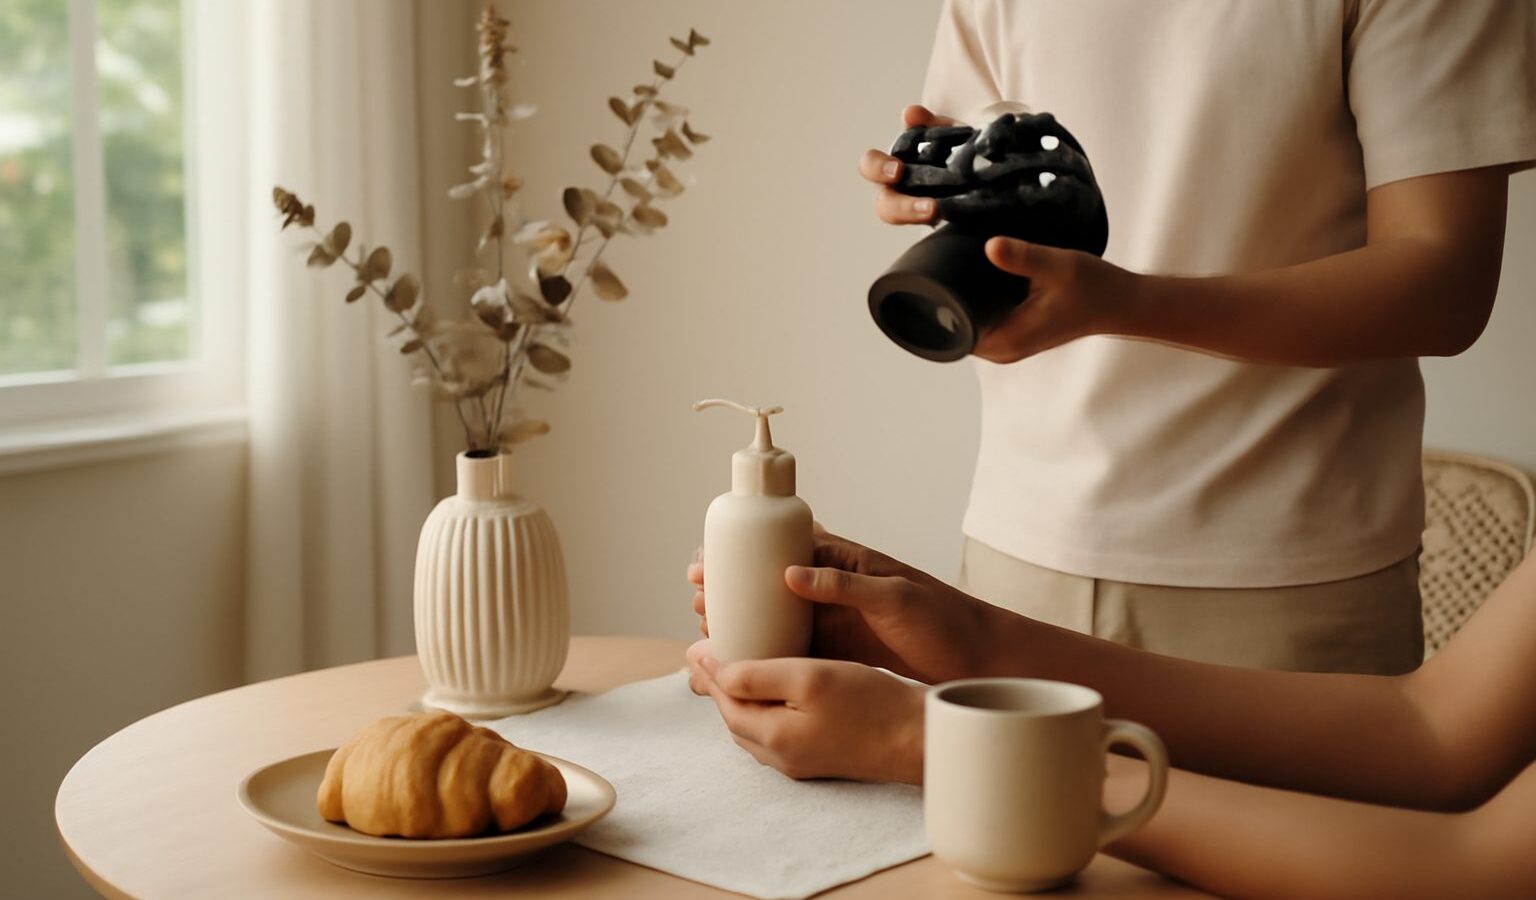
Product photography sells things. Whether you run a small Carousell shop, a home bakery or a growing online store, clean and honest photos are what turn a scroll into a sale. The good news is you do not need a studio. A window, a bit of white card and the phone in your pocket can produce images that look genuinely professional, and everything here works just as well on a dedicated camera.
This guide sets up a repeatable home shoot in a typical HDB or condo space, using light you already have.
Use the window light you already have
The best light source for beginners is free and sits in your living room: a large window. Soft daylight wraps gently around a product and flatters almost anything. Place your item on a table beside the window so the light comes from the side, not head-on. Side light reveals texture and shape, which is what makes a product look real and touchable.
Avoid harsh direct sun, which is easy to catch through our bright tropical windows. It creates hard, ugly shadows and blown-out highlights. If the sun is streaming in, hang a thin white curtain or a sheet of baking paper over the window to soften it into a clean, even glow. An overcast or lightly rainy day, common enough during the monsoon, actually gives beautiful soft light for this work.
To lift the shadow side of your product, prop a piece of white card or foam board opposite the window. This bounces light back and evens things out. It is the single cheapest upgrade you can make.
Build a simple, clean backdrop
A tidy background keeps attention on the product. You have three easy options:
- A sweep of white paper or card curved up behind the item, so there is no visible line where the table meets the wall. This gives that clean, floating catalogue look.
- A natural surface such as a wooden board, a marble tile offcut or a linen cloth, which suits food, candles and craft goods.
- A plain wall in a neutral colour, shot from straight on for flat items.
Keep it uncluttered. Wipe away dust, fingerprints and crumbs, because the camera sees everything you do not. A lint roller and a microfibre cloth are your friends here.
Get colours honest with white balance
White balance is the setting that keeps whites looking white rather than orange or blue. This matters enormously for products, because a buyer who receives a mug that is a different colour from your photo will be unhappy, and misleading images are simply bad practice.
On a camera, set white balance to match your light, or use a custom white balance off a sheet of white paper. On a phone, tap the screen on the brightest neutral part of your scene to correct the tone, or use Pro mode to set it manually. When you edit later, a white or grey card in a test shot gives you a reliable reference to correct against.
Aim to represent the real product faithfully. Light retouching to remove a stray dust speck is fine; changing the actual colour or hiding a real flaw is not.
Keep it sharp and steady
Sharpness signals quality. Two things get you there: a steady camera and good focus.
- Steady the shot. Even a cheap tabletop tripod, or propping your phone against a stack of books, removes the tiny shake that softens close-up images. This lets you use a slower shutter in dimmer window light without blur.
- Nail the focus. Tap the exact point you want sharp, usually the front face or label of the product. For very small items like jewellery, use your camera’s macro mode or a phone’s macro setting to focus up close.
- Shoot a little wider and crop in later, so you have room to straighten and reframe.
For small items, a light tent or even a translucent storage box with a lamp outside it gives soft, wrapping light in a small footprint, handy when window light fades in the evening.
Match the setup to your product
Different goods want different treatment. Here is a quick comparison.
| Product type | Best light | Backdrop | Extra tip |
|---|---|---|---|
| Jewellery, small items | Soft window light | White card sweep | Use macro, steady on a tripod |
| Food and bakes | Side or back window light | Wood or marble surface | Shoot fresh, work fast |
| Clothing, fabric | Broad even window light | Plain neutral wall | Steam creases out first |
| Skincare, bottles | Diffused window light | White sweep | Wipe off reflections and prints |
Shoot a full set, not one photo
Buyers want to see a product properly, so shoot a small set for each item: a clean front view, a close detail of texture or a label, a shot showing scale next to a common object, and one in use or in context. Consistency across your listings, same background, same angle, same lighting, makes your shop look trustworthy and established.
Batch your work. Set up once, then photograph ten products in a row before you pack away. It saves enormous time and keeps your look consistent.
Angles matter as much as the set. A straight-on eye-level shot suits boxes, bottles and anything with a label buyers need to read. A gentle overhead angle flatters flat items and food. A three-quarter view, taken from slightly above and to the side, gives round objects like jars and mugs a natural, three-dimensional feel. Shoot your hero angle first while the light is best, then work through the supporting shots. If your product has moving parts, an open lid or a demonstration of use, capture those too, because they answer the questions a buyer would otherwise message you to ask.
Think about scale as well. A lipstick or a ring looks ambiguous floating on white, so include a familiar object, a coin, a hand or a coffee cup, in at least one frame so buyers grasp the real size. Honest sizing cues cut returns and complaints, and they build trust in your little shop over time.
Edit lightly and honestly
A little editing lifts a good photo. Straighten the image, brighten it slightly, correct the white balance, and clean up dust. Your phone’s built-in editor handles most of this, and a curved sweep background makes cutting out a product effortless if you want a pure white finish.
Resist the urge to over-edit. The photo is a promise to the buyer, so it should match what lands on their doorstep.
Explore more: the same window-light setup powers our guide to flat-lay photography tips, the principles carry over to real estate and interior photography, and when you polish your final images, using AI photo editing tools can speed up cleanup and background work.