
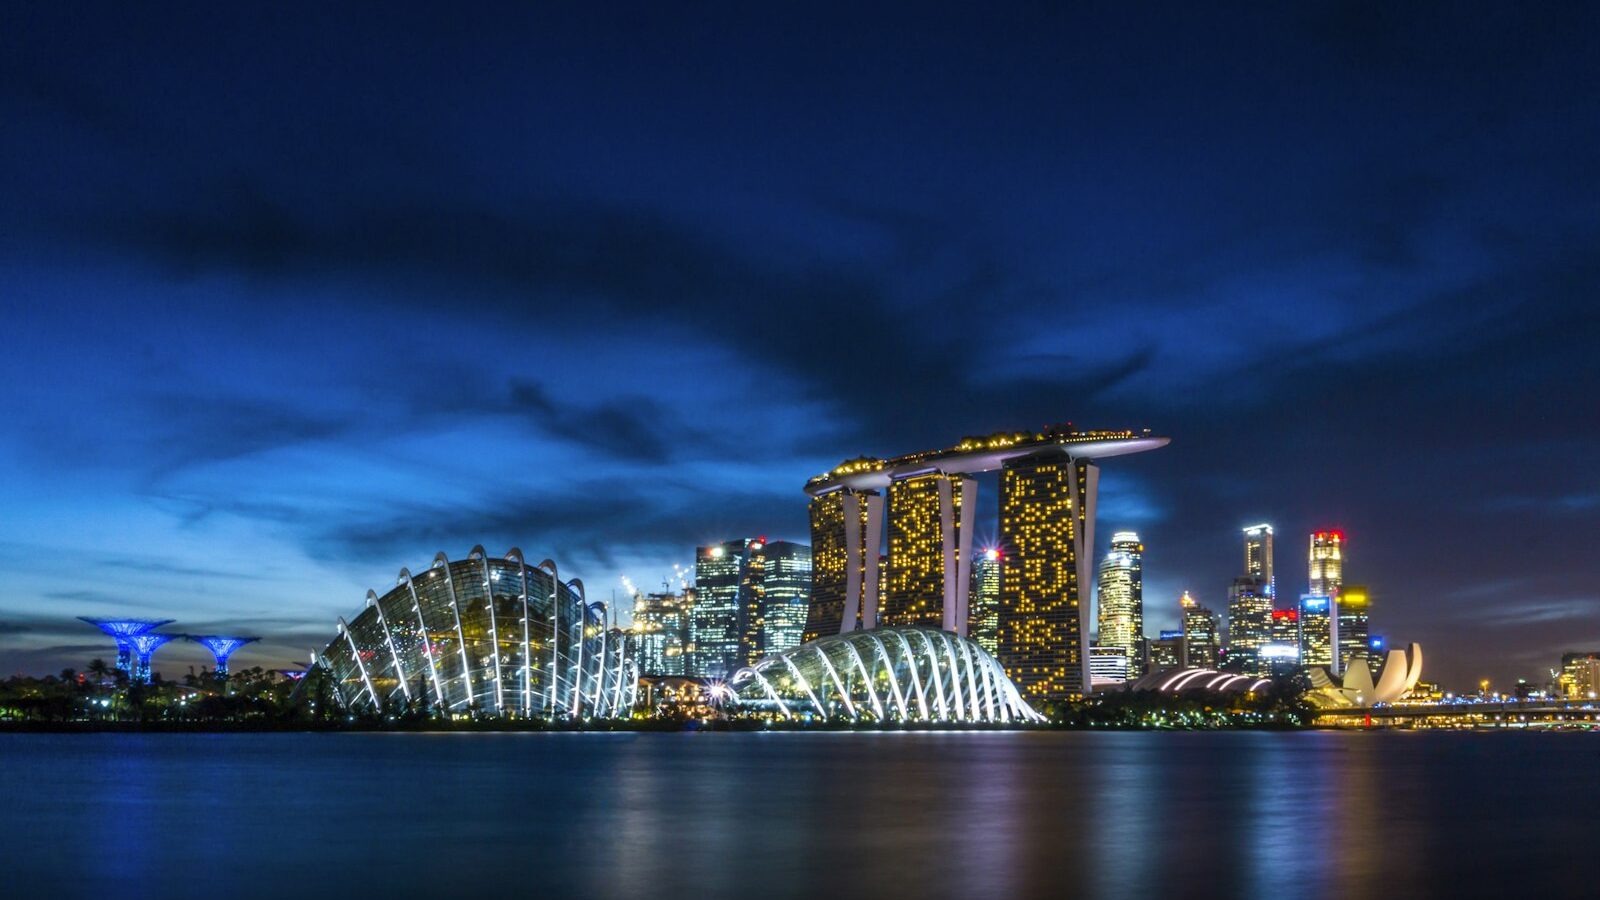
Light painting photography is one of the most playful things you can do with a camera after dark. By holding the shutter open for several seconds and moving a light through the frame, you draw glowing shapes, trails and words that were never really there. It needs almost no special gear, just a tripod, a torch and a dark spot. This guide walks you through the technique from setup to your first successful frame.
What light painting is
The idea is simple. In a dark scene, the camera’s sensor only records light. If you open the shutter for, say, ten seconds and wave a torch around, the sensor collects every position that light passed through, building up a continuous streak. Your subject stays still, the background stays dark, and the moving light becomes a bright drawing floating in the image. Because the camera is fixed on a tripod, everything not lit stays sharp and clean.
Gear you need to start
You do not need much, which is part of the fun.
- A camera with manual control over shutter speed. Most cameras and even some phone apps allow this.
- A sturdy tripod. This is non negotiable. Any wobble during a long exposure ruins the shot.
- A light source. A simple torch, your phone torch, a bicycle light, sparklers, fairy lights or coloured LED sticks all work.
- A remote release or the self timer so you do not shake the camera when starting the exposure.
A dark location matters just as much as the gear. A quiet park corner, a car park rooftop or your own darkened flat all work well.
The technique step by step
Follow this order and your first attempts will succeed far more often.
- Set up on the tripod and frame your scene. Compose in whatever light you have, then plan where the light will move.
- Focus manually. Autofocus struggles in the dark. Focus on your subject while there is still some light, or shine your torch on it, then switch to manual focus so it stays locked.
- Choose a long shutter speed, starting around 10 seconds. Use bulb mode if you need longer.
- Trigger the shutter with a remote or self timer, then step in and paint with your light. Keep the light moving so it does not burn a bright blob, and keep it pointed at the camera or your subject depending on the effect.
- Review and adjust. Too bright, shorten the exposure or move the light faster. Too dim, slow down or add a brighter torch.
Settings that work
These are reliable starting points to adapt on the night:
| Effect | Shutter | Aperture | ISO |
|---|---|---|---|
| Simple torch trails | 10 to 15 sec | f/8 | 100 |
| Writing words in air | 15 to 30 sec | f/8 to f/11 | 100 |
| Lighting a subject | 8 to 20 sec | f/5.6 | 200 |
| Long complex scene | 30 sec or bulb | f/11 | 100 |
A narrow aperture like f/8 or f/11 keeps the whole scene sharp and stops the light trails from blowing out. Keep ISO low to avoid noise during these long exposures. If any of these numbers feel unfamiliar, our primer on long exposure photography basics explains the thinking behind them.
Creative ideas to try
- Write your name by facing the camera and drawing letters in the air with a torch. Remember letters appear mirrored to the camera, so write backwards.
- Outline a person or object by tracing its edges with the light while it stays still.
- Spin steel wool or a bright light on a string in a wide open space for circular bursts. Only attempt sparks in a genuinely clear, non flammable area.
- Add colour by taping coloured cellophane over your torch, or use LED sticks that change hue.
- Combine a lit background with a painted subject by leaving the shutter open long enough to capture both.
A safety note for shooting at night
Light painting happens in the dark, often in quiet or unfamiliar places, so stay aware of your surroundings. Tell someone where you are going, keep your phone charged and bring a friend if you can. Watch your footing around ledges, drains, water and traffic, since you will be focused on the camera rather than the ground. Avoid trespassing, and be considerate of others who may not expect flashing lights. If you experiment with sparks or flame, keep well clear of dry vegetation and have water on hand. A little caution keeps the night fun.
Common mistakes to avoid
- A shaky tripod. Even a light breeze or a bump ruins the frame. Weigh it down or shield it.
- Autofocus in the dark. Lock focus manually before you start.
- Standing still with the light. A stationary torch burns a bright spot. Keep it moving smoothly.
- Too much ISO. High ISO adds noise on long exposures. Keep it low and let the shutter do the work.
- Wearing bright clothing. If you walk through the frame, dark clothes keep you invisible so only your light shows.
- Giving up too soon. The first frame is rarely the keeper. Adjust and shoot again.
Bringing it together
Light painting photography rewards patience and play in equal measure. Lock the camera on a solid tripod, focus manually, choose a shutter of ten seconds or more, and then draw with whatever light you have. Each attempt teaches you how bright to make the light and how fast to move it. Pick a safe, dark corner near home, bring a torch and a friend, and give yourself an hour to experiment. You will come away with images that feel like small pieces of magic.
Explore more: Long exposure photography basics · How to choose a tripod in Singapore · Night mode and low light phone photography