
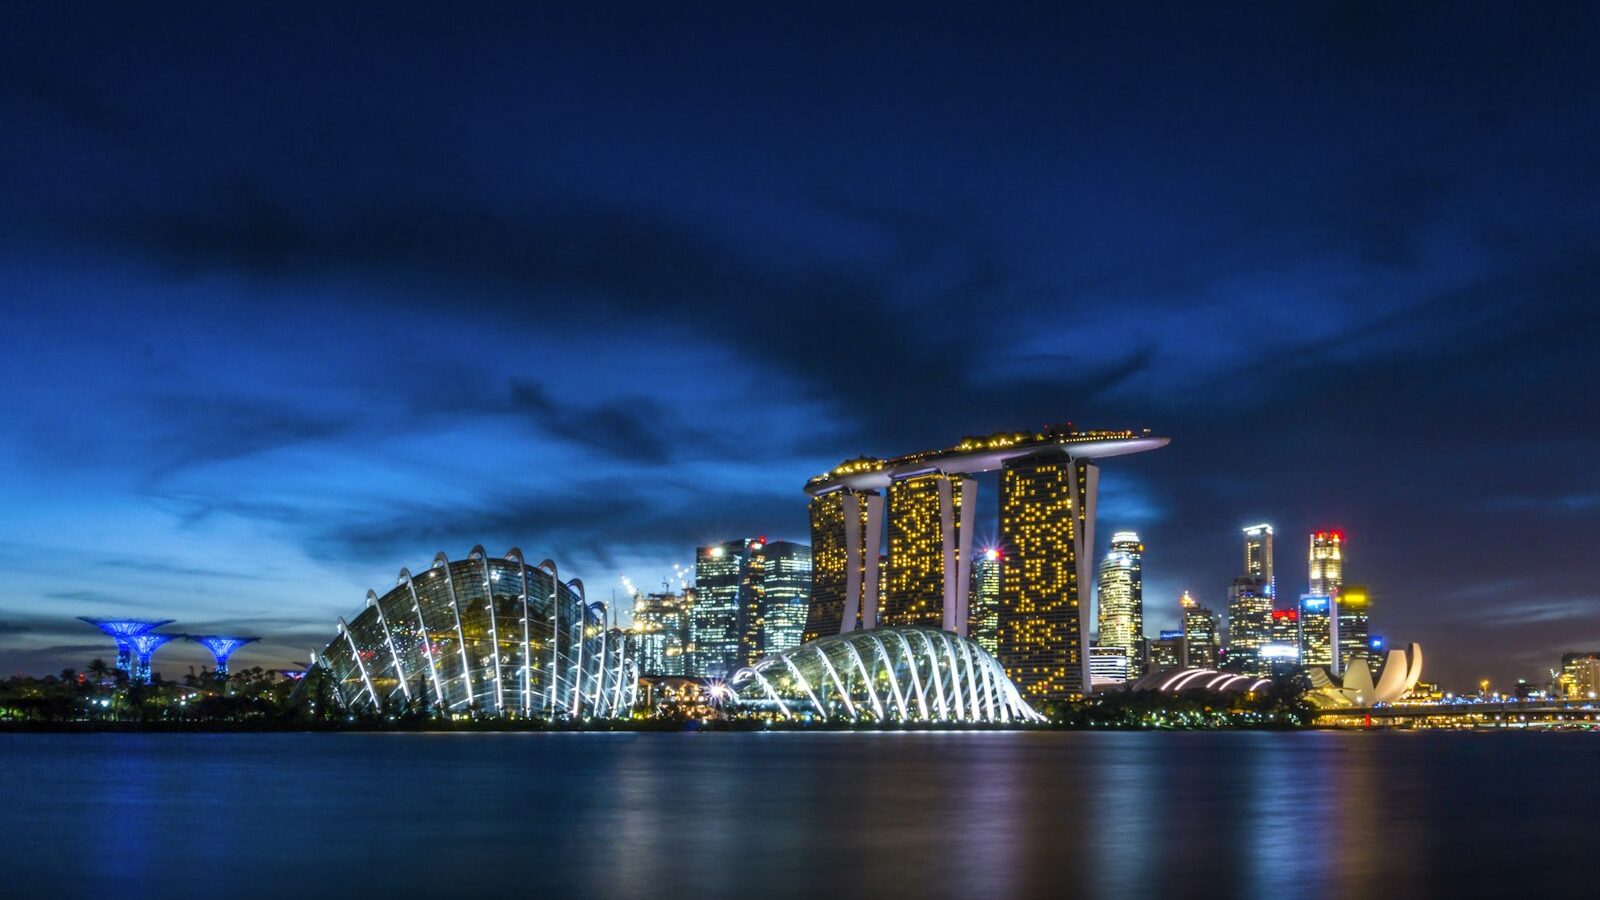
Swapping a messy or dull backdrop for something cleaner can transform a photo. Whether you are tidying a product shot, moving a portrait to a nicer setting, or creating something playful, learning to remove and replace background is a core editing skill. The good news is that today’s tools make selections easier than ever, though a believable result still comes down to careful blending. This guide covers the full process, from cutting out your subject to making the new background look like it truly belongs.
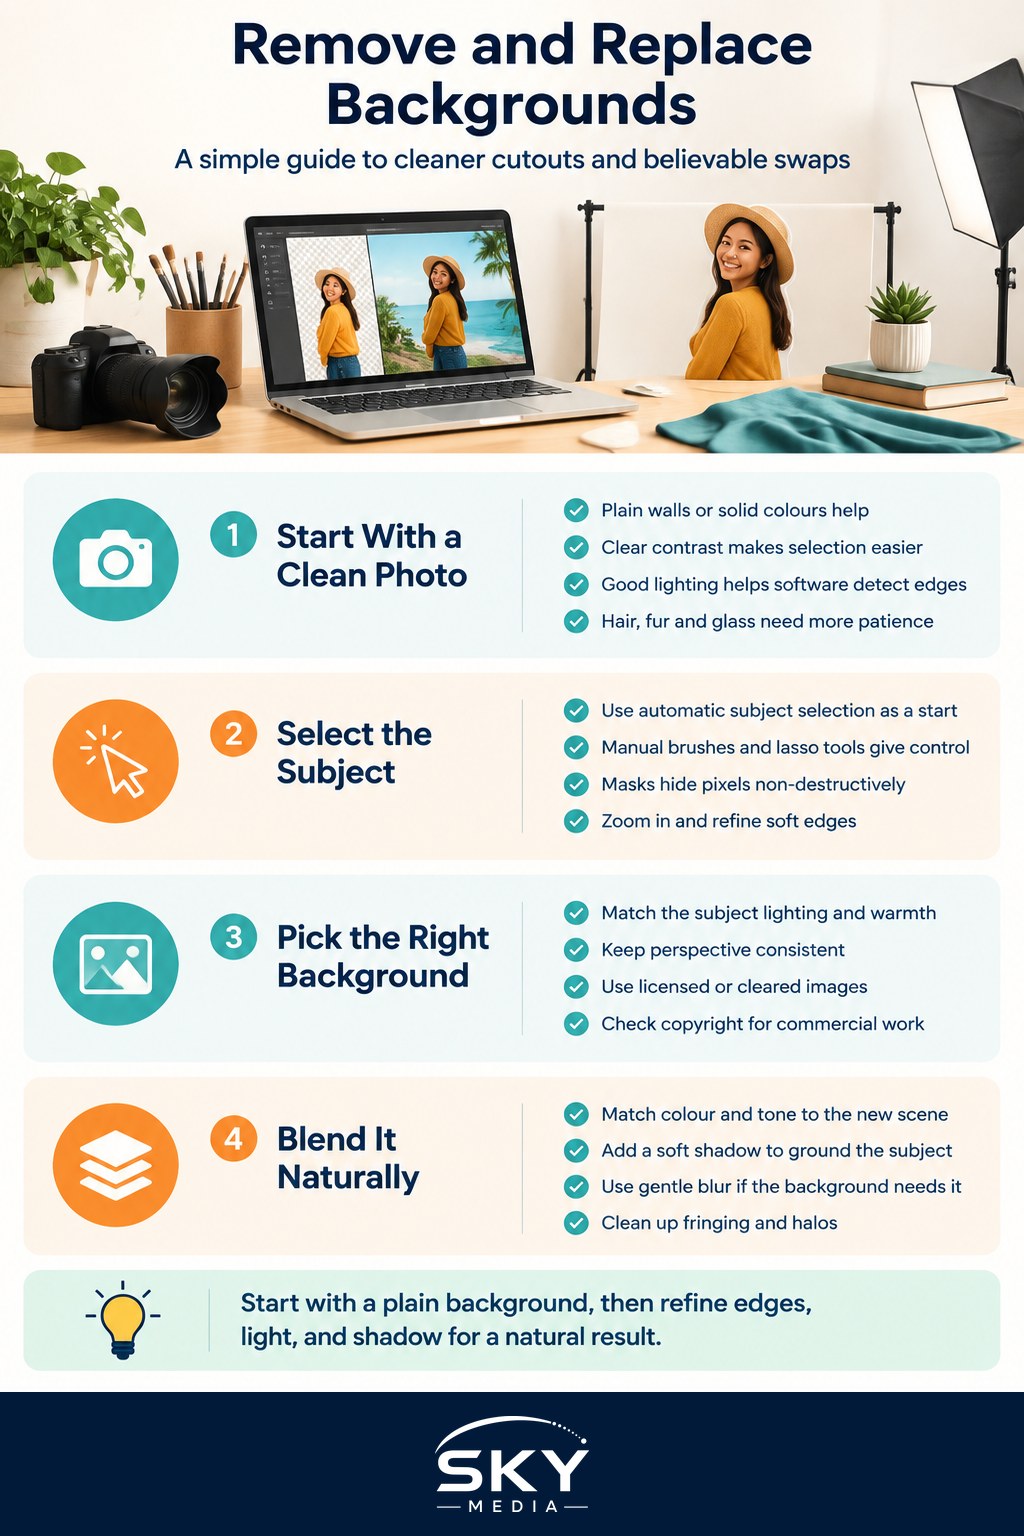
Start With a Good Original
The cleaner your original photo, the easier the swap. Selections are simplest when your subject stands out clearly from the background. A plain wall, a solid colour, or a strong contrast between subject and backdrop all help. If you can plan ahead, shooting against a simple background saves hours of editing later. This is one reason a clean, plain backdrop in a home photo studio is so handy.
Tricky areas include fine hair, fur, transparent objects, and soft edges. These are not impossible, but they take more patience. Good, even lighting on your subject also makes selection tools work better, since sharp, well lit edges are easier for software to detect.
Making the Selection
To remove and replace background, you first need to separate your subject from everything else. Most photo editors offer several ways to do this:
- Automatic subject selection. Many programs can detect a person or object with one click. This is a fast starting point, though it rarely gets edges perfect.
- Manual tools. Selection brushes, lasso tools, and pen paths let you draw around your subject precisely. These take longer but give control.
- Masking. Instead of deleting pixels, a mask hides them non-destructively, so you can refine the edge later without losing anything.
Whatever method you use, zoom in and check the edges closely. Refine hair and soft areas with edge or refine tools, and feather the selection slightly so the cutout does not look like it was chopped with scissors. Working with layers and masks is the safest approach, since you can always tweak your selection without starting over.
Choosing the New Background
Pick a background that matches the story and, importantly, the lighting of your subject. A subject lit from the left will look wrong on a background lit from the right. Match the direction, softness, and warmth of the light as closely as you can. Perspective matters too. A subject shot at eye level looks odd dropped onto a background shot from above.
If you use a downloaded image or stock photo as your new background, respect copyright. Use images you have licensed, shot yourself, or that are cleared for your intended use. This is especially important for commercial or client work, where using someone else’s photo without permission can cause real trouble.
Blending for a Believable Result
This is the step that separates a rough cutout from a convincing image. A few techniques help everything sit together:
- Match colour and tone. Adjust the subject’s colour balance so it shares the same warmth or coolness as the new scene. Our tropical light is often warm, so a subject shot indoors may need nudging to fit an outdoor Singapore backdrop.
- Add a soft shadow. Real objects cast shadows. A subtle shadow under or behind your subject grounds them in the scene.
- Blur the background if needed. If your subject was shot with a shallow depth of field, a sharp background will look fake. A gentle background blur can help the layers match.
- Clean the edges. Look for stray fringing or a thin halo around the subject, and darken or refine it so the cutout disappears into the scene.
Take your time here. Small adjustments to colour and shadow do more for realism than any single dramatic step.
A Note on Automatic and AI Tools
Many editors now include automatic background removal, and some use AI to cut out subjects or even generate new backgrounds. These can save real time, but results vary a lot depending on the image. Fine hair, busy backgrounds, and low contrast often trip them up, so always review and refine what the tool produces. Treat automatic results as a first draft, not a finished job.
If you generate or download a replacement background, remember to respect the copyright of any source images. Only use material you are licensed to use, and be cautious about presenting heavily edited images as unaltered reality, especially in journalism or advertising contexts.
Where This Skill Helps
Background swaps are useful across many kinds of work. Product sellers get clean, consistent catalogue shots, which pairs well with tips on product photography at home. Portrait photographers can rescue a session shot against a distracting wall, and creatives can build composite scenes that never existed.
Keep Practising Clean Cutouts
Learning to remove and replace background well is mostly about patience and attention to detail. Nail your selection, match the light and colour, add a believable shadow, and check your edges up close. Start with simple subjects on plain backgrounds, then work up to trickier hair and transparent objects as your confidence grows. With practice, your swaps will look so natural that no one will guess the background was ever changed at all.
Frequently Asked Questions
Can I remove and replace a background on my phone? Yes. Many phone gallery and editing apps offer one-tap subject cutouts, and you can place the subject over a new image. They work best on clear subjects with good lighting. Check the edges carefully by zooming in, and expect to refine hair and soft areas.
How do I keep a transparent background for product listings? Save the cutout as a PNG, which supports transparency, rather than a JPEG. Many marketplaces ask for a plain white background instead, so check each platform’s image rules. Keep a layered original so you can switch between transparent, white and other backgrounds.
Is it okay to change the background on an ID or passport photo? Be careful. Official photos must meet strict requirements, and editing can lead to rejection. Use the plain background specified in the guidelines and avoid manipulation. Check the latest photo requirements from the relevant authority, such as ICA, before submitting any photo.
Do I need to disclose a replaced background in ads or listings? If the edited image could mislead people about a place, product or result, it is wise to be upfront, and in some contexts the law or platform rules may require it. For journalism and property listings, avoid changes that misrepresent reality. When in doubt, add a note.
Why does my cutout have a white or dark outline around it? That fringe is leftover pixels from the old background blended into the edge. Shrink or feather the selection slightly, use an edge-refine or defringe tool, and darken or colour-match the edge to the new scene. Zoom in at full size to check after each adjustment.