
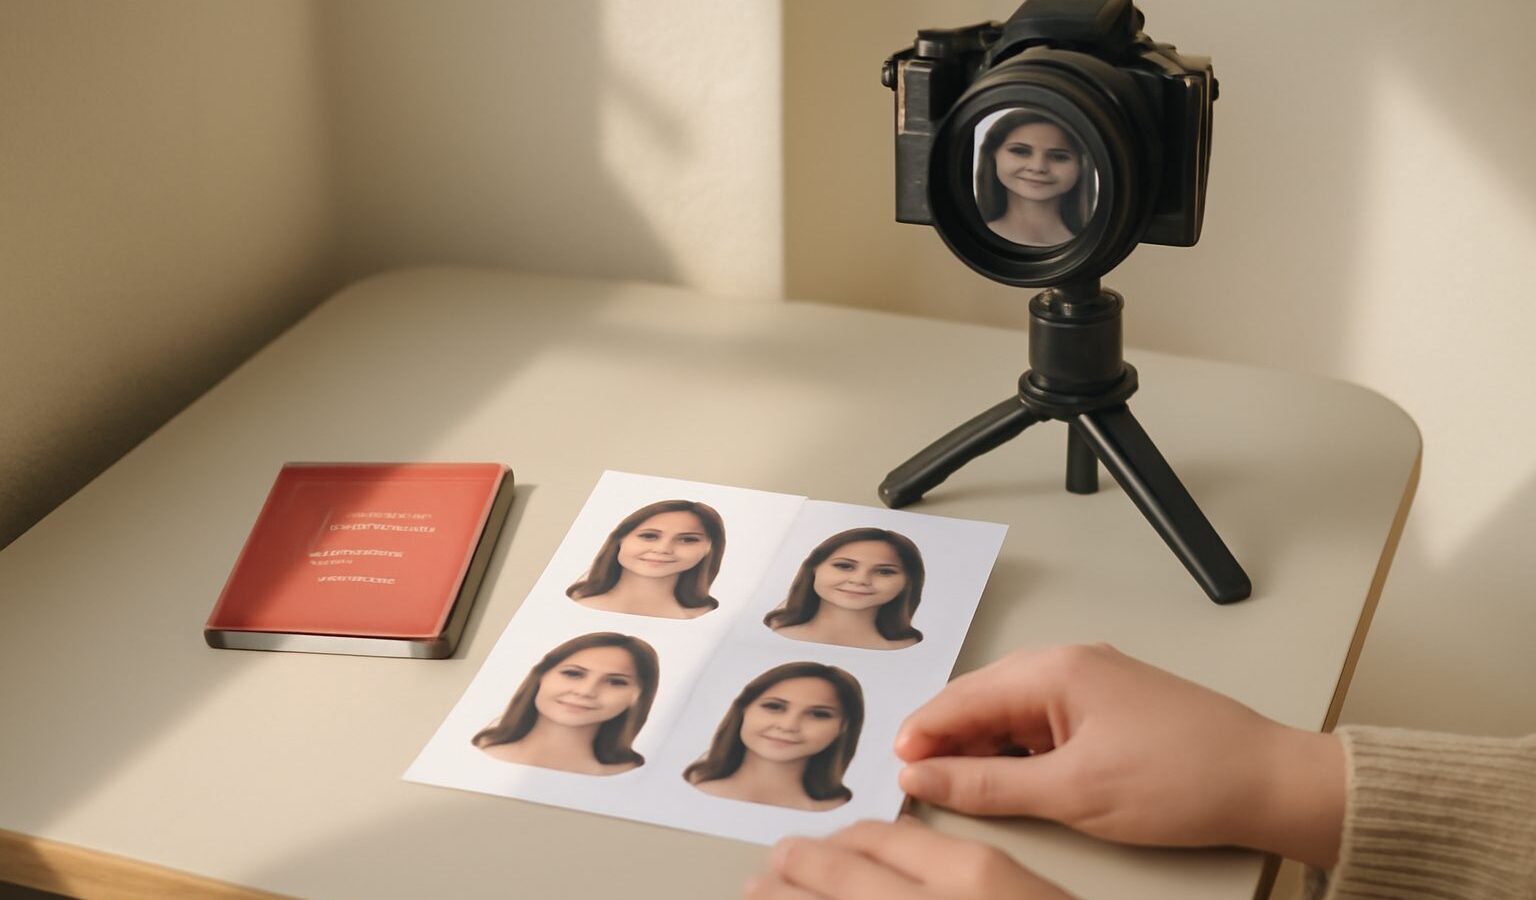
Needing a photo for a passport, an application form, or a work pass always seems to come up at the worst time. The good news is that with a phone, a plain wall, and a little care, you can take a clean, usable ID photo at home and save yourself a trip. This guide covers the general craft of good passport photos in Singapore so your image looks sharp and professional. One important note first: the exact rules matter, and they are set by the authority, not by any blog.
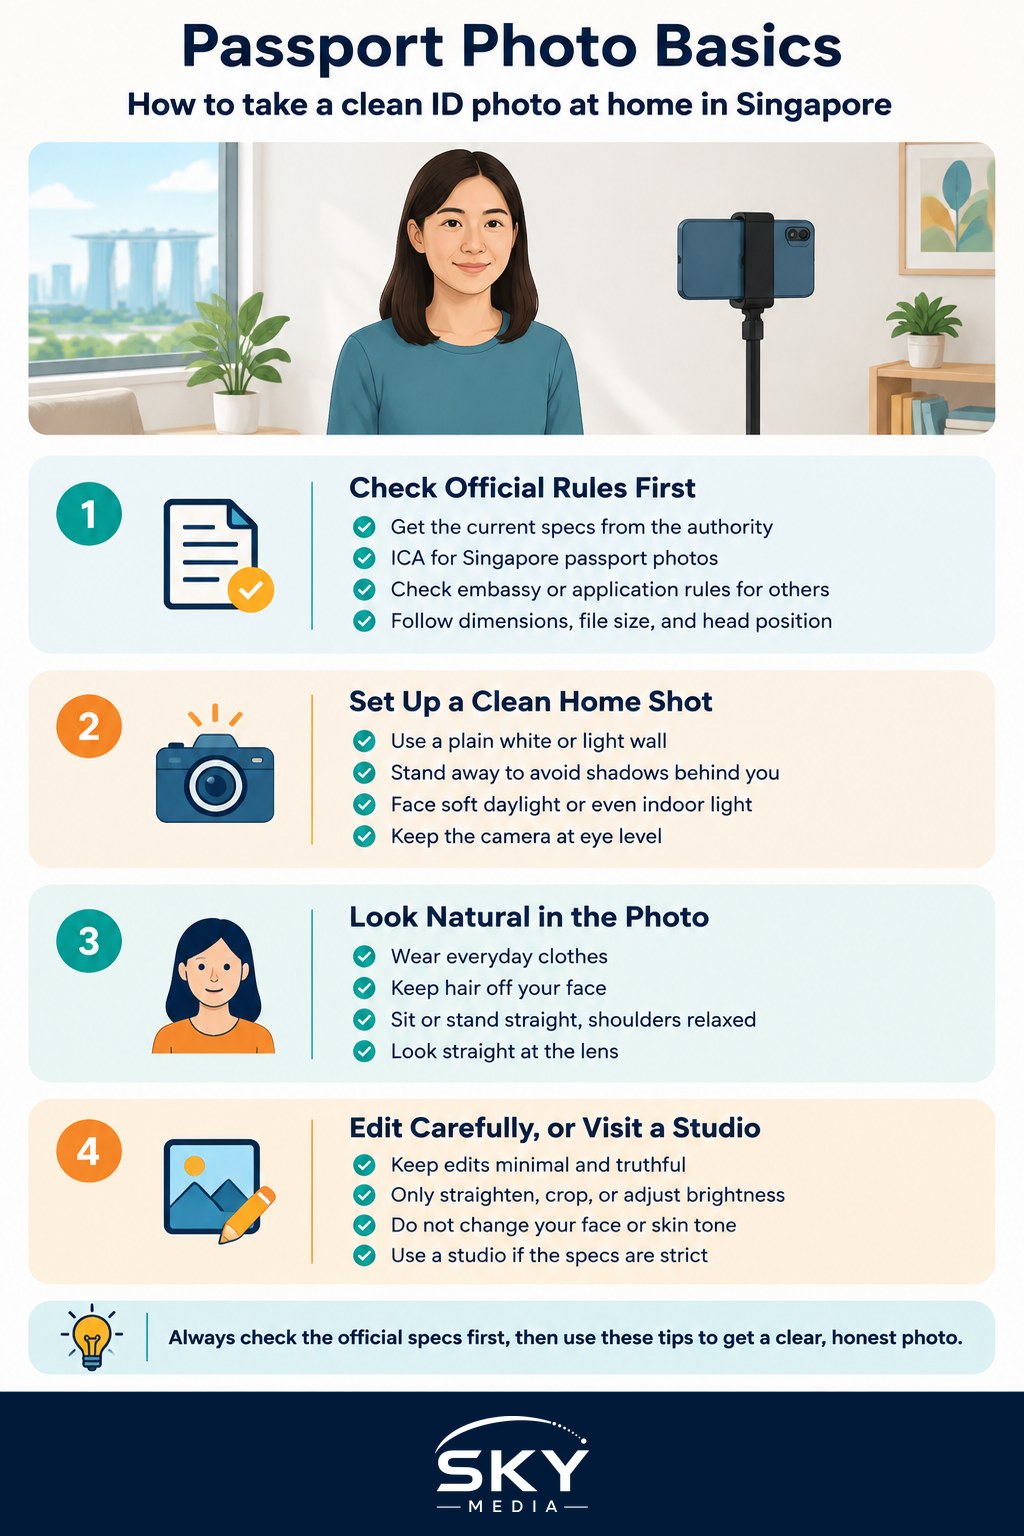
Always Check the Official Specifications First
Before anything else, get the current requirements from the source. For a Singapore passport, that is the Immigration and Checkpoints Authority (ICA). For a visa or a foreign passport, check with the relevant embassy or the specific application you are completing. Each authority sets its own exact rules for dimensions, file size, head position, and what is accepted, and these can change, so this article deliberately does not quote numbers. Read the official specifications for your particular document, follow them exactly, and treat the tips below as help for taking a clean photo, not as the rulebook.
Getting this right the first time saves real frustration, because a photo that fails the technical check gets rejected no matter how nice it looks.
The General Idea of a Good ID Photo
Across most authorities the underlying idea is remarkably similar, even if the exact figures differ. The photo should show you clearly and honestly, so an officer can match your face to you in person.
- Plain, light background with no shadows, patterns, or objects behind you.
- Even lighting on your face, with no harsh shadows across one side and no bright hotspots.
- A neutral, relaxed expression, usually with your mouth closed and eyes open and clearly visible.
- Face square to the camera, looking straight ahead, not tilted or turned.
- No filters, no beauty smoothing, no heavy editing that changes how you actually look.
- Everyday appearance, so avoid sunglasses and anything that hides your face, and follow the authority’s guidance on glasses and head coverings.
The goal is a fair, true likeness. If a friend would say it looks exactly like you on an ordinary day, you are on the right track.
Setting Up at Home
You do not need a studio. You need a bit of space, some patience, and steady light.
- Background: stand a step or two away from a plain white or light wall. That gap helps you avoid casting a shadow on the wall behind you.
- Light: face a large window with soft daylight, or use even indoor lighting. Soft, frontal light is your friend. Singapore’s bright midday sun through a sheer curtain can work well, while direct harsh sun creates ugly shadows. Our notes on using natural light in photography explain how to soften and direct it.
- Camera position: put your phone or camera at your eye level, not looking up or down at you. Prop it on a stack of books or use a small stand so it stays steady.
- Distance: leave enough room around your head so you can crop to the required size later without chopping anything off.
If you want your images consistently sharp and well framed, our guide on how to hold and stabilise your camera helps even for a simple headshot.
Taking the Shot
Wear something you would normally wear, ideally a colour that stands out a little from a white background so your shoulders do not disappear. Comb your hair off your face, sit or stand up straight, and relax your shoulders. Look right into the lens.
Use your phone’s self-timer or ask someone to press the shutter, so you are not leaning forward to tap the screen and tilting your face. Take several frames and pick the one where your eyes are open, your expression is calm, and the lighting is even. Turn off any beauty mode, since smoothing and reshaping can get a photo rejected and, more importantly, is not honestly you.
Editing and Cropping Responsibly
Keep edits minimal and truthful. You may straighten the image, crop it to the required proportions, and gently correct the overall brightness or colour so the background reads as clean white. Do not slim your face, remove permanent features, or change your skin tone. When you crop, follow the authority’s guidance on how your head should sit within the frame, and check the final file size and format against their requirements.
If you are printing rather than uploading, our guide on exporting photos for web and print helps you output at the right quality so the print is crisp.
When to Just Go to a Studio
Home photos are great for many uses, but sometimes a professional booth or studio is worth it, especially when the application is important, the specs are strict, or you simply want it handled. A studio will know the common requirements and reshoot on the spot if needed. There is no shame in that; the aim is a photo that passes cleanly.
Taking passport photos in Singapore really comes down to two things: nail the plain, well-lit, honest image using the tips here, and match the exact official specifications from ICA or the relevant embassy. Do both, and you will have a clean, accepted photo without the last-minute stress.
Frequently Asked Questions
Can I wear glasses in my passport photo? That depends on the authority’s current guidance, so check the official specifications for your document. Rules on glasses and head coverings can differ between ICA and foreign embassies. If glare or shadows could hide your eyes, it is safer to follow the stricter option.
Is a phone photo good enough for a passport application? It can be, provided it meets the authority’s technical rules on background, lighting, sizing and file format. Look up the current requirements before you shoot. If the application is important or the specs are strict, a studio is the safer route.
Why do passport photos get rejected? Common reasons include shadows on the face or background, a tilted head, a closed or hidden eye, heavy editing, or a file that fails the size or format check. A photo can look nice and still fail. Compare yours against the official specifications before submitting.
Can I take a passport photo of a baby at home? You can try, but babies move and rarely look straight ahead, so expect many attempts. Use soft light and a plain light surface, and have someone help. Check the authority’s current guidance for infants, or visit a studio used to it.
What should I wear for an ID photo? Wear everyday clothing in a colour that stands out a little from the plain background, so your shoulders do not blend in. Avoid anything that hides your face. Tidy your hair away from your eyes and keep your expression neutral.
Further reading: What to Wear for a Passport or IC Photo in Singapore