
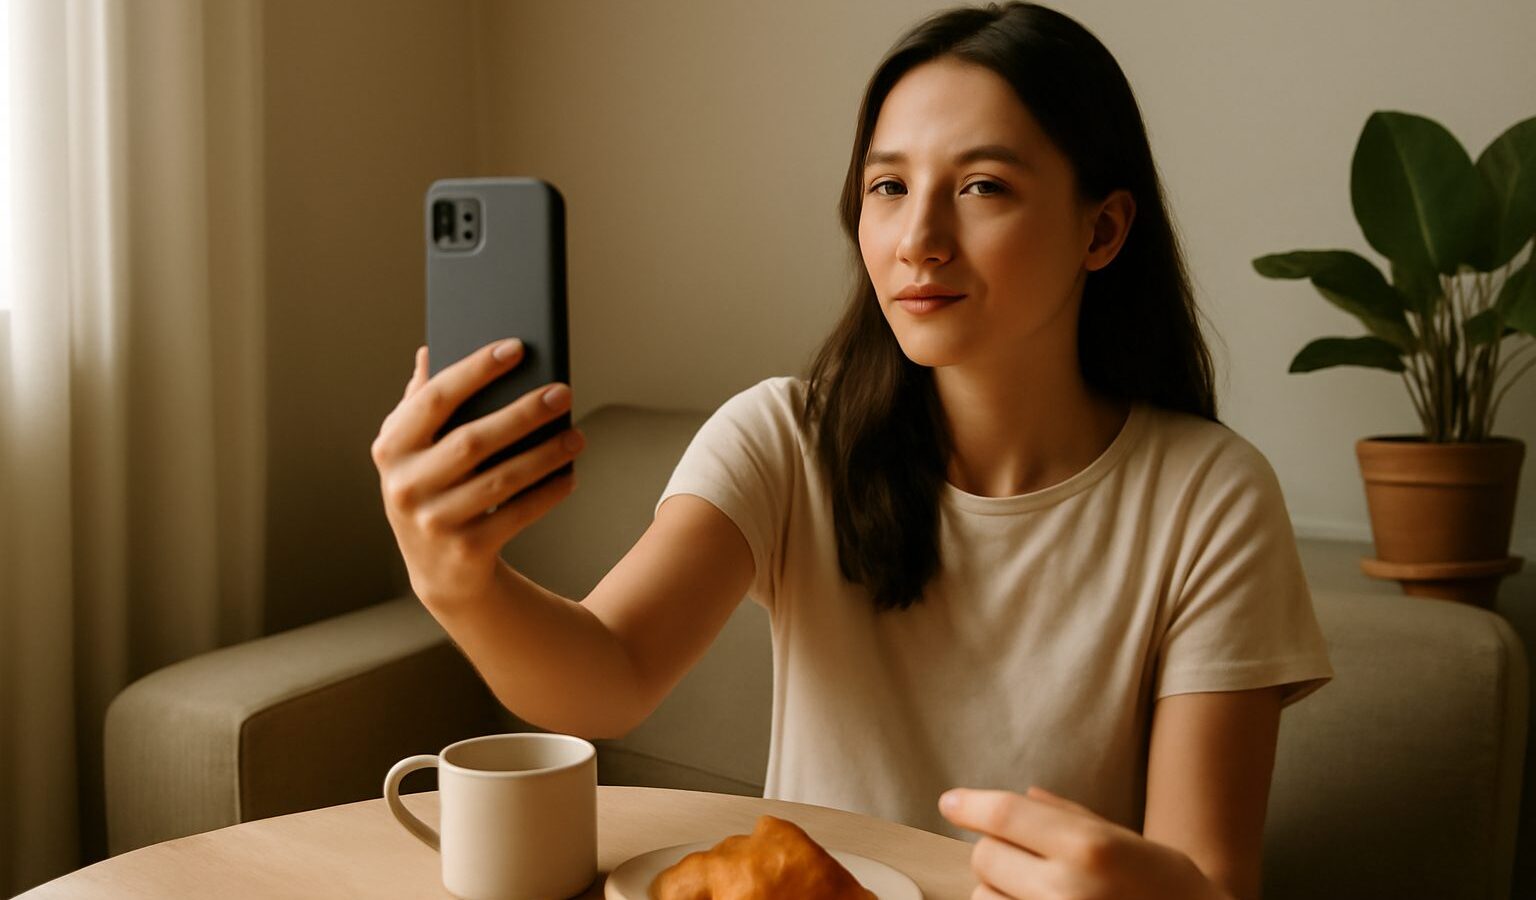
The best camera for a portrait really is the one already in your pocket. You do not need an expensive body or a fancy lens to capture a warm, flattering photo of a friend, a parent or your own reflection. Good phone portraits come mostly from a few habits: finding kind light, choosing a clean background, and helping the person relax. Master those and the phone does the rest.
This guide walks through simple, repeatable steps you can try today, whether you shoot on an older handset or the newest flagship. Everything here works in ordinary Singapore settings, from an HDB corridor in the late afternoon to a shaded spot in the Botanic Gardens. No jargon, no gatekeeping, just the small choices that turn a snapshot into a portrait someone is happy to keep.
Start With the Light, Not the Camera
Light is the single biggest thing separating a flat photo from a flattering one, and it costs nothing to get right. Before you even lift the phone, look at where the light is coming from and how soft it is.
Soft, indirect light is your friend. Harsh midday sun, the kind we get around noon here, casts hard shadows under the eyes and nose and makes people squint. Overcast days, which are common during the monsoon months, actually give lovely even light for faces. If the sun is strong, move your subject into open shade: under a void deck, a covered walkway, or the shadow side of a building. The light there is softer and far more forgiving.
Pay attention to the direction too. Light coming from the side gives gentle shape to a face, while light from directly behind turns your subject into a silhouette unless you tap to adjust. As a rule, have the person face towards the light or turn slightly to one side of it. Window light indoors is superb for portraits: sit your subject a step back from a bright window, facing it, and you get a soft, natural glow that flatters almost everyone.
Watch Your Background
A distracting background pulls the eye away from the person, so it deserves a moment of thought before you shoot. The goal is simple: keep it clean, and keep it from competing with the face.
- Look behind the person, not just at them. Rubbish bins, bright signs and a stray pole growing out of someone’s head are easy to miss until you review the shot.
- Create distance. Ask your subject to step a few metres away from the wall or greenery behind them. More gap means the background blurs more gently, even without portrait mode.
- Use simple backdrops. A plain wall, weathered shophouse shutters in Kampong Glam, or soft green foliage in a park all work beautifully because they do not fight for attention.
- Mind the colours. A background that clashes with clothing can be jarring. Neutral or muted tones usually let the person stand out.
You do not need a perfect location. A tidy corner of your flat with window light and an uncluttered wall can produce a portrait as good as any studio setup.
Use Portrait Mode Wisely
Most modern phones offer a portrait mode that artificially blurs the background to mimic a real camera lens. Used well, it is lovely. Used carelessly, it looks fake, so treat it as a tool rather than a magic button.
Portrait mode guesses where the person ends and the background begins, then blurs the rest. It can stumble on fine detail like flyaway hair, glasses or the gaps between fingers, leaving odd smudges. Keep an eye on those edges and reshoot if they look wrong. Give the phone a clear subject and a bit of distance from the background, and its guess improves a lot.
That said, blur is not compulsory. A sharp, well lit portrait with a naturally tidy background often beats an aggressively blurred one. If your phone lets you adjust the blur strength, dial it down; a subtle amount reads as far more natural than a heavy, obviously artificial fade. When in doubt, take one shot in portrait mode and one in the normal photo mode, then choose later.
Frame, Focus and Help People Relax
How you frame and focus makes a quiet but real difference. A few small habits lift your keep rate straight away.
- Tap to focus on the eyes. Sharp eyes are what make a portrait feel alive. Tap the screen on the nearer eye so the phone locks focus there.
- Set the exposure. After tapping, slide the little sun icon up or down to brighten or darken the face until skin looks natural, not washed out or muddy.
- Shoot at eye level or slightly above. Holding the phone a touch above eye line is generally more flattering than shooting from below.
- Leave a little breathing room. Do not crop too tight at first. You can always trim later, but you cannot add back a chin you chopped off.
- Use the rear cameras. The back cameras are sharper and higher resolution than the front selfie camera, so for a proper portrait, turn the phone around and use a timer or a friend.
Helping the person feel at ease matters as much as any setting. Chat with them, give a simple direction like “look just past my shoulder”, and take several frames so a natural expression slips through. Candid half-moments between poses are often the keepers. And with strangers, always ask before taking a close portrait; a smile and a quick request go a long way.
Quick Fixes for Common Portrait Problems
When a portrait is not working, the cause is usually one of a handful of things. This table pairs the problem you see on screen with the fix to try next.
| Problem you see | Likely cause | Fix to try |
|---|---|---|
| Harsh shadows on the face | Direct overhead or midday sun | Move into open shade or turn towards softer light |
| Face too dark or too bright | Phone metered for the background | Tap the face, then slide exposure up or down |
| Blurry, soft photo | Focus missed or hands shook | Tap the eye to focus, brace your elbows, breathe out |
| Fake looking background blur | Portrait mode over-applied | Lower the blur strength or shoot in normal mode |
| Stiff, awkward expression | Subject feels self-conscious | Chat, give a small task, shoot a burst of frames |
Run through this list whenever a shot disappoints, and you will fix most portraits in seconds rather than giving up on them.
Explore more
Portraits are one slice of a bigger skill, so build the foundations with our smartphone photography tips for Singapore and learn to control your gear with mastering your phone camera settings. When you want to turn the lens on yourself, how to take better selfies and a good free photo editing app are the natural next steps.