
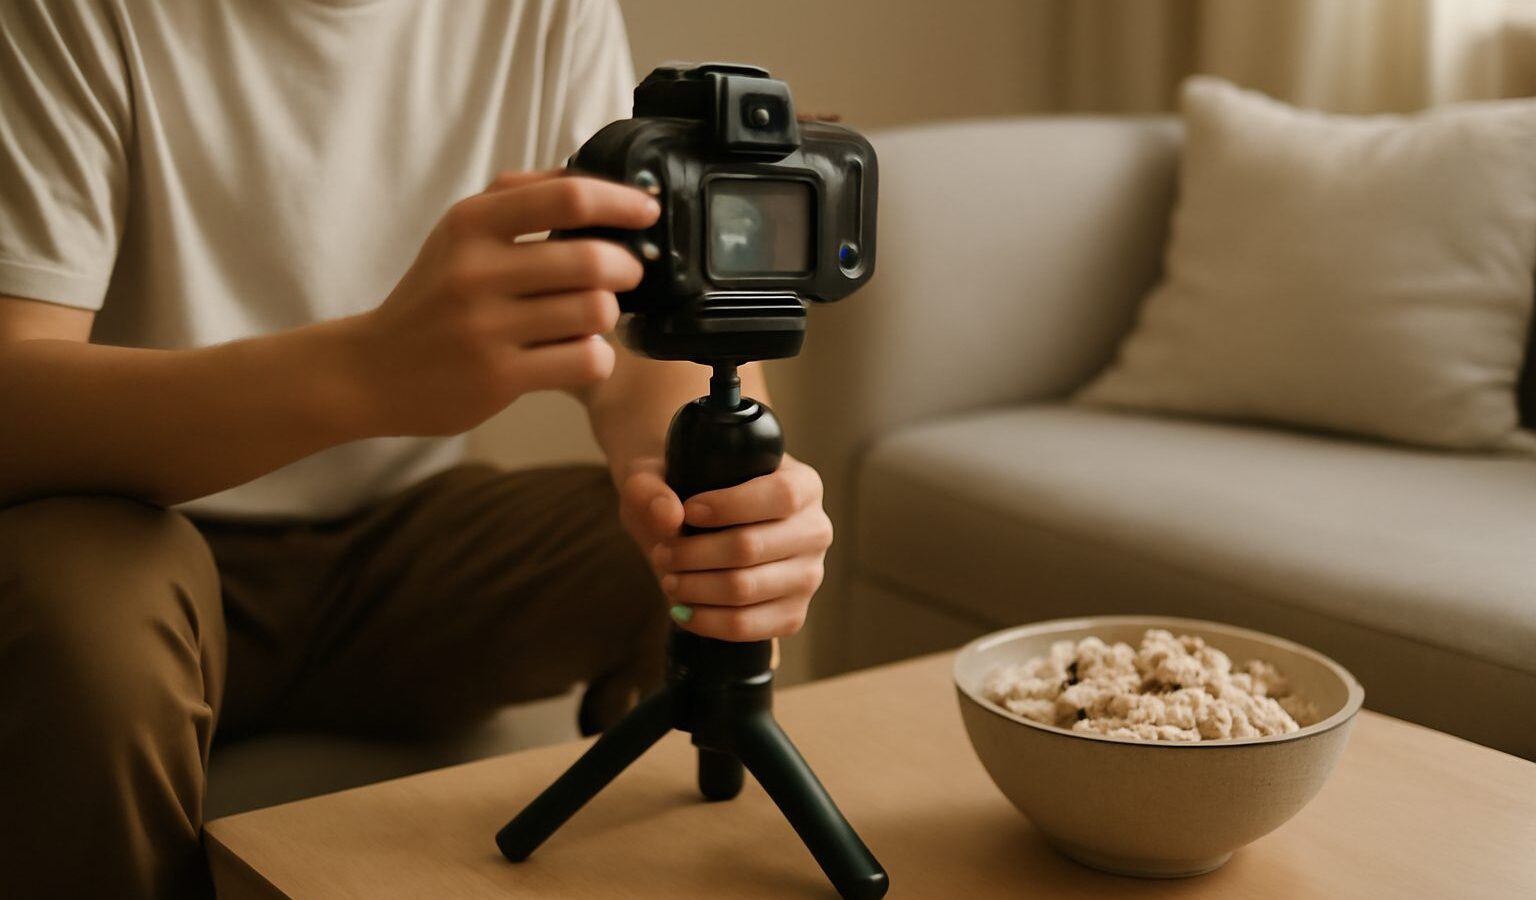
Cinematic video is not about owning an expensive camera. It comes from a handful of deliberate choices around frame rate, shutter, depth, movement, composition and colour that your phone or entry-level camera can already deliver. This guide walks through each of those choices so you can shoot cinematic video that looks intentional rather than accidental.
Start with frame rate and the 180-degree shutter rule
The “film look” begins with motion that feels natural rather than crisp and video-like. Most cinematic footage is shot at 24 or 25 frames per second. In Singapore, choose 25fps so your footage matches our 50Hz mains and avoids flicker under LED and fluorescent lights.
Once your frame rate is set, apply the 180-degree shutter rule: set your shutter speed to roughly double your frame rate. At 25fps, that means a shutter of 1/50. This gives a small, believable amount of motion blur that our eyes read as cinematic. A shutter that is too fast (say 1/250) makes movement look stuttery and harsh; too slow and everything smears.
Bright daylight will overexpose at 1/50, so keep a variable ND filter in your kit to cut the light without changing shutter or aperture. On a phone, apps like Blackmagic Camera or the native Cinematic modes let you lock frame rate and simulate this control.
Create shallow depth of field
Separating your subject from the background with a soft, blurred backdrop is one of the fastest ways to signal “cinematic”. You get shallow depth of field by combining three things:
- A wider aperture (lower f-number such as f/1.8 or f/2.8)
- A longer focal length (50mm and above)
- More distance between your subject and the background
On a phone, physically move your subject away from the wall behind them and use Cinematic mode or portrait video to fake the fall-off. Keep focus locked on the eyes. Avoid letting autofocus “hunt” mid-shot, as sudden focus shifts break the illusion instantly.
Move the camera with purpose
Static shots are fine, but controlled movement adds production value. The key word is controlled. A slow, smooth push towards a subject builds intimacy; a slide across a scene reveals space. Handheld jitter does the opposite and looks amateur.
Use a gimbal or stabiliser for walking shots, or rest the camera on a solid surface and do a gentle slide. If you have neither, brace your elbows against your body, exhale slowly, and take small heel-to-toe steps. Every move should have a reason: to follow action, reveal information or add energy. If a move does not serve the story, keep the camera locked off on a tripod instead.
Compose your frame
Cinematic composition is about guiding the eye. Reach for these reliable techniques:
- Rule of thirds: place your subject off-centre on one of the third lines rather than dead centre.
- Headroom and lead room: leave a little space above the head and more space in the direction your subject looks or moves.
- Leading lines: use HDB corridors, MRT platforms or void-deck pillars to draw the eye towards your subject.
- Foreground layers: shoot through leaves, railings or a doorway to add depth.
Shoot a mix of wide, medium and close shots of the same moment. This “coverage” gives you options when editing and lets you cut between angles to keep energy up.
Compare your look options
| Element | Video-like (avoid) | Cinematic (aim for) |
|---|---|---|
| Frame rate | 60fps flat | 24 or 25fps |
| Shutter speed | 1/250 or faster | ~1/50 at 25fps |
| Depth of field | Everything sharp | Subject sharp, background soft |
| Movement | Handheld jitter | Slow, motivated moves |
| Lighting | Flat overhead | Directional, with shadow |
| Colour | Straight out of camera | Graded for mood |
Light for mood, not just visibility
Flat, even light from a ceiling makes footage look like a video call. Cinematic light has direction and shadow. Position your subject so light comes from one side, letting the other side fall into gentle shadow. Near a window during the day is ideal in Singapore, where the light is soft and abundant.
If you shoot at golden hour, roughly the hour after sunrise or before sunset, you get warm, low light that flatters almost any scene. Add a cheap reflector, or even a white foam board, to bounce light back into the shadow side and keep detail.
Record clean sound
Cinematic video is only half the picture. Poor audio makes even beautiful footage feel cheap. Get your microphone close to the subject with a clip-on lav or a shotgun mic, record in a quiet space, and monitor with earphones. Layering in subtle room tone and ambient sound in the edit adds a sense of place. For a full walkthrough, see the audio guide linked below.
Grade your colour last
Colour grading is where footage gains its final polish. First balance your white balance and exposure so the image looks neutral and correct. Then push the mood: cooler tones for a moody, urban feel or warmer tones for something nostalgic. Add gentle contrast and slightly desaturate the highlights for that filmic softness. Shoot in a flat or Log profile if your camera offers one, as it retains more detail to work with. Keep it subtle; heavy filters date quickly.
Common mistakes to avoid
- Shooting at 60fps by default. Save high frame rates for deliberate slow motion, not everything.
- Zooming digitally. Move your feet or change lenses instead.
- Overusing the gimbal. Constant motion is exhausting to watch. Let some shots breathe.
- Ignoring the horizon. A tilted, unintentional horizon reads as sloppy.
- Grading before balancing. Fix exposure and white balance first, always.
Putting it together
You do not need every technique in every shot. Pick two or three that suit your scene, nail your frame rate and shutter first, then build from there. Shoot more coverage than you think you need, keep your movements slow and motivated, and grade with a light hand. Do that consistently and your cinematic video will start to look deliberate, confident and worth watching. Grab your camera, pick one scene near home, and practise the 180-degree rule today.
Explore more: Video Basics for Beginners · Understanding Colour Grading · Understanding Frame Rates and Shutter for Video