
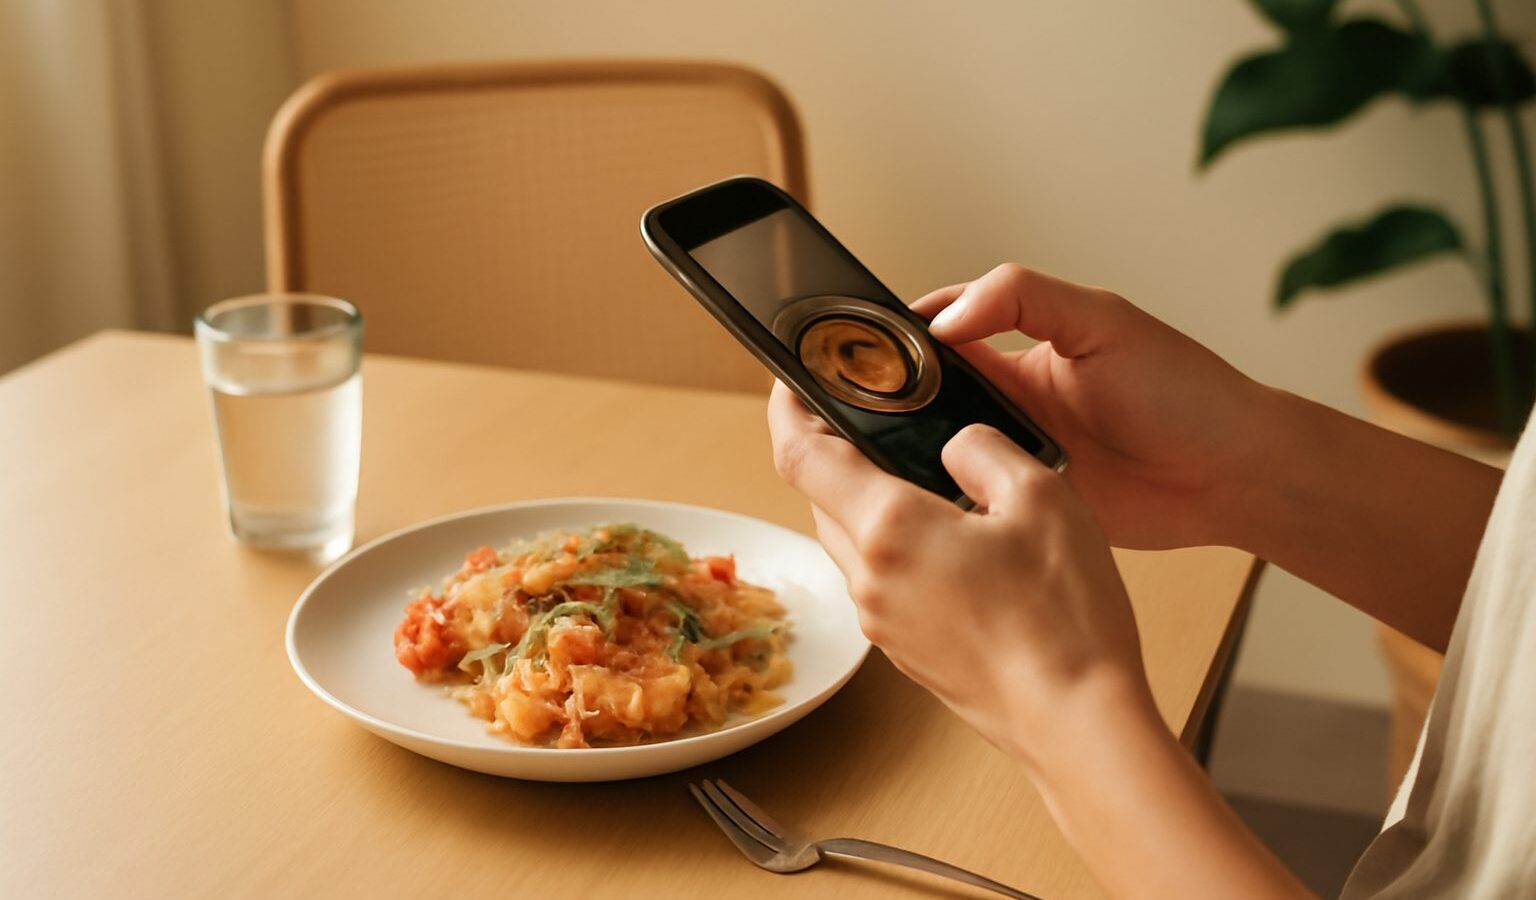
Good food photography is less about expensive gear and more about light, angle and a little patience. Whether you are snapping a plate of chicken rice at a hawker centre or a flat white at a cafe in Tiong Bahru, a few simple habits will make your food photos look far more appetising. This guide walks a keen beginner through the whole process, using whatever phone or camera you already own.
You do not need a studio. Singapore gives you bright tropical light, a deep food culture and a plate worth shooting on almost every corner, so the raw material is already there.
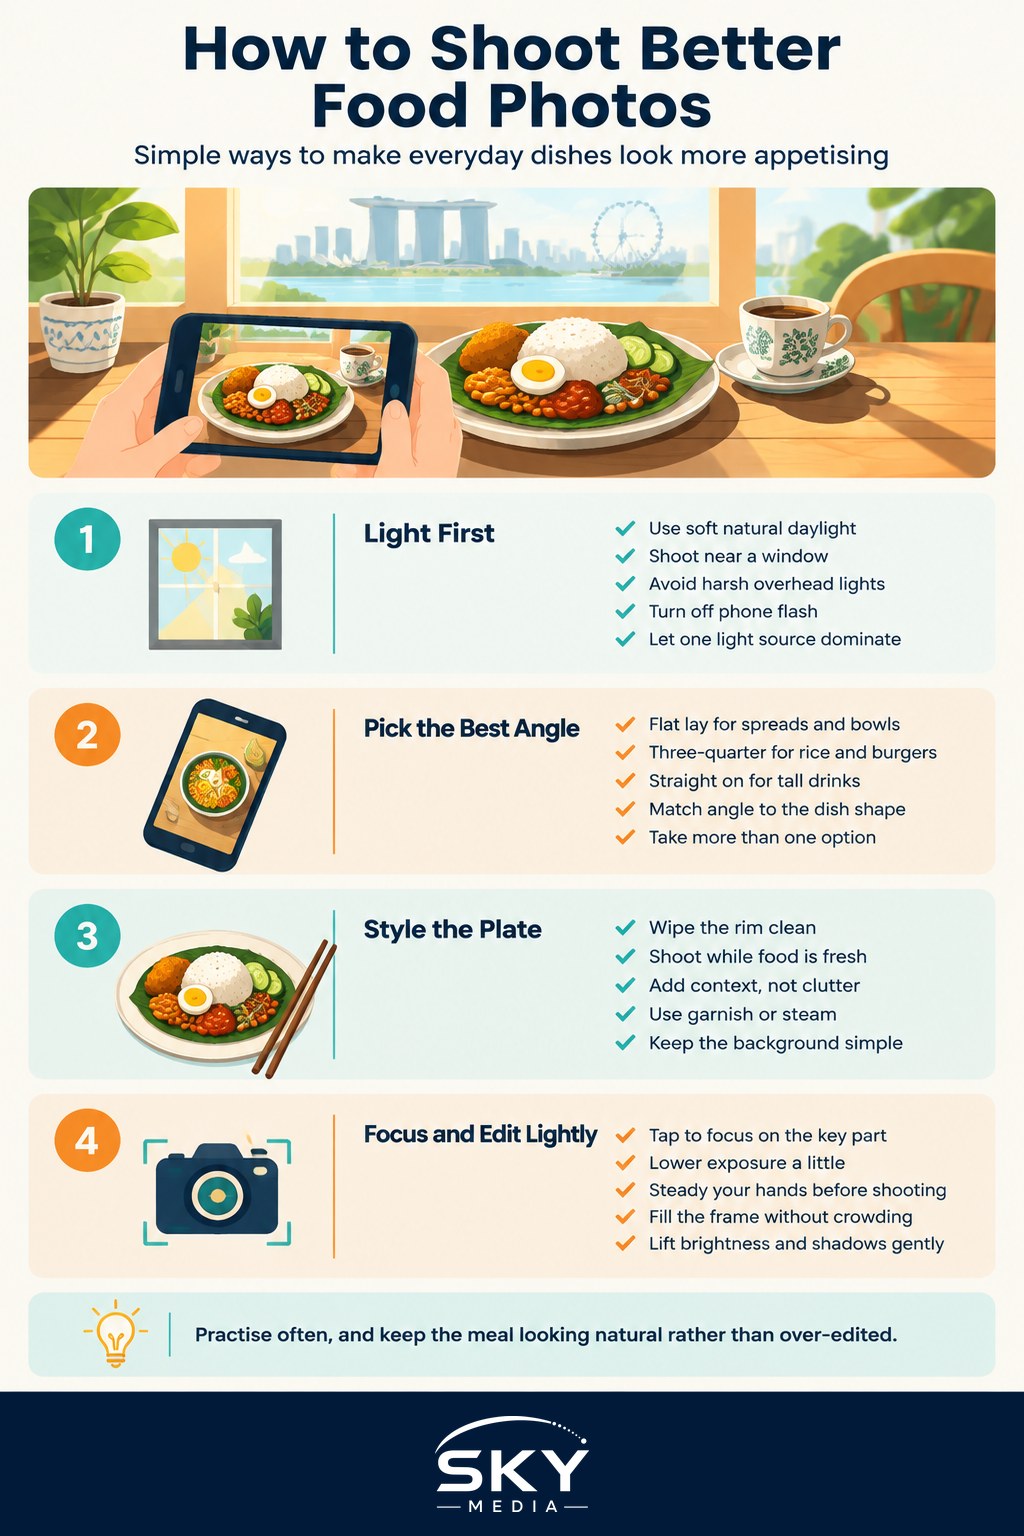
Start With the Light
Light is the single biggest thing that separates a mouth-watering shot from a dull one. Soft, natural daylight is your best friend, and it is free.
- Shoot near a window. In a kopitiam or cafe, take the seat closest to natural light and place the dish there. A window on a bright but overcast day gives lovely soft light with gentle shadows.
- Avoid harsh overhead light. The yellow ceiling lights in many hawker centres and food courts turn white rice orange and flatten texture. If you can, move the plate towards a doorway or brighter edge of the space.
- Never use the phone flash on food. It blasts the front of the dish, creates hard glare on sauces and kills the mood. Turn it off and find better light instead.
- Watch for mixed light. If daylight and warm indoor bulbs mix, colours go muddy. Try to let one source dominate.
Because our light is strong and the sun is high, direct midday sun through a window can be too harsh. Diffuse it by pulling a sheer curtain across, or wait for a passing cloud. Backlight, where the light comes from behind the dish, works beautifully for drinks, soups and anything glossy, as it makes steam and liquid glow.
Choose the Right Angle
Different dishes suit different angles, and picking the right one instantly lifts a shot.
- Straight down (flat lay), about 90 degrees above the plate. Perfect for spreads, a table of dim sum, a bowl of laksa, or a neatly arranged cafe brunch. It shows shape and arrangement.
- Three-quarter, roughly 45 degrees. The most natural angle, close to how you see the food when seated. Great for burgers, rice dishes and layered plates.
- Straight on, at table level. Best for tall food with height, such as a stacked bagel, a drippy kaya toast set or a glass of bubble tea, where you want to show the layers.
A quick rule of thumb: the taller the food, the lower you shoot; the flatter the food, the higher you go. Take one of each when you are unsure, then compare later.
| Dish type | Best angle | Why it works |
|---|---|---|
| Hawker rice or noodle plate | Three-quarter (45 degrees) | Shows the toppings and the fill of the plate |
| Table spread or bowl of soup | Flat lay (90 degrees) | Reveals the full arrangement and colour |
| Tall drinks and layered toast | Straight on (table level) | Captures height, layers and drips |
| Cafe brunch with several items | Flat lay (90 degrees) | Keeps everything sharp and organised |
Style the Plate Simply
Styling sounds fancy, but it just means tidying the scene so the eye lands on the food. A few small moves go a long way.
- Wipe the rim. A smear of gravy or a coffee ring on the saucer is the first thing people notice. Keep a tissue handy.
- Shoot fresh. Food photographs best in the first minute or two. Noodles clump, ice melts and greens wilt fast in our heat, so set up before the dish arrives if you can.
- Add a hint of context, not clutter. Chopsticks resting on a bowl, a hand reaching for a spring roll, a cup of kopi beside the plate, or a folded serviette all suggest a real meal. Remove sauce bottles, phones, keys and crumpled receipts.
- Use garnish and steam. A scatter of spring onion, a wedge of lime or a curl of steam rising off char kway teow adds life.
- Mind the background. A plain table, a marble counter or a rustic wooden top all work. Busy patterned surfaces fight the food.
The goal is a scene that looks natural and generous, as if someone is about to tuck in.
Get the Shot Sharp and Set
With the light, angle and styling sorted, take a moment to get the technical side right. It is quick once it becomes a habit.
- Tap to focus on the most important part of the dish, usually the front edge or the hero ingredient.
- Set exposure. After tapping, slide the brightness control down slightly so highlights on sauces and rice do not blow out to pure white. Slightly darker is easier to fix than overexposed.
- Steady the phone. Brace your elbows on the table, breathe out and shoot. In dim spots this avoids blur.
- Fill the frame, but leave a little breathing space. Get close enough that the food dominates.
- Take a few frames at slightly different angles and heights so you have options.
If your camera or phone offers it, a slightly wider or standard lens (rather than a heavy zoom) keeps proportions looking natural and avoids distortion.
A Quick Word on Editing
A light edit finishes the job. Most phones and free apps let you nudge a handful of sliders, and that is all you need.
- Lift brightness and shadows a touch so detail shows.
- Add a little contrast and texture to make the food pop.
- Adjust white balance if the shot looks too yellow or too blue, aiming for natural-looking colour.
- Keep saturation honest. Over-saturated food looks fake and unappetising.
Aim for a photo that looks like the meal did in real life, only at its best. Resist heavy filters, which tend to age quickly and hide the food.
Practise on Singapore’s Best Subjects
The fastest way to improve is to shoot often, and we are spoilt for choice. Try a bowl of prawn mee under a bright window, a weekend brunch spread shot flat-lay style, kaya toast and soft-boiled eggs at a traditional kopitiam, or a colourful plate of nasi padang. Each teaches you something about light and angle. Do respect the space around you: shift your chair rather than standing on stools, do not hold up a queue at a busy stall, and ask before photographing someone else’s table. With a little courtesy and a few reps, your food photography will improve every single week.
Explore more
Ready to sharpen your skills further? Get the fundamentals right with mastering your phone camera settings and pick up broader habits in our guide to smartphone photography tips. When your plates are ready to post, learn to polish them in the best free photo editing apps.
Frequently Asked Questions
How do I photograph food in a dim hawker centre at night? Move the dish towards the brightest light, hold the phone steady and tap to focus on the main part of the food. Shoot a couple of frames, since low light blurs easily. A friend holding a phone torch to the side can help, though keep it soft and brief.
How do I stop glare on glossy sauces and soups? Change your position slightly until the bright reflection slides off the surface, or turn the plate. Softer, diffused light helps, as does lowering the exposure a touch. Avoid flash, and shoot from the side instead of straight above if the shine persists.
Is macro mode good for close-up food shots? It can be, for texture details like sesame seeds, a crisp edge or a glistening glaze. Stay still because focus is very shallow at close range. Use it for one detail shot alongside a wider photo of the whole dish so the image tells a fuller story.
Can I film a short food video with my phone? Yes, and the same rules apply: use soft light, a steady phone and a clean background. Film short clips of one action, such as steam rising or sauce being poured, and keep each clip only a few seconds. Prop the phone on a stack of books for stability.
Do I need to ask a stall owner before photographing their food? Taking a quick photo of your own meal is usually fine. If you want to film the stall, the cooking or the staff, ask first, especially during a rush. If you plan to post commercially or review the business, it is polite to let them know.
Further reading: How to Photograph Street Food in Singapore