
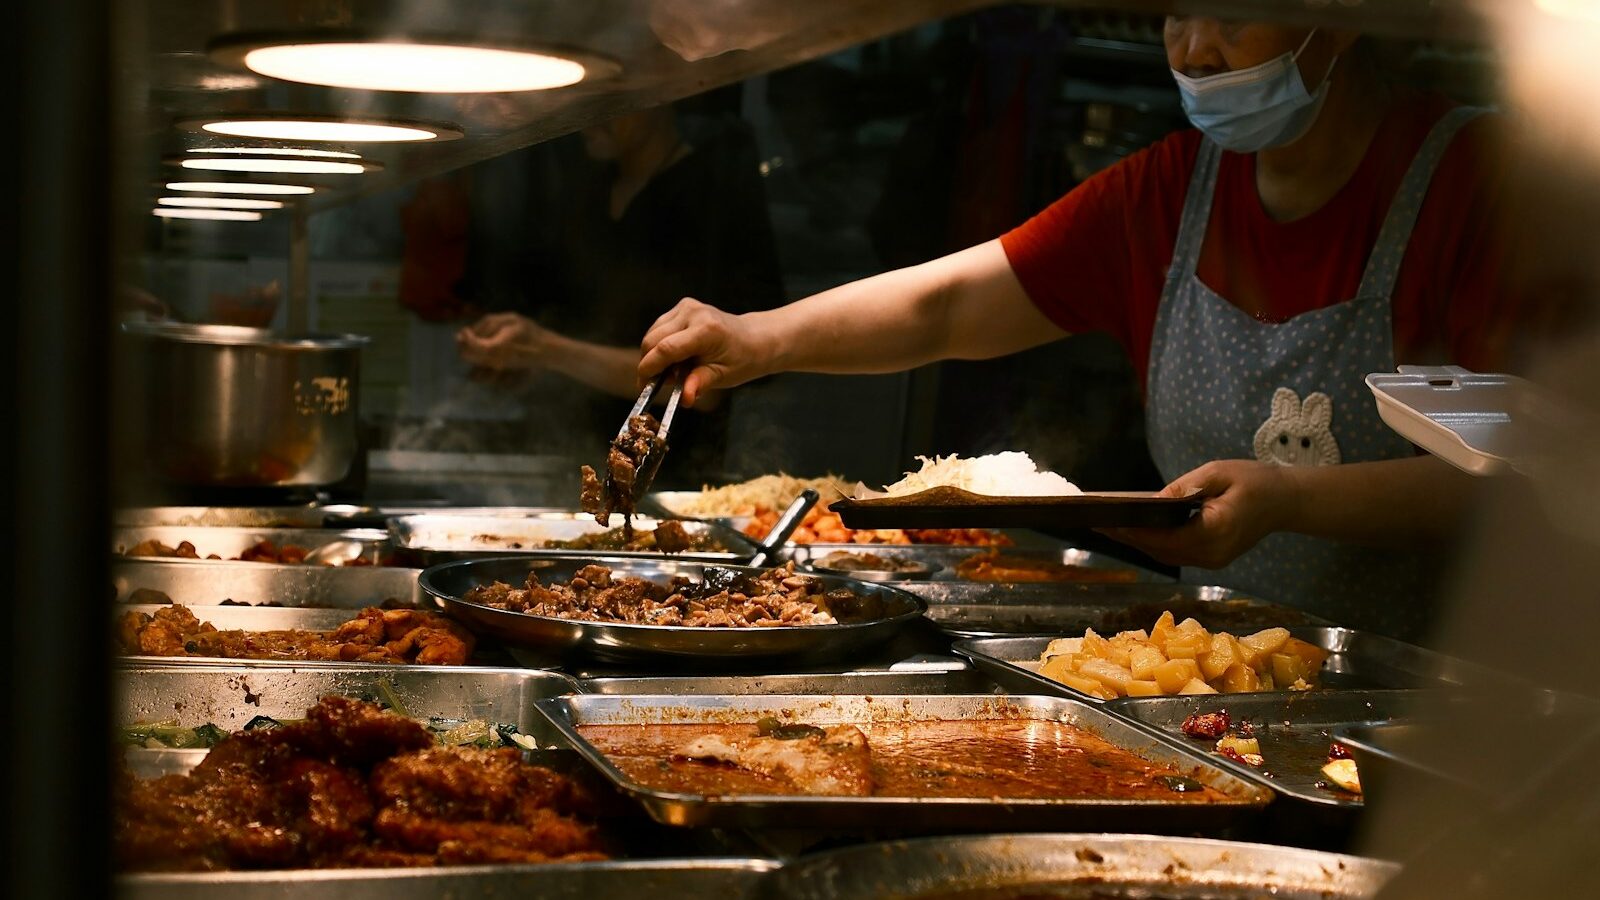
Few things say Singapore like a plate of hot char kway teow, a bowl of laksa steaming under a fan, or a freshly poured kopi at a corner stall. Street food photography lets you capture that flavour and share the story of our hawker culture. The challenge is that these settings are busy, the light is often tricky, and you are shooting in someone’s workplace. This guide will help you make mouth-watering images at hawker centres, kopitiams and food streets, whether you shoot on a phone or a camera, while being the kind of considerate person that stallholders and fellow diners are happy to have around.

Be Respectful First
Before any technique, get this right. Hawkers are running a business and diners are there to eat, not to be part of your shoot. Good manners make everything else easier and lead to warmer photos too.
- Ask politely before shooting a stall, the cooking, or the person behind the counter. A friendly “Uncle, can I take a photo?” goes a long way, and a smile and thank you afterwards goes even further.
- Never block the queue or the walkway. Step aside, be quick, and let paying customers through first.
- Do not hold up service. If the stall is slammed during lunch peak, come back when it is quieter.
- Respect a no. If someone would rather not be photographed, thank them and move on.
- Mind other diners. Avoid pointing your lens at strangers eating without their okay.
Many hawker spaces are managed venues, so be aware that some places have their own rules about photography and filming. When in doubt, ask. Being a good guest is not just polite, it also opens doors, because a hawker who trusts you may let you shoot the wok in action. Our guide to photographing markets and hawker centres goes deeper into working these lively spaces.
Find and Shape the Light
Light makes or breaks food. Hawker centres are often lit by a mix of fluorescent tubes and warm bulbs, which can turn food an odd colour, so your first move is to hunt for the best light available.
- Look for a stall or table near natural light, such as an open edge, a doorway or a bright walkway. Soft daylight from the side makes food look fresh and three dimensional.
- Position the plate so the main light comes from the side or slightly behind the dish. Side light brings out texture in noodles, crackle in roast meats and gloss in sauces.
- Avoid direct on-camera flash. It flattens the food and kills the mood. If it is dim, learn to shoot in low light without flash instead.
- Watch your white balance so that white rice looks white and not yellow or blue. Adjust it in camera, or shoot RAW and fix it later.
Backlight, where the light comes from behind the dish, is especially lovely for anything steaming, drinks with ice, or broth, because it makes steam glow and liquids shine. Just add a little exposure compensation so the front of the food does not go too dark.
Compose for Appetite
Once the light is sorted, think about the frame. The goal is simple, to make the viewer hungry. Get the dish looking its best moments after it is served, while it is still glistening and the garnish is fresh.
Angles to try:
- Straight down, the flat lay, works well for spreads, a full table, or dishes with pretty toppings.
- Around 45 degrees mimics how you see food as you sit down and suits bowls and layered plates.
- Low and close, near the rim of the plate, is dramatic for tall items like burgers, kaya toast stacks or a mound of noodles.
Get in close to fill the frame and cut the clutter. A messy tray, a stack of used plates or a busy background can distract from the hero dish, so tidy the immediate area if the stallholder is fine with it, or simply move the plate to a cleaner spot. Use a wide aperture to blur the background gently and draw the eye to one delicious detail, like the runny yolk or the char on the meat. Little props already on the table, chopsticks, a spoon, a cup of kopi, add life and a sense of place. For more on styling and angles, our guide to taking good food photos has plenty you can apply here.
Edit With a Light Touch
A quick edit turns a good hawker snap into a great one, but keep it honest so the food still looks like the food. Warm the image slightly if the lighting made it cold, lift the shadows so dark corners open up, and add a touch of contrast and clarity to bring out texture in the crust or the broth. Bump saturation gently, not to neon, so colours look fresh rather than fake.
You can do all of this on your phone in a few minutes. Our walkthrough on editing food photos shows a simple, repeatable flow that keeps things natural.
Street food photography is really about celebrating a food culture you love. Shoot with curiosity and good manners, chase the best light, get close to the delicious details, and always let the hawkers and diners come first. Do that and you will build a set of images, and a few friendly stall connections, that you will treasure. Grab your camera, find a favourite stall, ask nicely, and start shooting.
Frequently Asked Questions
Is it better to photograph hawker food at peak hours or off-peak? Off-peak is easier: stalls are less rushed, there is more room and the light is often better. During the lunch rush, keep shots quick and step aside from queues. If you need a shot of busy cooking, ask the stallholder what time works for them.
How do I photograph ice desserts and drinks before they melt? Get your settings and angle ready before the dish arrives, then shoot quickly. Backlight makes ice and condensation sparkle, and a few frames in burst mode helps you catch the best one. Take your photos first and eat afterwards.
Is it fine to tag a stall when I post my hawker photos online? Usually yes, and many stallholders appreciate the exposure, but be kind and accurate. Say good things honestly, avoid showing private details, and remove a photo if the owner asks. If the stall is in a managed venue, check for any house rules on posting.
Can I use my hawker photos for a blog, menu or brand? Personal blogging is generally fine, but commercial uses such as menus, ads or product packaging are different. Ask the stallholder for permission, get a written release if people are identifiable and check the venue’s rules. Do not imply an endorsement that is not there.
How can I get better hawker photos using only my phone? Wipe the lens, find side light near an open edge and tap to focus on the food. Lower the exposure slightly if highlights wash out. Use portrait mode with care, get close and keep the frame simple by moving clutter aside.
Further reading: How to Photograph Heritage Shophouses in Singapore · How to Photograph a Marathon or Run