
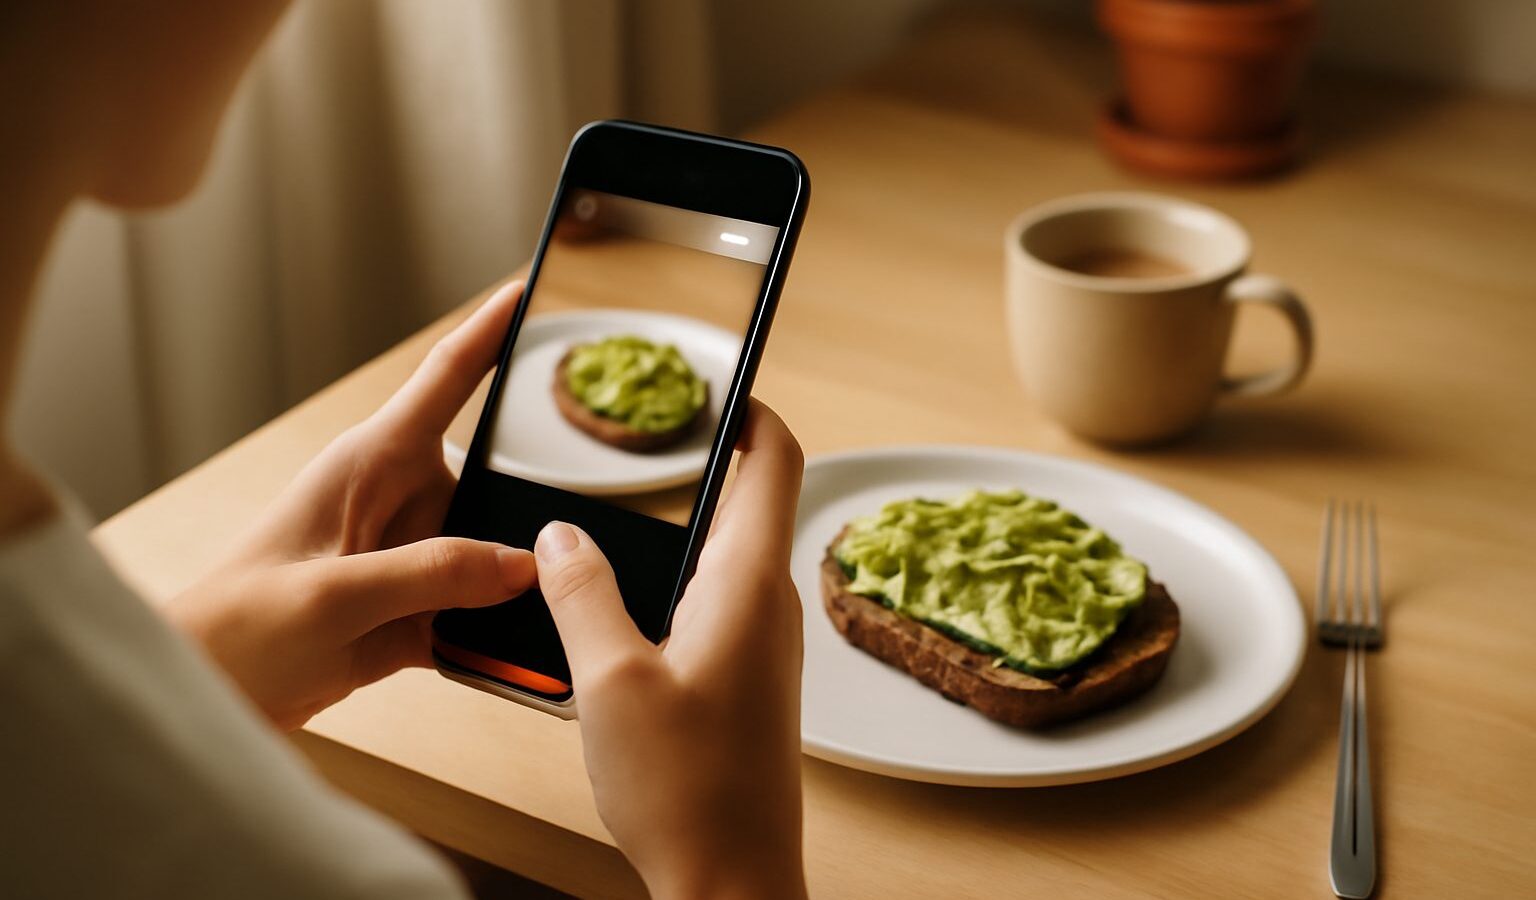
The best camera is the one already in your pocket. You do not need pricey gear to take photos worth keeping, and smartphone photography has quietly become good enough for holiday albums, food posts and even framed prints. What separates a flat snapshot from a photo people stop and look at is rarely the phone. It is a handful of habits around light, framing and steadiness that anyone can pick up in an afternoon. This guide walks you through those habits with examples grounded in everyday Singapore life, from a plate of chicken rice to the Marina Bay skyline at dusk.
None of this requires the newest model. Whatever phone you own right now can produce lovely images once you understand what the camera is trying to do and how to help it along.
Start With Light, Not The Phone
Photography is really the craft of catching light, and the quality of your light matters far more than megapixels. Before you even lift the phone, ask where the light is coming from.
- Face the light towards your subject, not behind it. If you shoot a friend with a bright window or the open sky behind them, the phone darkens their face to cope with the glare. Turn so the light falls on them instead, and their features come alive.
- Chase soft light. Singapore’s midday sun is harsh and creates hard shadows and squinting faces. The gentle hours just after sunrise and in the hour before sunset give warm, flattering light. Overcast days, which we get plenty of, act like a giant softbox and are wonderful for portraits and street scenes.
- Use shade as a tool. Under a void deck, a covered walkway or a shophouse five-foot-way, the light turns even and kind. Move your subject a step into that shade and watch harsh shadows melt away.
- Notice indoor light. At a hawker centre or kopitiam, position your dish near the edge of a table by a doorway or window so daylight rakes across the food. It beats the yellow overhead tubes every time.
Once you start reading light, you will find yourself shooting the same scene at a different time of day just to catch it better.
Compose So The Eye Knows Where To Look
A clear photo tells the viewer what to look at. A few simple framing ideas do most of the heavy lifting.
- Turn on the grid. In your camera settings there is an option for gridlines. It splits the frame into thirds. Placing your subject along those lines or where they cross, rather than dead centre, usually feels more natural and balanced.
- Mind the background. A bin, a stray signboard or a passer-by’s head sprouting behind your subject ruins an otherwise good shot. Take one step left or right, or crouch slightly, to clear the clutter before you tap the shutter.
- Use leading lines. The rows of a hawker centre, an HDB corridor, the railing along the Singapore River or an escalator all draw the eye into the picture. Line them up so they point towards your subject.
- Get closer or lower. Instead of zooming, walk in. For food, drop the phone to plate level for a moody side-on look, or shoot straight down for a tidy flat lay. A low angle makes the CBD towers feel grand.
- Leave breathing room. A little empty space around your subject often reads as calmer and more intentional than cramming everything in.
Keep It Sharp And Well Exposed
Blur and wonky brightness are the two faults that spoil most phone photos, and both are easy to fix.
- Tap to focus. Before shooting, tap your subject on the screen so the phone knows what should be sharp. This is essential for close-ups of food, flowers or a pet.
- Set brightness by hand. After tapping, a little sun or slider usually appears. Drag it down slightly if the scene is bright, such as a beach at East Coast Park, or up a touch in a dim restaurant. You are telling the phone how bright the final image should be.
- Hold steady. Tuck your elbows in, brace against a railing or pillar, breathe out and gently press the shutter. In low light the camera keeps the shutter open longer, so any wobble shows as blur. A cheap tripod or even propping the phone on a ledge helps for night shots.
- Clean the lens. Phones live in pockets and bags and pick up smudges that make photos hazy. A quick wipe with a soft cloth is the most underrated tip on this list.
- Watch your ISO in the dark. When light is low the phone raises ISO, its sensitivity, which adds grainy speckle. Steadying the phone lets it use a lower ISO and keep the image cleaner.
Choose The Right Mode For The Moment
Modern phones offer several shooting modes, and knowing which to reach for saves you fumbling in the moment. Here is a quick guide to what suits common Singapore scenes.
| Scene | Try this mode or setting | Why it helps |
|---|---|---|
| Hawker food close-up | Tap to focus, natural light near a window | Sharp detail and true, appetising colour |
| Marina Bay skyline at night | Night mode, phone braced or on a tripod | Gathers light steadily for a bright, clean shot |
| Portrait of a friend | Portrait mode, soft shade | Blurs the background so the person stands out |
| Fast-moving subject, like a dog at the park | Burst mode, hold the shutter | Fires many frames so one is perfectly timed |
| Wide heritage street in Chinatown | Main lens, grid on | Keeps lines straight and the scene balanced |
Portrait mode fakes the soft background of a professional lens, but it can smudge edges like hair or spectacle frames, so check the result. Night mode works wonders but needs you to stay still for a second or two while it captures.
Edit Lightly To Finish The Photo
A gentle edit lifts a good photo without making it look fake. Your phone’s built-in editor is enough to start, and free apps offer more control when you want it.
- Straighten and crop first. Level the horizon and trim distractions from the edges. This one step alone improves most photos.
- Nudge, do not shove. Small lifts to brightness, contrast and shadows go a long way. Heavy-handed edits look artificial fast.
- Warm it thoughtfully. Singapore light can skew cool and blue in shade. A slight warmth adds life, but keep skin tones believable.
- Resist the filter overload. One subtle preset at reduced strength beats a stack of effects. Aim for the scene as your eye remembered it, only tidier.
Edit on a screen at normal brightness, not maxed out, so you judge the photo the way others will see it.
Build The Habit
The fastest way to improve is simply to shoot often and look back at your results. Photograph your morning kopi, the queue at your favourite stall, the rain sweeping across the estate. Notice which photos work and ask why. Over a few weeks the light, framing and steadiness become second nature, and smartphone photography stops feeling like luck and starts feeling like a skill you own.
Explore more
Ready to go deeper? Learn to flatter faces with better portraits on your phone, tame tricky evenings with night mode and low-light photography, and make your dishes shine with our guide to good food photos in Singapore. Once you have a set you love, tidy up with the best free photo editing apps.