
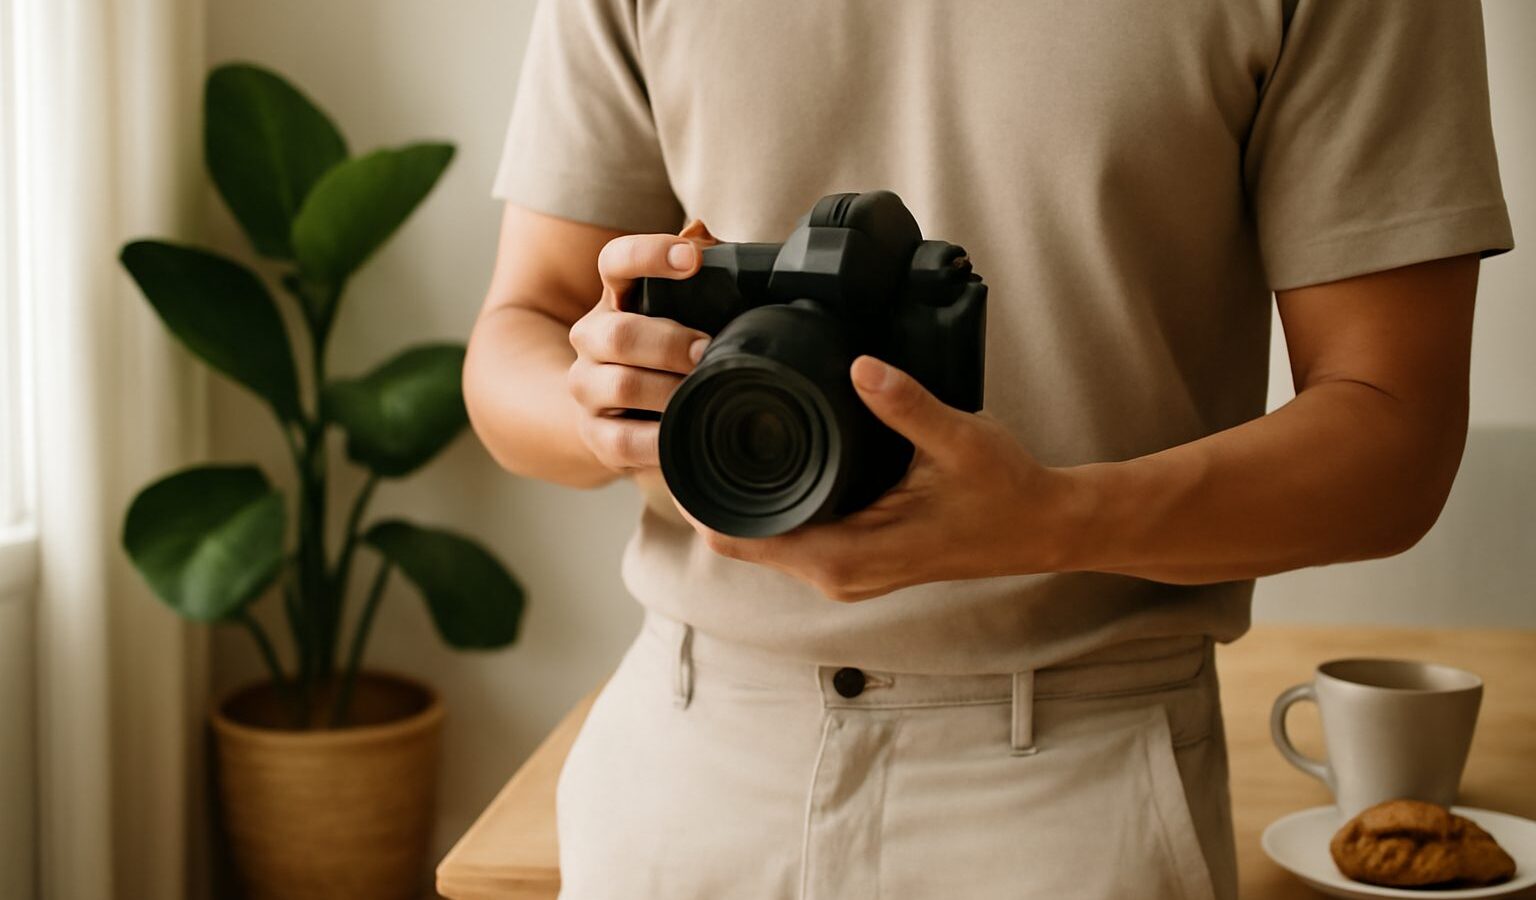
Soft, slightly blurry photos are one of the most common frustrations for beginners, and more often than not the culprit is not focus or a cheap lens. It is camera shake. The good news is that holding your camera properly is a free skill you can learn in minutes, and it will sharpen up your shots more than any gear upgrade. This guide walks through a stable grip, stance and breathing, plus simple ways to brace and support your camera anywhere on the island.
Camera shake is the tiny movement of your hands and body during the moment the shutter is open. The slower the shutter speed and the more zoomed-in you are, the more that wobble shows. Steady technique is your first line of defence.
Why Your Photos Come Out Blurry
Before fixing it, it helps to know the difference between two kinds of blur. Motion blur happens when your subject moves, like a passing bus. Camera shake happens when you move, and it smears the whole frame, not just the moving parts. Holding your camera well solves the second kind entirely.
Shake becomes obvious in low light, because the camera keeps the shutter open longer to gather enough light. That is why indoor shots at a dim restaurant or evening photos along the Singapore River are the usual offenders. It also shows more when you zoom in, since a longer focal length magnifies every small movement along with the scene.
The Basic Grip and Stance
A solid hold turns your body into a small tripod. Build it from the ground up:
- Right hand: wrap it firmly around the grip, with your index finger resting lightly on the shutter button. Firm, not white-knuckle tight, because tension causes its own shake.
- Left hand: this is the important one. Cup it underneath the lens to carry the weight, rather than gripping it from the side. Your palm supports the camera while your fingers adjust zoom or focus.
- Elbows: tuck them in against your ribs. Elbows flapping out to the sides is the single most common beginner mistake, because it leaves the camera floating with no support.
- Feet: stand with feet shoulder-width apart, one slightly forward, weight balanced. A stable base steadies everything above it.
- Eye to the viewfinder: if your camera has one, press it gently to your brow. That third point of contact, added to your two hands, dramatically reduces movement. If you only shoot on the rear screen, keep it close to your body rather than at arm’s length.
Then manage your breathing. Take a breath, let half of it out, and gently squeeze the shutter at the pause before your next breath. Jabbing at the button pushes the camera down, so press smoothly.
Bracing Against the World Around You
You will not always have a tripod, but Singapore is full of things to lean on. Use them:
- Press your shoulder or back against a wall, a pillar or a lamp post.
- Rest the camera or your elbows on a railing along Marina Bay, a table at a hawker centre, or a ledge at a lookout point.
- Set the camera on a low wall or a bench for night shots, and use a folded jacket or a beanbag to angle it.
- Crouch or kneel and rest an elbow on your raised knee for extra steadiness on the go.
For a longer exposure with no tripod, prop the camera on a solid surface and use the self-timer or a remote, so you are not touching it at the moment the shutter fires. Even a two-second timer removes the little push your finger gives.
When Technique Is Not Enough
Good holding technique has limits. Once the light drops far enough, you need real support or a change of settings. This is where knowing your options pays off.
| Situation | Best approach | Why it works |
|---|---|---|
| Bright daylight, moving around | Handheld with good grip | Fast shutter already beats shake |
| Dim indoors, static scene | Brace on a surface or raise ISO | Steadies a slower shutter |
| Night cityscape, long exposure | Tripod with self-timer | Removes all hand contact |
| Zoomed-in or telephoto shots | Tripod or a monopod | Magnified shake needs firm support |
A few tools make a real difference when you outgrow bracing. A budget tripod is worth having for night scenes, light trails and group shots you want to be in. A monopod is lighter and quicker for events or wildlife, giving you support while staying mobile. Many modern cameras and lenses also include image stabilisation, which counteracts small movements and lets you shoot a stop or two slower than usual. It is a genuine help, but it steadies your shake, not your subject’s motion, so it is not a substitute for good technique. Check whether your own camera or lens has it and switch it on when handholding.
Quick Fixes for Sharper Shots Today
If your photos are still soft, run through this checklist:
- Raise your shutter speed. As a rough guide, keep it at least as fast as your focal length, so faster when zoomed in.
- Tuck those elbows in and support the lens from underneath.
- Find something to lean on before you press the shutter.
- Use the self-timer for anything on a surface or tripod.
- In low light, raise ISO so the shutter can stay fast, since a bit of grain beats blur.
- Take two or three frames of important shots; one is usually the sharpest.
Building the Habit
Holding your camera well should become automatic, so you are free to think about light and composition instead. Practise the grip at home until it feels natural, then take it out to a hawker centre or along the bay and notice how much sharper your everyday shots become. Steadiness is a habit, and it is the cheapest upgrade in photography.
Give these techniques a week of real use and you will trust your handheld shots far more, even as the light fades over the skyline.
Explore more
Steady hands work best with the right settings, so pair this with understanding aperture, shutter speed and ISO to keep your shutter fast enough. When you are ready to take charge, try how to shoot in manual mode, and see what support gear is worth buying in essential camera accessories for beginners.