
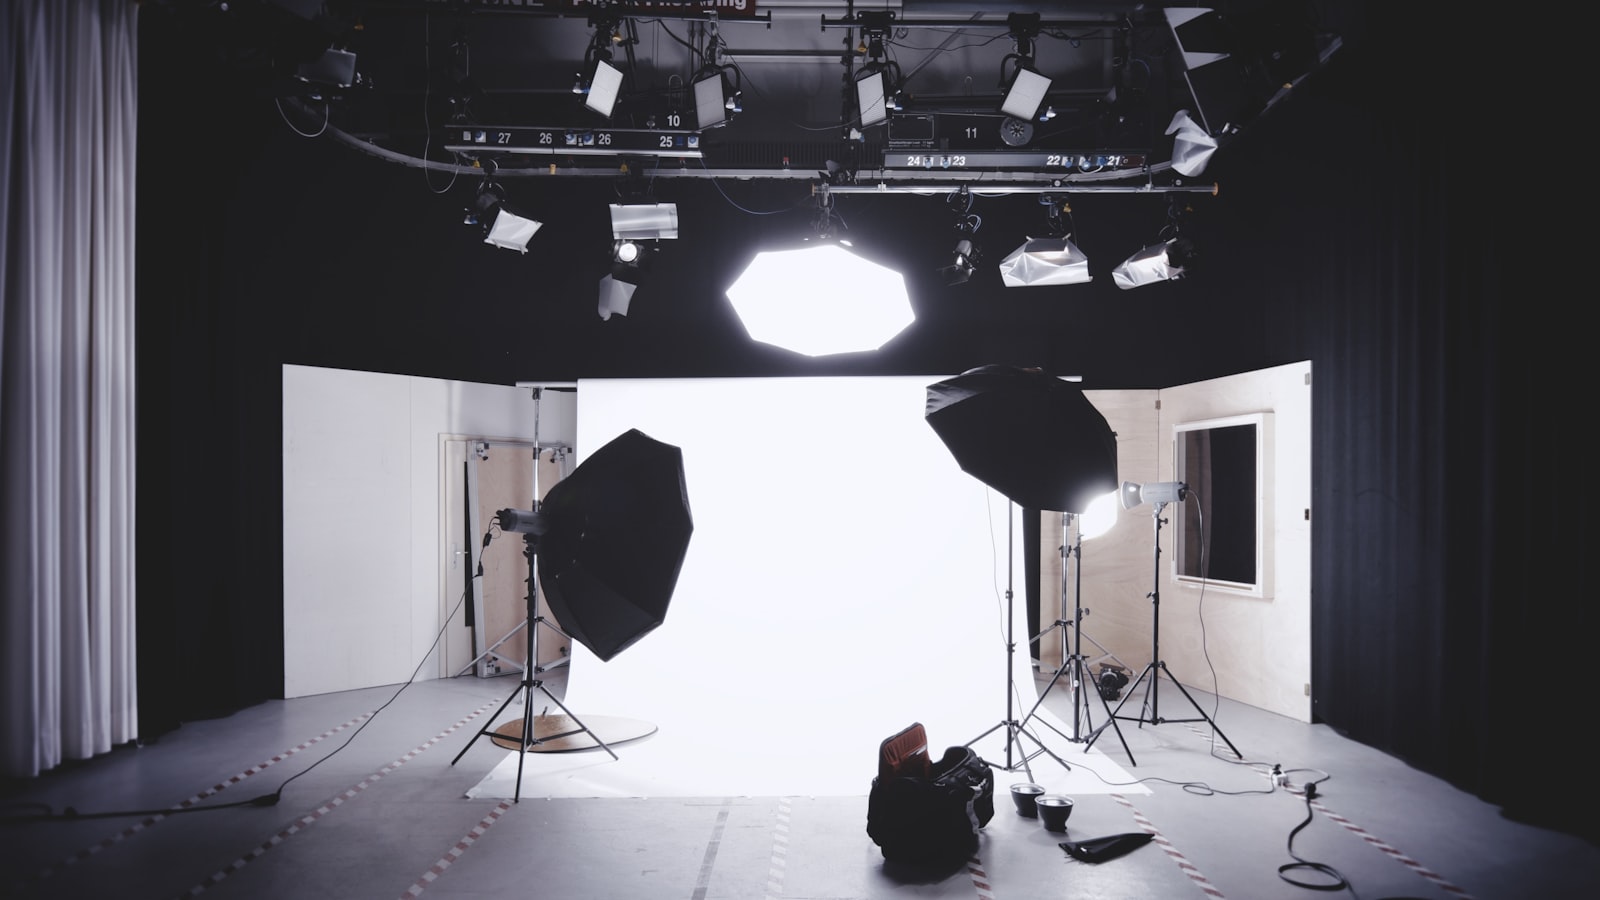
Every photo and every video is really just recorded light. You can own the best camera in the shop, but if the light is harsh, flat or the wrong colour, your images will still disappoint. The happy truth is that the lighting basics that matter most are simple to grasp and mostly free to practise. Once you learn to see light, where it comes from, how soft it is, and what colour it carries, you will take better pictures with whatever gear you already own. This guide keeps it plain and practical, grounded in the strong tropical light we live with in Singapore.
Good lighting is not about brightness alone. It is about direction, softness and colour working together to shape your subject. Master those three ideas and everything else falls into place.
Learning to See the Light
Before you touch a switch or buy a lamp, train yourself to notice the light already around you. Two qualities matter most.
- Direction. Where is the light coming from? Light from the front flattens a face and hides texture. Light from the side reveals shape and depth, which is why portraits often look richer with a window off to one side. Light from directly overhead, like our harsh midday sun, drops ugly shadows under the eyes and nose.
- Softness. Soft light wraps gently around a subject with faint, feathered shadows. Hard light creates sharp, dark shadows and strong contrast. The size of the light source relative to your subject decides this. A large source close by is soft; a small or distant source is hard.
Here is the key rule that unlocks soft light: the bigger and closer the light source, the softer the result. The midday sun looks tiny in the sky, so it is hard and unflattering. Cloud cover spreads that same sun across the whole sky, turning it into an enormous soft source. This is why an overcast Singapore afternoon, common just before a downpour, is wonderful for portraits.
Using Natural Light for Free
You do not need to spend a cent to get lovely light. The sun and a window are the best tools a beginner has.
- Window light is your indoor studio. Place your subject beside a window, not facing it head on, so the light rakes across them and adds shape. A sheer curtain softens strong sun into a gentle glow, perfect for a portrait or a flat-lay of your kopi and kaya toast.
- Golden hour, the first hour after sunrise and the last before sunset, gives warm, low, flattering light. Try it at East Coast Park, the Marina Bay waterfront or among the shophouses of Chinatown, where the low sun glows on the facades.
- Open shade rescues you at midday. Move your subject under a covered walkway, a tree or an HDB void deck. The harsh overhead sun is blocked, and the soft light bouncing in from the open side is far kinder to faces.
When you shoot outdoors in our fierce noon sun, avoid squinting subjects and raccoon-eye shadows. Turn them so the sun is behind or to the side, then fill the shadows using a reflector, which can be as simple as a piece of white foam board or even a bright wall.
Building Simple Lighting at Home
When natural light runs out or you want full control, a basic lighting setup is easy to arrange. The classic starting point is three-point lighting, used for interviews, talking-head videos and portraits alike. You can do it with affordable lamps or LED panels; check current models and prices before buying, since gear changes fast.
- Key light. Your main light, placed to one side of the camera and slightly above the subject’s eye level, angled down a little. This does most of the work.
- Fill light. A softer, dimmer light on the opposite side that lifts the shadows the key light created. A reflector often does this job for free.
- Back light. Placed behind the subject, pointing at their head and shoulders, to separate them from the background and add a pleasing rim of light.
You rarely need all three to start. A single soft key light plus a reflector for fill already looks professional. Aim to soften every artificial light by bouncing it off a wall or ceiling, or by placing a diffuser in front, because bare bulbs are small and harsh.
Getting Colour Right
Light has colour, measured as colour temperature. Warm light looks orange, like a sunset or a household bulb. Cool light looks blue, like open shade or an overcast sky. Your eyes adjust automatically, but your camera needs help, and this is where white balance comes in.
- Set your white balance to match the light so whites look truly white and skin tones look natural.
- Avoid mixing light sources of different colours in one shot. A common Singapore trap is filming next to a window while a warm ceiling bulb is on, leaving one side of the face blue and the other orange.
- If you must mix, pick one source to dominate. Turn off the mismatched light, or wait for the daylight to fade so the indoor light rules the scene.
The table below sums up the common lighting situations you will meet and what to do about each.
| Situation | The problem | Simple fix |
|---|---|---|
| Harsh midday sun | Hard shadows, squinting | Move to open shade or use a diffuser |
| Backlit by a bright window | Dark subject, blown-out window | Turn subject to face the light, or add fill |
| Warm bulb plus daylight | Mixed orange and blue tones | Turn off one source, set white balance |
| Dim indoor room | Grainy, dark footage | Add a soft LED key light near the subject |
Small Touches That Lift Every Shot
A few finishing habits separate flat images from ones with life in them.
- Look for the catchlight, the small reflection of the light in your subject’s eyes. It makes portraits feel alive. Position your key light so it appears.
- Watch the background. Let a little light fall behind your subject so they do not merge into a dark, flat wall.
- Control unwanted light by closing curtains or switching off a distracting lamp, so your chosen light shapes the scene.
- Mind the humidity. If you bring gear from a cold, air-conditioned room into warm air, let it acclimatise to avoid condensation and hazy shots.
Lighting basics reward attention far more than spending. Learn to see direction, softness and colour, use the free light around you first, and add simple sources only when you need them. Do that consistently and your video and photos will look polished, whatever camera happens to be in your hand.
Explore more
Light shapes everything you shoot. Pair these lighting basics with our guide to video basics for beginners, capture great clips on the go with how to shoot video on your phone, and make faces sound as good as they look in how to record good audio for video.