
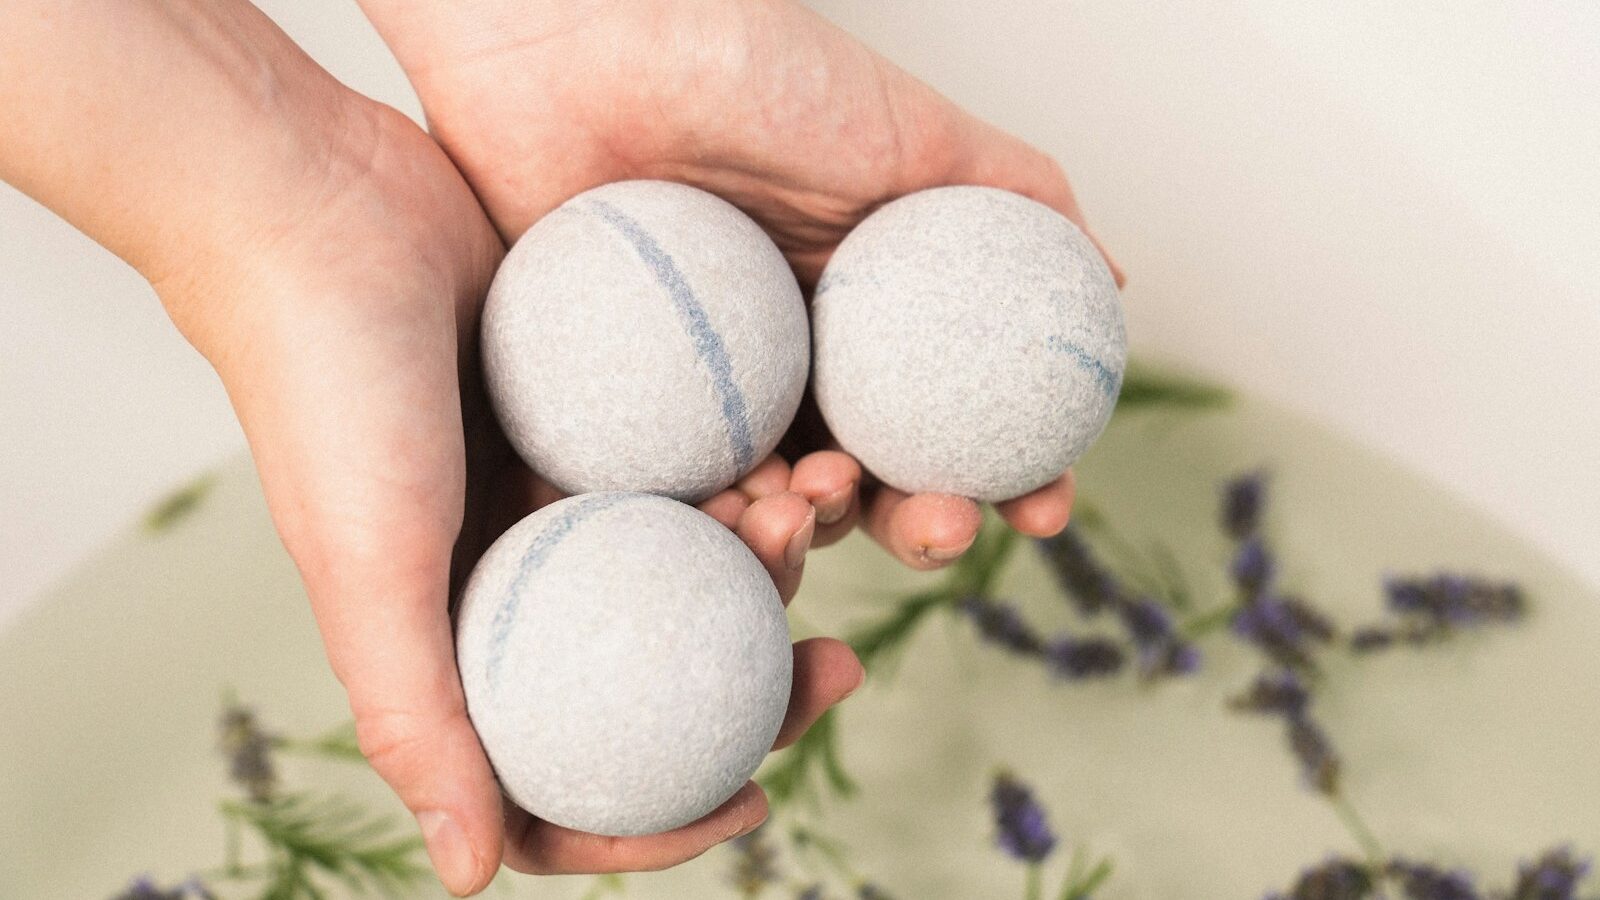
There is something quietly satisfying about dropping a hand-made bath bomb into water and watching it fizz, foam and colour the tub. Making bath bombs is one of the most beginner-friendly crafts around: the ingredients are cheap and easy to find, the kit fits in a drawer, and you can finish a batch in an afternoon. It is a lovely gift to make, a fun rainy-day activity with children (with supervision), and a gentle introduction to the wider world of do-it-yourself bath and body products like bath salts, scrubs and melts.
It does come with a few honest caveats. Bath products go on skin and near eyes, so a little care matters, and our humid climate can be surprisingly tricky. Get those two things right and the rest is play.
What Bath Bombs Are and Why They Fizz
A bath bomb is a compressed ball of dry ingredients that reacts with water. The fizz comes from a simple chemistry pairing: an alkaline powder, usually bicarbonate of soda, and a mild acid, usually citric acid. On their own and dry, nothing happens. Drop them in water and they react, releasing carbon dioxide, which is the stream of bubbles you see. Everything else, colour, scent and skin-loving oils, is there for the experience rather than the fizz.
The appeal is that you control exactly what goes in. Shop-bought versions can be heavy on synthetic fragrance and glitter; at home you decide the scent strength, skip anything that irritates your skin, and make something plain enough for sensitive skin or a child.
What You Need to Start
You can begin with a handful of pantry-style ingredients and a mould. Keep everything generic and buy small amounts first.
- Bicarbonate of soda and citric acid, the two core ingredients, roughly two parts soda to one part acid.
- A fine filler such as cornflour or a mild clay to slow the reaction and firm the bomb.
- A gentle carrier oil, a small amount, to bind the mix and condition skin.
- A mould: a two-part sphere, a silicone mould, or even a sturdy measuring spoon.
- Optional skin-safe colour and a small amount of skin-safe fragrance or essential oil.
- A bowl, a whisk, a fine spray bottle of water or witch hazel, gloves and a mask for mixing powders.
A pre-packed starter kit is convenient, but you can gather the same basics yourself for less. Buy cosmetic or food-grade materials, not industrial or cleaning-grade chemicals.
The Basic Method and Your First Batch
The technique is straightforward once you understand the enemy: water. Too much and the bomb starts fizzing before it is moulded.
- Whisk the dry ingredients together thoroughly so there are no lumps.
- Mix the oil and any colour or fragrance separately, then drizzle into the dry mix a little at a time.
- Spritz very lightly with water or witch hazel while mixing fast, until the blend just holds together like damp sand. If it fizzes, you sprayed too much.
- Pack the mixture firmly into both mould halves, overfill slightly, then press together.
- Unmould gently and leave to cure and dry fully, ideally a day or more, before use or wrapping.
For a first batch, keep it plain: soda, citric acid, a spoon of cornflour, a little oil and nothing else. Once that works, add one variable at a time, a touch of colour, then a scent, so you learn what each change does. From there the same skills open up other products.
| Product | Core ingredients | Difficulty | Note |
|---|---|---|---|
| Bath bomb | Bicarb, citric acid, oil, filler | Beginner | Humidity is the main challenge |
| Bath salts | Coarse salt, optional oil and scent | Very easy | Almost foolproof, great first project |
| Sugar or salt scrub | Sugar or salt, carrier oil | Very easy | Use fresh, keep water out of the jar |
| Melt-and-pour soap | Pre-made soap base, colour, scent | Easy | Avoids handling caustic lye entirely |
Notice that true cold-process soap, which uses lye, is a separate and more hazardous craft; a melt-and-pour base lets beginners make soap safely without it.
Safety, Skin and Sensible Labelling
Bath products are used on the body, so treat safety as part of the craft, not an afterthought.
- Patch-test any new blend on a small area of skin before a full bath, and wait a day to check for a reaction.
- Some ingredients irritate skin or eyes, especially fragrance and essential oils, which are strong and must be used sparingly and well diluted. Keep them out of eyes.
- Wear a mask when mixing fine powders to avoid inhaling them, and gloves if you have sensitive skin.
- Label every batch with its full ingredient list and date, and flag common allergens clearly, particularly nut-derived oils, so anyone using or receiving it can check.
- Make no medical or cosmetic claims. Your bath bombs are not medicine and cannot treat any condition; describe them as pleasant, not curative.
- Keep raw materials and finished products away from young children and pets, and always supervise children who help.
- A freshly made bath bomb can make a tub slippery, so take care stepping in and out.
Cost, Space and Beating Singapore Humidity
This is a cheap hobby to keep. The core powders cost little and stretch across many batches, and your main spend is optional extras like moulds, colours and scents. It is also space-light, which suits an HDB flat: a corner of the kitchen counter and a drawer for supplies is plenty. Do work on a wipeable surface, because loose powder and colour travel.
The single hardest thing about making bath bombs here is our humidity. Moisture in the air makes the mix react early, so bombs crack, expand or refuse to harden, and stored ingredients clump. Work in an air-conditioned or dry room if you can, keep citric acid and bicarb in airtight containers with a desiccant sachet, and wrap finished bombs tightly once fully cured. If a batch fails on a muggy day, it is almost always the weather, not you; try again when it is drier.
Getting Better and Finding Community
Improve by treating each batch as an experiment: change one thing, note the result, and keep a simple log of ratios and outcomes. You will find supplies at baking and craft shops, some pharmacies for citric acid and carrier oils, and general online marketplaces, all described generically here, so check current stock and prices yourself.
For company, look to community centre craft workshops, occasional maker markets and hobby groups, and Singapore craft communities online where people swap recipes and troubleshoot humidity woes. If friends start asking to buy your bombs, remember that selling skincare and cosmetic products carries real responsibilities around ingredient safety and labelling; treat it as a business step, register with ACRA, and check the rules with the Health Sciences Authority rather than assuming a hobby can quietly become a shop.
If this hands-on, small-batch making appeals to you, you may also enjoy tea blending at home for its botanicals, or the tactile fun of air-dry clay sculpting and acrylic pouring and fluid art. Start plain, stay safe, and build up as your confidence grows.