
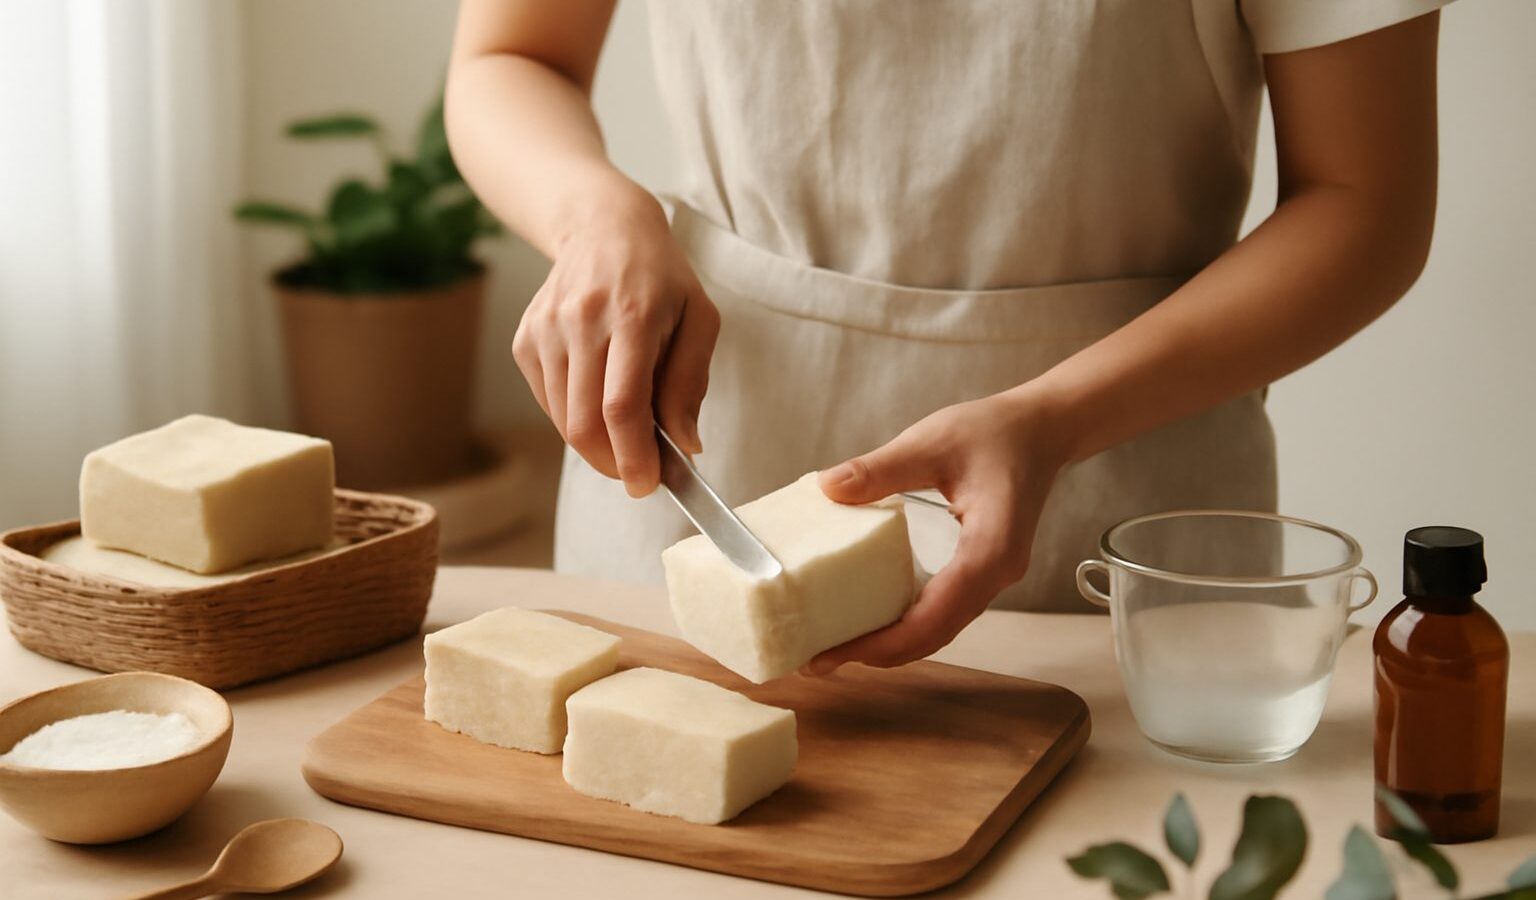
There is a quiet joy in unwrapping a bar you made yourself, from the swirl of colour to the scent you chose. Soap making in Singapore is one of the friendliest crafts for a total beginner: you can start at the kitchen table, on a weekend, with a handful of supplies and no special training. It rewards patience and playfulness in equal measure, and every batch teaches you something. Best of all, you finish with something useful that also makes a lovely gift.
This guide walks you through the two main methods, what you actually need to begin, how to work safely, and where to find supplies and classes around the island. Start small, keep notes, and let your first few bars be happy experiments rather than perfect showpieces.
Two Ways to Make Soap: Melt and Pour vs Cold Process
Almost everyone starts with one of two approaches, and it helps to know the difference before you buy anything.
Melt and pour uses a ready-made soap base that you cut, melt, colour, scent and pour into a mould. The chemistry is already done for you, so there is no handling of raw lye. It sets in a couple of hours and is ready to use once firm. This is the gentlest way in, ideal for a first try, for making with children, or for a fun afternoon with friends.
Cold process is soap from scratch. You combine oils with a lye solution (sodium hydroxide dissolved in water), which triggers saponification, the reaction that turns oil into soap. It gives you full control over the recipe, texture and ingredients, but it involves handling caustic lye and a curing period of around four to six weeks before the bars are ready. Many hobbyists graduate to it once they have a few melt and pour batches behind them.
Here is a quick comparison to help you choose your starting point.
| Method | Best for | Handles raw lye? | Ready to use |
|---|---|---|---|
| Melt and pour | Absolute beginners, kids, gifts | No | A few hours |
| Cold process | Full recipe control, custom bars | Yes | Around 4 to 6 weeks |
| Rebatch (grating and remelting) | Rescuing or blending older soap | No | 1 to 2 days |
There is no wrong choice. Melt and pour lets you focus on colours, scents and moulds, which is where much of the fun lives. Cold process appeals once you want to design your own formula.
What You Need to Start
You do not need a dedicated studio or a big budget. A clear corner of the kitchen and a few basics will do. For a first melt and pour session, gather:
- A soap base (clear or white glycerine bases are common and forgiving)
- A silicone mould or a simple loaf mould, plus a knife for cutting bars
- A microwave-safe jug or a double boiler for melting
- Skin-safe colourants and a fragrance or essential oil made for soap
- A digital kitchen scale, a spoon or spatula, and rubbing alcohol in a spray bottle to pop surface bubbles
If you move on to cold process, you will also need sodium hydroxide (lye), your chosen oils such as olive, coconut and palm or a palm-free blend, safety gear, and an online lye calculator to get the proportions right. Keep a notebook so you can repeat a batch you loved and adjust one you did not.
Budgets are flexible. A starter melt and pour haul is genuinely low-cost, a mid-range setup adds nicer moulds and a small fragrance collection, and a premium kit brings speciality bases, botanicals and pigments. Prices for bases, oils and fragrances shift often, so check the retailer or studio for current rates rather than relying on any single figure.
Working Safely at Home
Soap making is safe and relaxing when you respect the materials, and none of this needs to feel alarming. A few sensible habits keep every session pleasant.
For both methods, work in a well ventilated space, keep pets and young children clear of hot liquids, and read the safety instructions on every product you use. Fragrance oils and colourants have usage guidelines printed for a reason, so follow them.
Melt and pour is very low risk. The main things to mind are hot soap base, which can burn, and melting in short bursts so it does not overheat. Wear gloves if you have sensitive skin.
Cold process needs more care because lye is caustic. Always wear gloves and eye protection, add lye to water and never water to lye, and mix in a ventilated area as the solution gives off fumes for a minute or two. Keep vinegar and running water nearby in case of splashes, and let a fresh batch cure fully before testing it on your skin. Follow the product safety instructions and a reliable beginner recipe, and you will be fine.
Making Soap in an HDB Flat and the Tropical Climate
You can absolutely make soap in a flat. Melt and pour in particular needs very little space and no permanent setup, so a kitchen counter you can wipe down afterwards is enough. Keep a dedicated set of utensils for soap so nothing crosses over with cooking, and cover your surface with baking paper for easy cleanup.
Singapore’s humidity is the one climate factor to plan around. Glycerine soap is naturally thirsty and will bead with moisture, called sweating, if left uncovered. Wrap finished melt and pour bars in cling film or shrink wrap, or keep them in an airtight box. For cold process, cure your bars on a rack in an airy, shaded spot with good airflow, and a small dehumidifier or fan helps in a damp season. Store your fragrance oils and dry botanicals sealed and away from heat so they keep well.
Where to Learn and Buy in Singapore
Getting started locally is easy. For supplies, craft chains such as Spotlight and value shops like Daiso carry moulds, basic bases and tools, while Art Friend is handy for pigments and accessories. Dedicated soap and candle supply shops, many of them online with local delivery, stock proper soap bases, skin-safe fragrance oils, lye and specialty ingredients. Buying a small starter quantity first lets you test before you commit.
To learn hands-on, look for soap making workshops run by craft studios and community centres, which are a relaxed way to try melt and pour or cold process with guidance and all the materials provided. Online video tutorials and beginner forums fill in the gaps between sessions, and a soap making community, whether local or global, is generous with troubleshooting advice. Course and workshop fees vary, so confirm current pricing directly with the provider.
Start with one simple bar, enjoy the process, and build from there. Few hobbies give you something useful, beautiful and personal so quickly.
Explore more
If soap making has drawn you in, you may enjoy its close cousins in scent and craft. Try a beginner’s guide to candle making in Singapore for another hands-on making hobby, or the tactile, moulded world of getting into pottery and ceramics. Still deciding where to begin? Browse how to find a new hobby in Singapore for more ideas.