
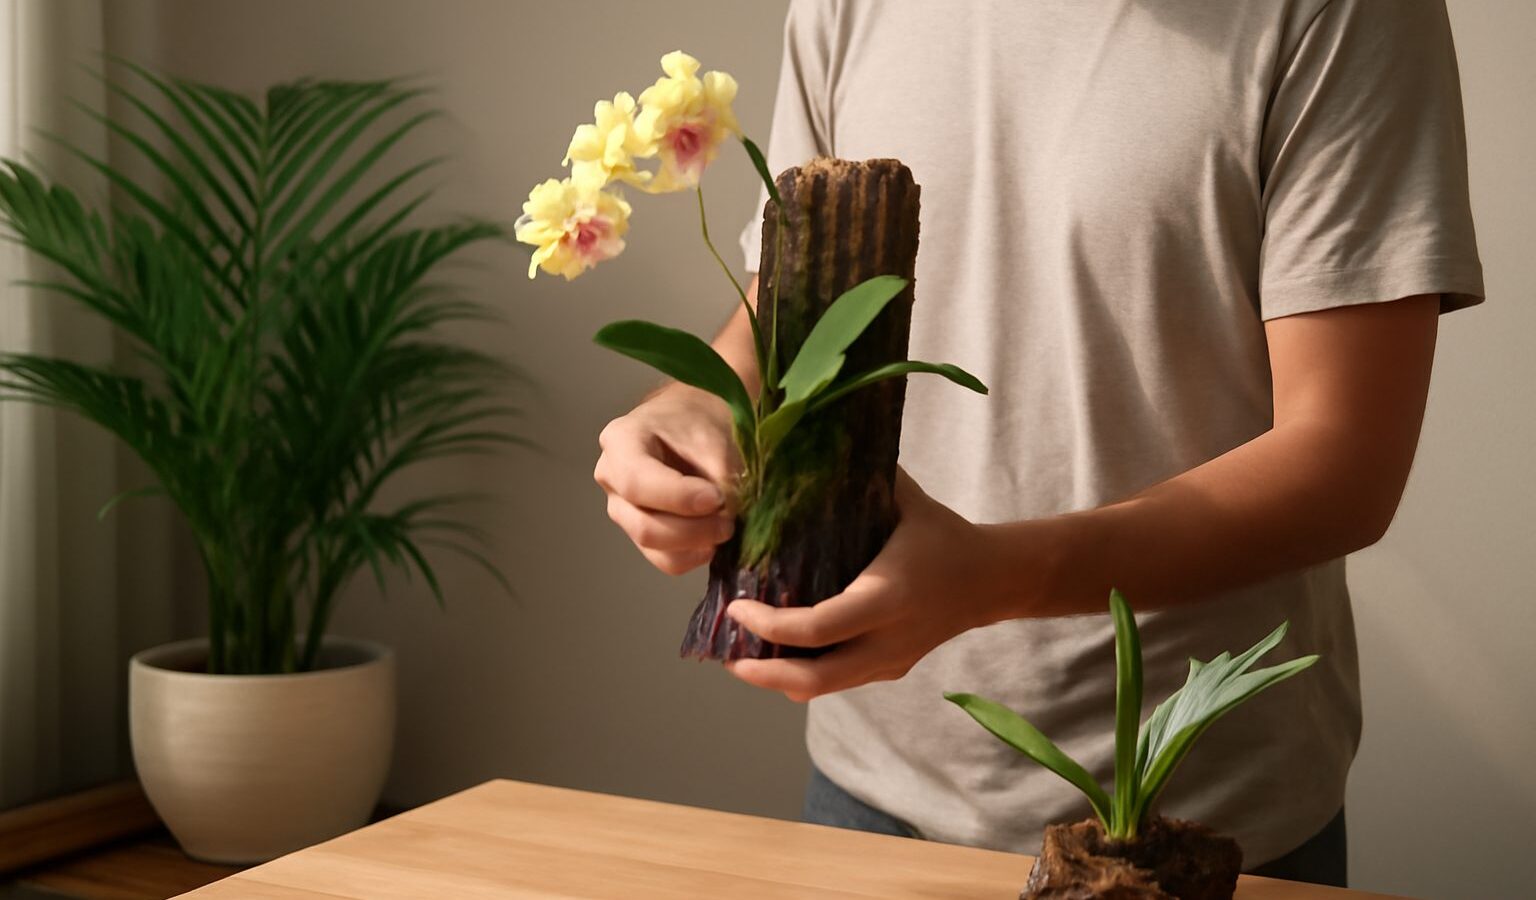
In nature, most orchids never touch the ground. They cling to tree trunks and branches, roots clasping the bark, leaves reaching for filtered light. Mounting orchids singapore growers can recreate this at home, letting plants grow the way they evolved to. A mounted orchid on a slab of bark or a wooden board is both a healthier plant and a living piece of wall art, perfect for a balcony where floor space is precious.
This guide covers what epiphytes are, how to mount them, how watering changes in our heat, and where to hang your mounts for the best results.
What Are Epiphytes?
Epiphytes are plants that grow on other plants rather than in soil. They are not parasites; they simply use trees for support, drawing moisture and nutrients from the air, rain and debris around their roots. Many orchids are epiphytes, and so are staghorn ferns, tillandsia air plants, and some bromeliads.
Because their roots are built to grip bark and dry out between waterings, these plants often rot when planted in ordinary pots of dense soil. Mounting solves that problem. It gives the roots air, mimics their natural home, and suits Singapore’s humidity beautifully. This is why mounting orchids singapore hobbyists favour is so rewarding: our climate does much of the work for you.
Choosing Plants and Materials
Good candidates for mounting include vandas, which are famous for their bare, dangling roots, along with dendrobiums, phalaenopsis, and smaller species orchids. Staghorn ferns and tillandsia are also easy starting points for beginners.
For the mount itself, pick a material that resists rot in our damp air:
- Cork bark or hardwood slabs are the classic choice, long-lasting and natural-looking.
- Fern root boards or tree fern slabs hold a little more moisture, which helps thirsty roots.
- Weathered driftwood or a sturdy branch works well and looks handsome on a wall.
You will also need a pad of sphagnum moss to sit behind the roots, and soft ties. Fishing line, plastic-coated wire, or strips of old stocking all work; avoid anything that will cut into the roots or rust.
How to Mount an Orchid Step by Step
Mounting is simpler than it looks. Work gently, as orchid roots snap easily.
- Soak your sphagnum moss in water so it is damp but not dripping.
- Ease the orchid out of its pot and remove old potting media from the roots.
- Lay a thin pad of moss on the board where the plant will sit.
- Position the orchid with its base against the moss and its newest growth pointing up.
- Wrap ties across the roots and around the board, firm enough to hold the plant still but not so tight that they bite in.
- Add a small screw or hook to the back so you can hang the finished mount.
The plant is stable when it no longer wobbles. Over the coming weeks, new roots will grip the board on their own, and you can loosen or remove the ties.
Give a freshly mounted orchid a little time to settle before you expect much of it. For the first two or three weeks, keep it in a shadier, humid spot and mist often, as the roots recover from being disturbed and begin to reach for the new surface. You may see a pause in growth during this period, which is normal. Once you spot fresh green root tips exploring the board, the plant has accepted its new home and you can move it to its permanent position and resume a regular feeding routine.
Watering Mounted Plants in the Heat
This is the part that trips up new growers. Mounted plants have no reservoir of soil, so they dry out far faster than potted ones. In Singapore’s warmth, a mount on a breezy balcony may need watering once or even twice a day during dry spells, and less in a shaded, humid corner.
The best method is to mist heavily or dunk the whole mount in a bucket of water until the roots turn green and the moss is soaked. Water in the morning so the plant is not sitting wet overnight, which invites rot. The table below is a starting point; always check the moss and roots rather than following a fixed schedule.
| Location | Light | Typical watering |
|---|---|---|
| Open sunny balcony | Bright, breezy | Once or twice daily |
| Sheltered balcony | Bright, filtered | Once daily |
| Shaded corner | Low light, humid | Every one to two days |
| Indoor near window | Filtered | Daily misting plus a weekly soak |
Feed lightly with a diluted orchid fertiliser once a week during active growth, applied when the roots are already damp. A weak, regular feed suits mounted plants far better than an occasional strong dose, which can burn exposed roots. Many growers follow the old rule of feeding weakly, weekly, and it serves mounted orchids well in our climate.
Watch the roots for clues about your watering. Plump, green roots mean the plant is well hydrated, while shrivelled, silvery roots that stay pale after watering suggest it is drying out too fast and needs a shadier position or more frequent soaking. Brown, mushy roots point the other way, to too much water sitting against the mount, so ease off and improve airflow.
Where to Hang Your Mounts
Most orchids want bright, filtered light, not harsh midday sun that scorches leaves. A balcony with morning sun and afternoon shade is close to ideal. Vandas tolerate more sun than phalaenopsis, which prefer a shadier spot.
Hang mounts where air can move freely around them, since good airflow prevents fungal problems in our humidity. A wall bracket, a length of railing, or a simple horizontal pole all work. Leave space between plants so each one dries evenly. On an HDB balcony, a row of mounted orchids along a shaded wall turns an empty vertical surface into a lush, living feature without taking up a single square inch of floor.
Start with one or two hardy plants, learn how quickly they dry on your particular balcony, and adjust from there. Mounting orchids singapore style is a small project with a big payoff, giving you healthier plants and a greener home.