
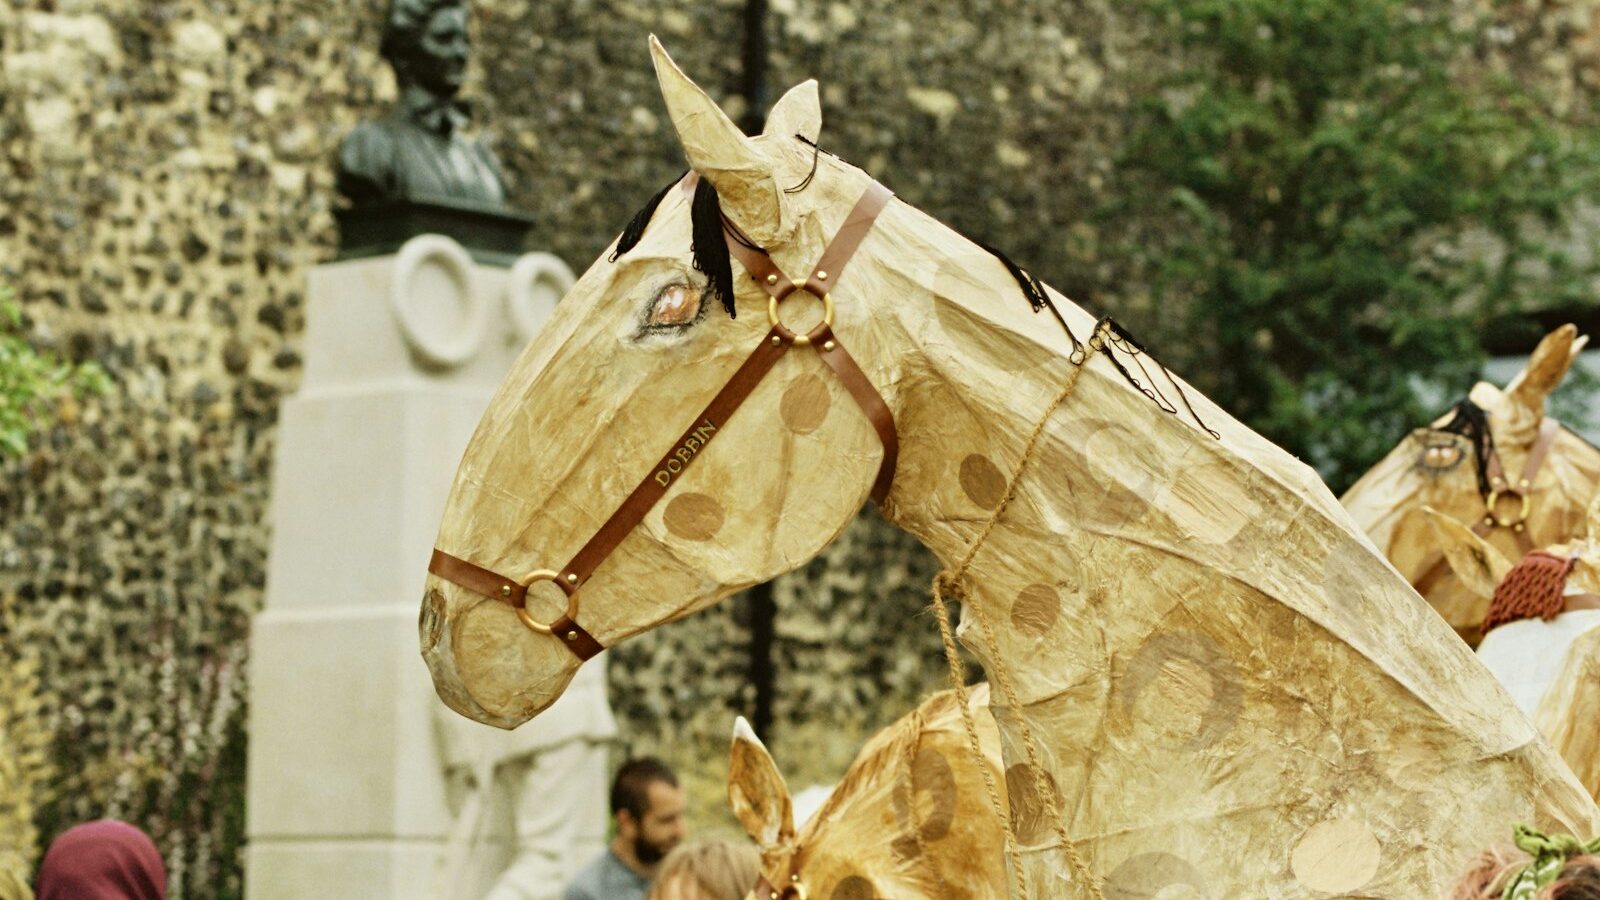
Papier-mache is one of the most beginner-friendly crafts there is, and it costs almost nothing to try. If you can tear paper and stir a bit of paste, you already have the two main skills. From that humble start you can shape bowls, masks, piggy banks, festival decorations and models for a school project, all from newspaper you would otherwise throw away. For anyone in Singapore looking for a low-cost, low-pressure creative outlet, papier-mache is a wonderful place to begin, and this guide will take you from your first sticky strip to a finished, painted piece.
The name comes from the French for chewed paper, which tells you everything about how forgiving it is. There are no sharp tools to fear and no expensive kit to buy. Mistakes simply become another layer, and a lumpy first attempt teaches you exactly what to do better next time. Let us get your hands messy in the best possible way.
Why Papier-Mache Suits Beginners in Singapore
Few crafts are as gentle on the wallet or the flat as this one. The main ingredient is old newspaper, and the paste can be made from flour and water for a few cents. That means you can experiment freely, and every failed shape costs you nothing but a little time. For a beginner testing whether a craft will stick, it is hard to imagine a lower-risk way in.
It is also a tidy hobby to run in a small home, as long as you plan a little. Cover your table with an old plastic sheet or newspaper, keep a bowl of water and a cloth nearby, and clean-up is quick. There is no noise to trouble the neighbours and nothing to plug in. You can work at the kitchen table in the evening and pack everything away in a box afterwards.
The one thing our climate demands is patience. Singapore’s humidity means papier-mache dries slowly, and rushing a piece that is still damp inside is the single biggest cause of beginner disappointment. A thick layer that feels dry on the surface can stay soft underneath, which leads to sagging, mould or a soft spot. Work in thin layers, choose a breezy spot near an open window or a fan, and let each stage dry fully before you add the next. Respect the drying time and the craft rewards you handsomely.
What You Need to Start
The beauty of papier-mache is that most of the shopping list is already in your home. You can begin this weekend with almost no outlay, then add the odd extra as you grow more confident.
- Newspaper. Your main material. Tear it into strips along the grain rather than cutting, as torn edges blend together far more smoothly.
- Paste. A simple flour-and-water mixture works beautifully for beginners. Some crafters prefer a diluted white glue for a stronger finish. Both are cheap and easy to find.
- A base or mould. A balloon, an old bowl, a cardboard frame or a plastic bottle gives your piece its shape. Rub a little oil or cling film on a mould so the dried shell lifts off cleanly.
- A mixing bowl and a plastic sheet. For your paste and to protect the table.
- Paint and a sealer. Once dry, acrylic or poster paint brings a piece to life, and a coat of varnish or diluted glue on top helps guard against our humidity.
That is genuinely all you need to make your first bowl. Craft shops, art-supply stores, hardware shops and online marketplaces stock anything extra, but there is no need to spend much at the start.
Choosing Your Paste
Your paste is the heart of the craft, and beginners often wonder which type to use. There are two easy routes, and the table below compares them so you can pick the one that suits your project and your patience. Neither is difficult, and you can happily switch between them as you go.
| Feature | Flour-and-water paste | Diluted white glue |
|---|---|---|
| Cost | Very low, pantry ingredients | A little higher |
| Ease of mixing | Simple, just stir to a smooth cream | Simple, thin the glue with water |
| Strength when dry | Good for most craft pieces | Stronger, better for lasting items |
| Drying in humidity | Slower, watch for mould | Dries a touch firmer |
| Best for | Kids, quick fun, cheap practice | Keepsakes and sturdier models |
A tip for our climate: if you mix flour paste, make only what you will use that day and add a small pinch of salt, which helps discourage mould while the piece dries. Keep any leftover in the fridge and bin it once it smells off.
Making Your First Project
A simple bowl is the perfect first project because the mould is easy and the result is genuinely useful. Turn a bowl upside down and cover the outside with cling film. Dip each torn strip in your paste, run it between two fingers to remove the excess, and lay it across the mould. The trick most beginners miss is that excess paste is the enemy: a strip should be coated, not dripping, or your piece will take days to dry and may go mouldy.
Lay your first layer in one direction and the next layer crossways, which builds strength. Three or four thin layers are plenty for a small bowl. Then comes the hard part for an eager crafter: leave it alone. In our humidity this can mean waiting a full day or two, ideally near a fan, until the shell feels completely hard and light. Only then should you ease it off the mould, trim the rim with scissors, and add a final tidy layer if you wish.
Once bone dry, paint your bowl in bright colours, let the paint cure, and finish with a coat of varnish or diluted glue to seal it against moisture. Stand back and enjoy it. Your first piece will not be perfect, and that is completely fine.
Common Beginner Mistakes
By far the most common mistake is not letting each layer dry fully, which our humidity makes very tempting to skip. A piece that looks dry outside can be soft within, so give it more time than you think it needs. The second is using too much paste, which leaves strips soggy, slow to dry and prone to mould. Squeeze that excess off every strip.
Beginners also tend to build layers too thick in one go, hoping to finish faster, when thin and patient always wins. Others forget to grease or wrap the mould and then cannot free their finished shell. And many skip the final sealing coat, which matters a great deal here, as an unsealed piece can soften and attract mould in a damp flat. Seal every finished piece and store it somewhere airy.
How to Keep Improving
Once you have a bowl or two under your belt, the craft opens up delightfully. Try a mask over a balloon, a piggy bank with a slot cut in the top, or festival lanterns and decorations. You can move on to building an armature, a simple frame of rolled paper, cardboard or wire, to make animals and figures with real character. Pulp papier-mache, where paper is soaked and blended into a mouldable mash, lets you sculpt fine details rather than lay strips.
The wider craft community is a friendly place to grow. Craft groups, community-centre workshops and online tutorials are welcoming to beginners and full of ideas, and sharing a photo of your work is a lovely way to stay motivated. Keep your projects small and playful, respect the drying time, and you will be amazed what a stack of old newspapers can become.
Explore more
If sculpting shapes appeals to you, try the tiny worlds of getting into miniatures and dioramas, where papier-mache is a favourite for hills and rockwork. Those same scenery skills carry straight into building model trains and railways, and for a more precise kind of modelling you might enjoy the bright, mouldable fun of polymer clay crafts for beginners.