
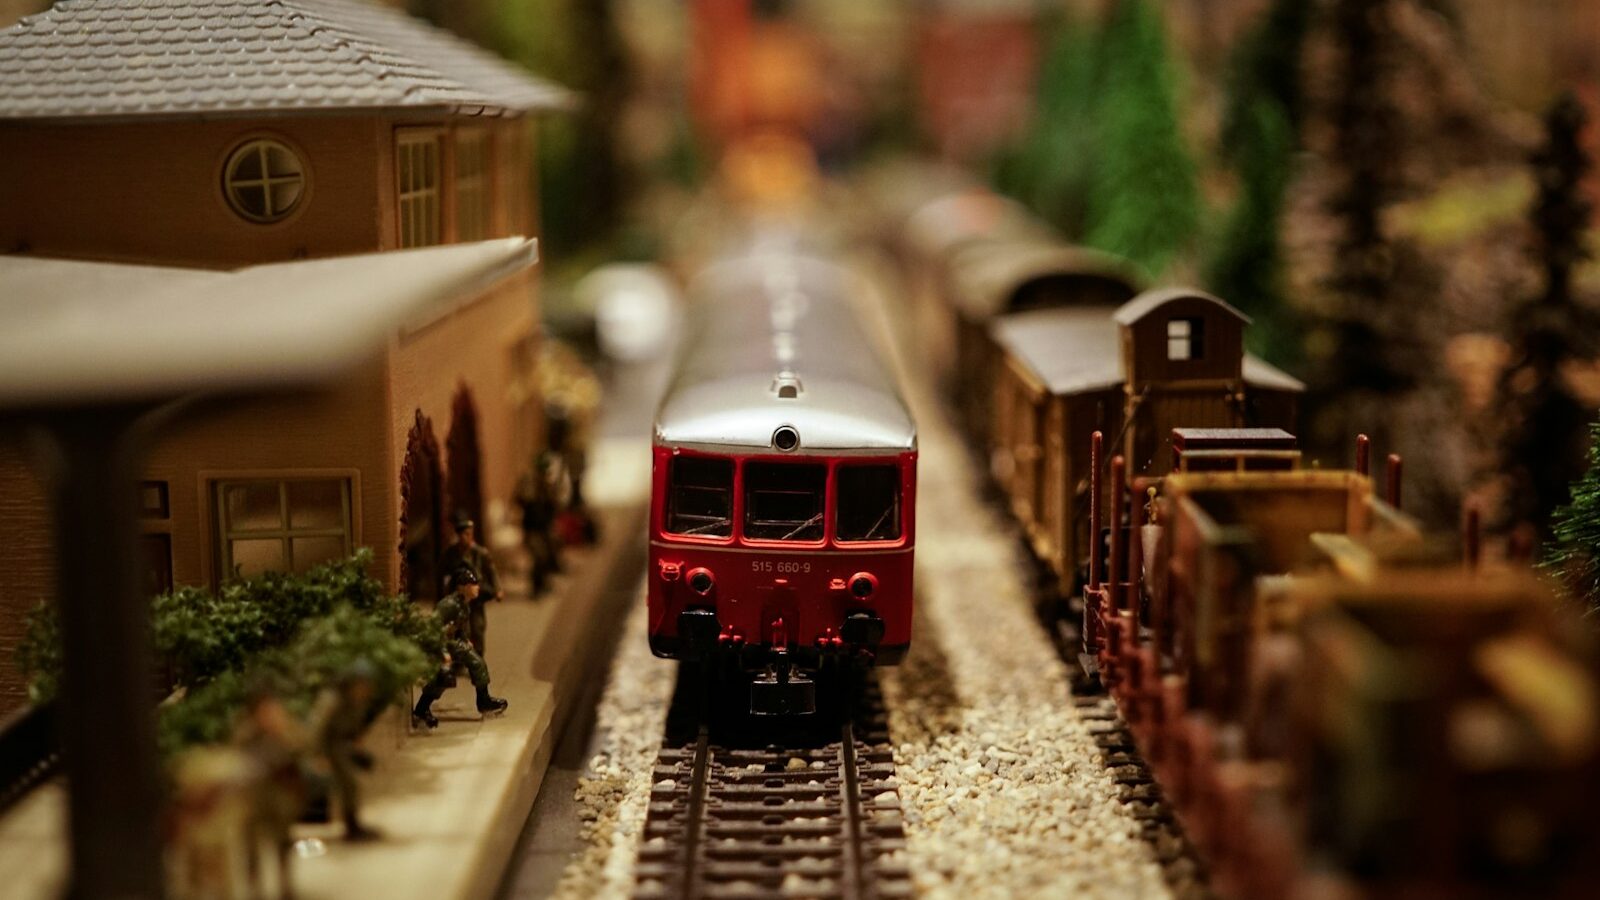
Model trains have charmed hobbyists for generations, and the appeal is easy to understand. There is something deeply satisfying about watching a little locomotive glide along a track you built, through scenery you shaped with your own hands. If you have ever admired a model railway at a display and thought it looked far too grand for a flat, this guide is for you. Model trains are more flexible than they first appear, and a beginner in Singapore can start small, cheap and space-aware, then grow the hobby one piece at a time.
The best part is that a model railway is never really finished, which means there is always something gentle to tinker with on a quiet evening. Let us walk through how to begin without overspending or running out of room.
Why Model Trains Work in a Singapore Flat
The old image of model railways is a whole spare room given over to a sprawling layout. Very few of us have that, and thankfully you do not need it. The secret for HDB living is to think small in scale and clever in design. Smaller scales pack a full loop of track, a station and some scenery onto a board no bigger than a coffee table, which you can stand against a wall or slide under a bed between sessions.
Space-saving layouts are a craft in themselves. A shelf running along one wall can carry a narrow, scenic line. A hinged or folding baseboard lets you lift the whole railway out of the way when guests come. Some modellers build a compact board that captures just one small scene, a single platform or a level crossing, rather than an entire network. Starting with one modest board teaches you every skill you need and keeps both the cost and the clutter low.
Our climate deserves a thought too. Humidity can encourage rust on metal rails and track pins, and it can warp a baseboard made from cheap, untreated wood. Store your layout somewhere airy rather than a sealed cupboard, wipe the railheads clean before each run, and a few sachets of silica gel in the storage box will help. These small habits keep everything running smoothly for years.
Choosing a Scale to Begin With
Scale is simply how much smaller the model is than the real thing, and it is the first real decision you will make. It sets the size of everything else, so it is worth a little thought before you buy. You do not need to learn every scale on the market. For a beginner working with limited space, a couple of popular choices cover almost everyone.
Larger scales are chunky, easy to handle and forgiving of small fingers, which makes them lovely for families, but they eat up space quickly. Smaller scales let you fit a satisfying loop into a tight footprint, though the parts are more delicate and the wiring more fiddly. The table below sets out the trade-offs in plain terms so you can match a scale to your home and patience.
| Consideration | Larger scale | Smaller scale |
|---|---|---|
| Space needed | More, best for a dedicated board | Less, ideal for shelves and HDB flats |
| Handling | Easy to grip and repair | Delicate, needs a steady hand |
| Detail per square foot | Fewer buildings and track | Whole scenes in a small area |
| Cost of each item | Often higher | Often lower |
| Best for | Young children, big gestures | Small spaces, ambitious layouts |
There is no wrong answer here, only the answer that suits your room and your hands. Visit a hobby shop if you can, pick up a few models, and see which size feels right before you commit.
What You Need to Start
You can begin a model railway with a surprisingly short shopping list. A basic train set, sold boxed at hobby shops and online marketplaces, usually bundles a locomotive, a few wagons, a loop of track and a controller. That single box will have trains running on your table the same afternoon, which is a wonderful way to catch the bug.
- A starter train set. The simplest way in. One box gives you a working loop and everything to power it.
- A baseboard. A flat, sturdy sheet of board gives your railway a permanent home. Offcuts from a hardware store work well, and treated or sealed wood copes better with humidity.
- Extra track. A few more straights, curves and perhaps a point or two let you grow beyond the starter oval when you are ready.
- A controller and wiring. Your set includes a basic one. Keep the low-voltage leads tidy and away from young children and pets.
- Basic hand tools. A small screwdriver, a craft knife and a bit of fine sandpaper handle most jobs. Cut away from your body and cap the blade when you finish.
That really is enough to begin. Resist the urge to buy a second locomotive and a mountain of scenery on day one. Get one train running reliably first, and let your wishlist grow from there.
Building Your First Small Layout
With a train circling happily, the next step is turning a bare loop into a little world. Start by fixing your track down to the baseboard, checking that every joint sits flush so the wheels do not catch. Run the train slowly and listen. A smooth, quiet hum means good track; a stutter usually points to a loose joint or a dirty rail.
Now for the fun part: scenery. You do not need expensive materials to make a convincing scene. A layer of paint for the ground, some cheap ground foam or dyed sawdust for grass, and a few home-made trees will transform a plain board. Modellers often shape hills and tunnels from crumpled paper and paste, a technique borrowed straight from papier-mache, before painting over the top. Add a small station building, a road, maybe a tiny figure waiting on the platform, and your railway starts to tell a story.
Work in short, relaxed sessions and let glue and paint dry fully, which can take a little longer in our humidity, before you add the next layer. There is no deadline. Half an hour of planting trees while the kettle boils is a perfectly good evening’s progress.
Common Beginner Mistakes
The most common early frustration is dirty track. Dust and a thin film of oxide build up on the railheads and interrupt the electrical contact, causing jerky running that beginners often blame on the locomotive. A gentle wipe with a clean cloth or a track rubber before each session fixes ninety per cent of stalling problems.
Another frequent stumble is planning a layout that is too ambitious for the space, then abandoning it half-built. Start with a loop you can actually finish. A small, complete railway is far more rewarding than a huge, unfinished one. Beginners also tend to lay curves that are too tight for their longer wagons, which causes derailments, so keep your curves as generous as your board allows. Finally, take care with the wiring: keep connections tidy, follow the instructions that come with your controller, and never modify the mains adaptor.
How to Keep Improving
Once your first layout runs sweetly, the hobby opens right up. You might add a point and a siding so you can shunt wagons, wire a simple signal, or weather a wagon with a little paint to make it look used and real. Each small project teaches a new skill, and none of them needs to be rushed.
The community is a big part of the joy. Model railway clubs, hobby shops and online forums are welcoming to newcomers and generous with advice, and many run friendly running days where you can see other layouts up close. Share a photo of your work, ask that basic question you have been sitting on, and enjoy the steady progress. A model railway grows the way a garden does, a little at a time, and that slow pleasure is exactly the point.
Explore more
If you love building tiny worlds, you will feel right at home with getting into miniatures and dioramas, which shares many of the same scenery skills. A steady baseboard and a few clean cuts come easier once you have tried woodworking for beginners, and for hills, tunnels and rockwork nothing beats the cheap, forgiving craft of papier-mache crafts.