
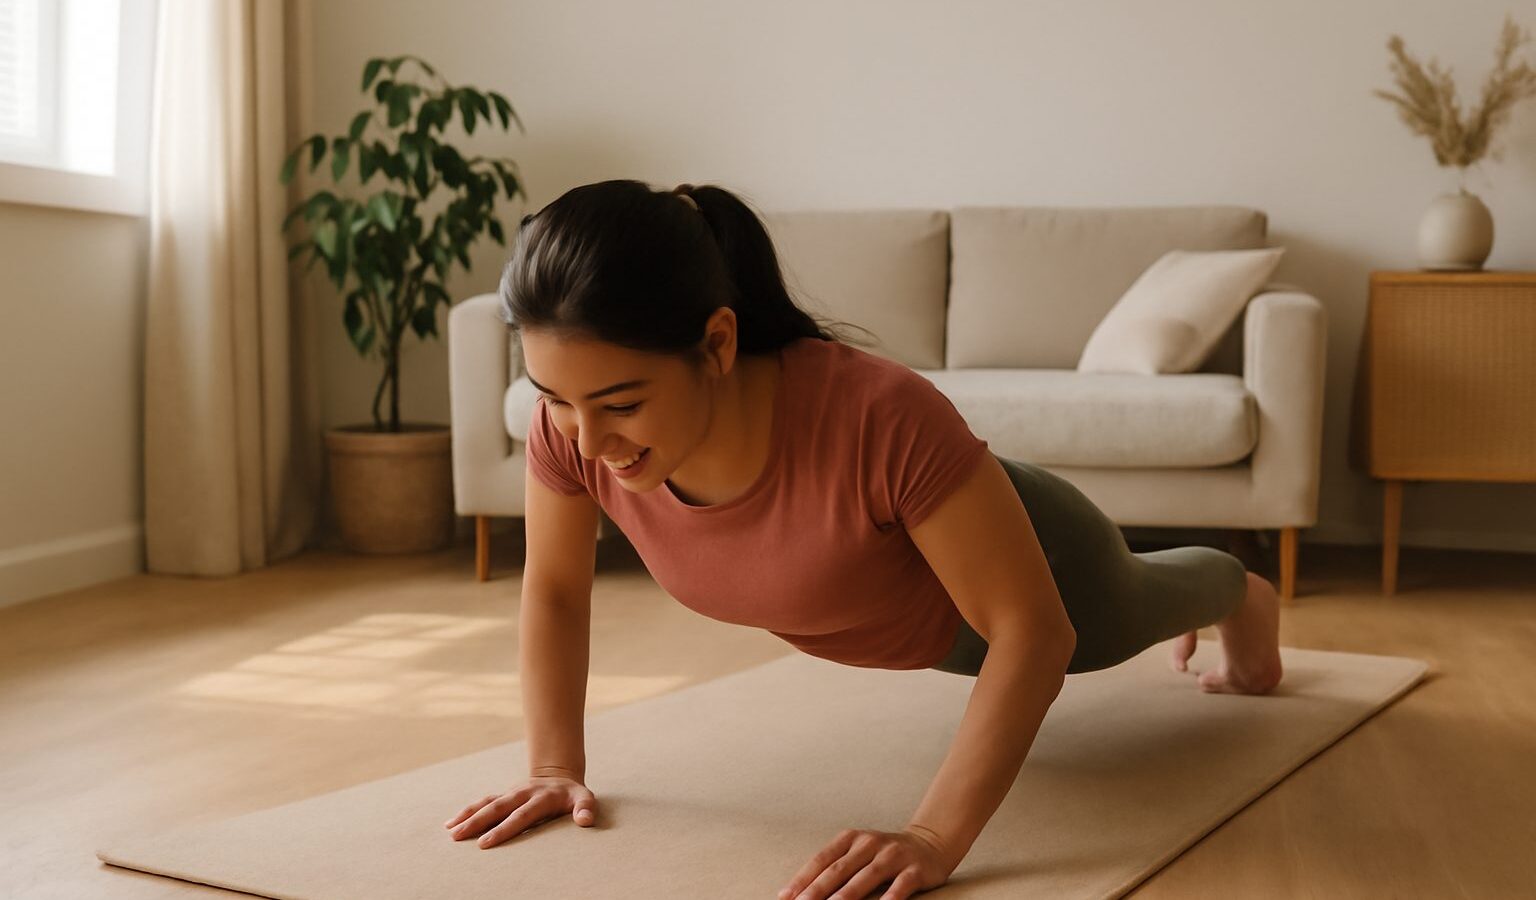
Good push up form turns a simple bodyweight move into one of the most effective upper body exercises you can do anywhere, no equipment needed. All you need is a patch of floor in your HDB flat, which makes the push up perfect for training at home when the weather outside is sweltering or a downpour has closed your usual park connector run. The trouble is that many people rush through sloppy repetitions with a sagging back or half-bent elbows, which builds poor habits and little strength. This guide slows the movement down so you learn to do each rep properly, then scale it to your current level.
If you are new to exercise, older, sedentary, pregnant, or living with any injury, heart condition or other health concern, it is wise to check with a doctor before starting. This is general information rather than personalised coaching or physiotherapy advice. As with any exercise, muscle soreness is normal, but sharp pain in a joint is a signal to stop.
Why the Push Up Deserves Your Attention
The push up trains your chest, shoulders, triceps and core all at once. Because you hold your whole body rigid while your arms do the work, it doubles as a plank, teaching your trunk to stay stable under effort. That combination of pushing strength and core control carries over to daily tasks like pushing a heavy door or getting up off the floor.
It is also endlessly scalable, which is why it suits complete beginners and seasoned trainees alike. You can make it easier by raising your hands onto a bench or wall, or harder by slowing the tempo or elevating your feet. That means the push up can grow with you for years without any gym membership. For anyone building a home routine in a small flat, it is one of the highest-value moves available.
The Anatomy of a Clean Push Up
Set your body carefully before you lower. A good starting position makes a good rep almost automatic.
- Place your hands slightly wider than shoulder-width, palms flat, with your hands roughly under your shoulders or a touch below.
- Set a straight body line from your head through your hips to your heels. Think of your body as a firm plank, not a hammock.
- Brace your core and glutes so your hips neither sag toward the floor nor pike up toward the ceiling.
- Position your head neutrally, eyes looking at the floor slightly ahead of you rather than tucked or craned up.
- Tuck your elbows to roughly 45 degrees from your body, not flared straight out to the sides.
Hold this position for a moment before your first repetition. If you cannot hold a solid plank yet, start with an easier variation and build the strength to hold the line.
Performing the Movement With Control
With your setup solid, the movement itself is simple, and control is everything.
- Lower under control by bending your elbows, keeping that straight body line, until your chest is a few centimetres from the floor.
- Keep your elbows at that 45 degree angle rather than letting them flare wide.
- Pause briefly at the bottom without resting your body on the floor or losing tension.
- Push back up by driving your palms into the floor until your arms are straight, without locking your elbows harshly.
- Keep breathing, generally inhaling as you lower and exhaling as you push up.
- Reset your brace before the next rep so your hips never start to sag as you tire.
Stop your set when your form breaks down rather than grinding out ugly reps. Three clean push ups build more real strength than ten sloppy ones, and they protect your shoulders and lower back.
Scaling the Push Up to Your Level
The smartest way to progress is to pick the hardest variation you can perform with perfect form, then work until it feels easy. This table shows a simple ladder from easiest to hardest.
| Variation | Difficulty | Best for |
|---|---|---|
| Wall push up | Easiest | Complete beginners and returners after a break |
| Incline push up on a table or bench | Easier | Building strength toward the full version |
| Knee push up | Moderate | Bridging to full push ups with good core control |
| Full push up on the floor | Standard | The classic benchmark once form is solid |
| Feet-elevated or slow-tempo push up | Hardest | Adding challenge without any equipment |
Progress one step at a time. When you can do several clean sets of a variation, try a few reps of the next one up while keeping the same strict form. There is no rush, and moving up too soon usually just brings back the sagging hips and half reps you worked to fix.
Making It Work at Home in Singapore
The push up shines as a home exercise, but a few habits keep it effective and safe. Warm up first with a couple of minutes of easy movement and some shoulder circles, part of warming up and cooling down that readies the joints, which matters even indoors. If your flat gets warm, switch on a fan and train in the cooler morning or evening, and keep water nearby, because it is easy to underestimate how much you sweat in our humidity.
Push ups pair beautifully with core work, since both rely on a stable, braced trunk. Rounding out your week with core and ab training that works will make your body line even more solid. If you want to add gentle resistance beyond bodyweight at home, a pair of dumbbell only workouts you can do at home complements pushing movements nicely and rounds out your upper body.
To turn scattered efforts into steady progress, fold your push ups into a simple plan. A short structure like building your first workout routine gives you set days and gentle progression so the reps add up over weeks. Focus on perfecting your push up form first, scale honestly to your level, and the strength will follow, all from the floor of your own flat.